
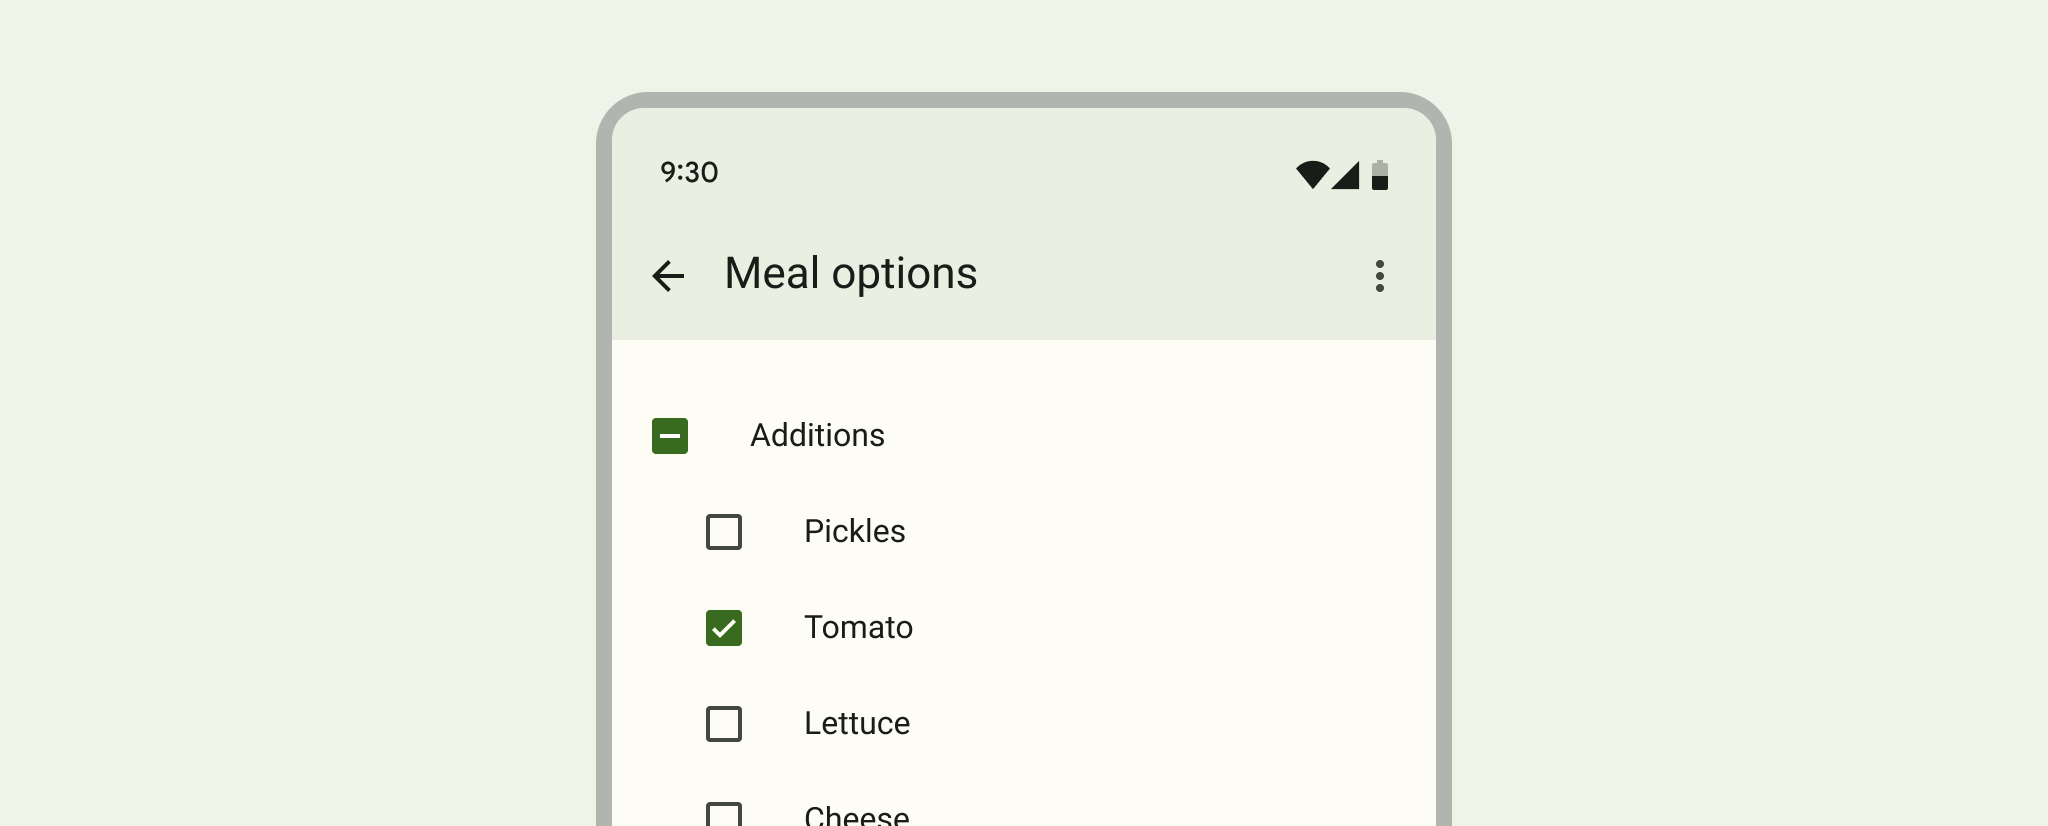
チェックボックスを使用すると、ユーザーはセットから 1 つ以上のオプションを選択できます。通常はチェックボックスを オプションです。
チェックボックスの各オプションを作成するには、
レイアウト内の CheckBox。なぜなら、
一連のチェックボックス オプションを使用すると、ユーザーは複数のアイテムを選択できます。各チェックボックスは個別に管理されます。
それぞれにクリック リスナーを登録する必要があります。
クリック イベントに応答する
まず、CheckBox オブジェクトをリストに含むレイアウトを作成します。
<?xml version="1.0" encoding="utf-8"?>
<LinearLayout xmlns:android="http://schemas.android.com/apk/res/android"
    android:orientation="vertical"
    android:layout_width="match_parent"
    android:layout_height="match_parent">
    <CheckBox android:id="@+id/checkbox_meat"
        android:layout_width="wrap_content"
        android:layout_height="wrap_content"
        android:text="Meat" />
    <CheckBox android:id="@+id/checkbox_cheese"
        android:layout_width="wrap_content"
        android:layout_height="wrap_content"
        android:text="Cheese"/>
</LinearLayout>
レイアウトの準備ができたら、Activity または Fragment に移動して、
CheckBox ビューを設定し、次の例のように変更リスナーを設定します。
Kotlin
findViewById<CheckBox>(R.id.checkbox_meat)
    .setOnCheckedChangeListener { buttonView, isChecked ->
        Log.d("CHECKBOXES", "Meat is checked: $isChecked")
    }

findViewById<CheckBox>(R.id.checkbox_cheese)
    .setOnCheckedChangeListener { buttonView, isChecked ->
        Log.d("CHECKBOXES", "Cheese is checked: $isChecked")
    }
Java
findViewById<CheckBox>(R.id.checkbox_meat)
    .setOnCheckedChangeListener { buttonView, isChecked ->
        Log.d("CHECKBOXES", "Meat is checked: $isChecked");
    }

findViewById<CheckBox>(R.id.checkbox_cheese)
    .setOnCheckedChangeListener { buttonView, isChecked ->
        Log.d("CHECKBOXES", "Cheese is checked: $isChecked");
    }
上記のコードにより、チェックボックスのステータスが変わるたびに、Logcat にメッセージが出力されます。
<ph type="x-smartling-placeholder">