Creating Guru Collections
Access Required
You must be a Guru workspace admin to create a Guru Collection. Admin also manage which Groups of users have permission to which Collections and what roles those Groups play in each Collection. Once a Collection is created, the Collection owner can also manage access to that Collection.
Creating a Collection
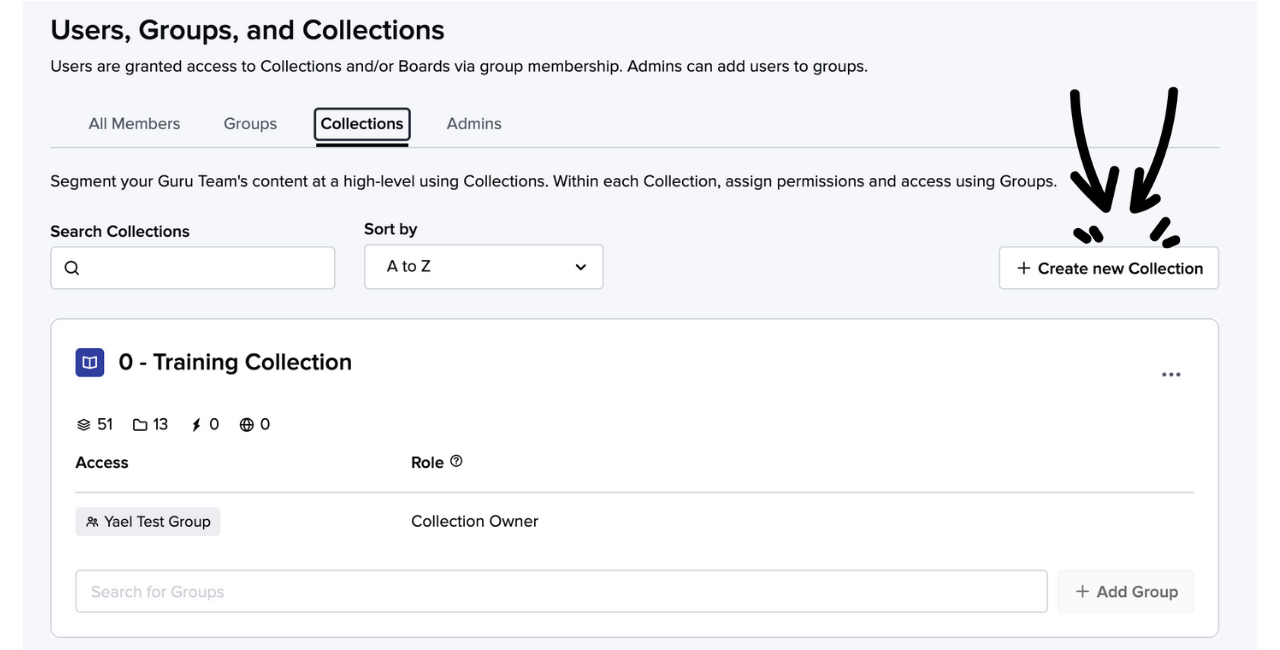
In Guru's web app, navigate to the All Collections page. Click the + Create new Collection tile at the top left center of the page. Fill in the details in the pop-up menu to build a Collection from scratch.

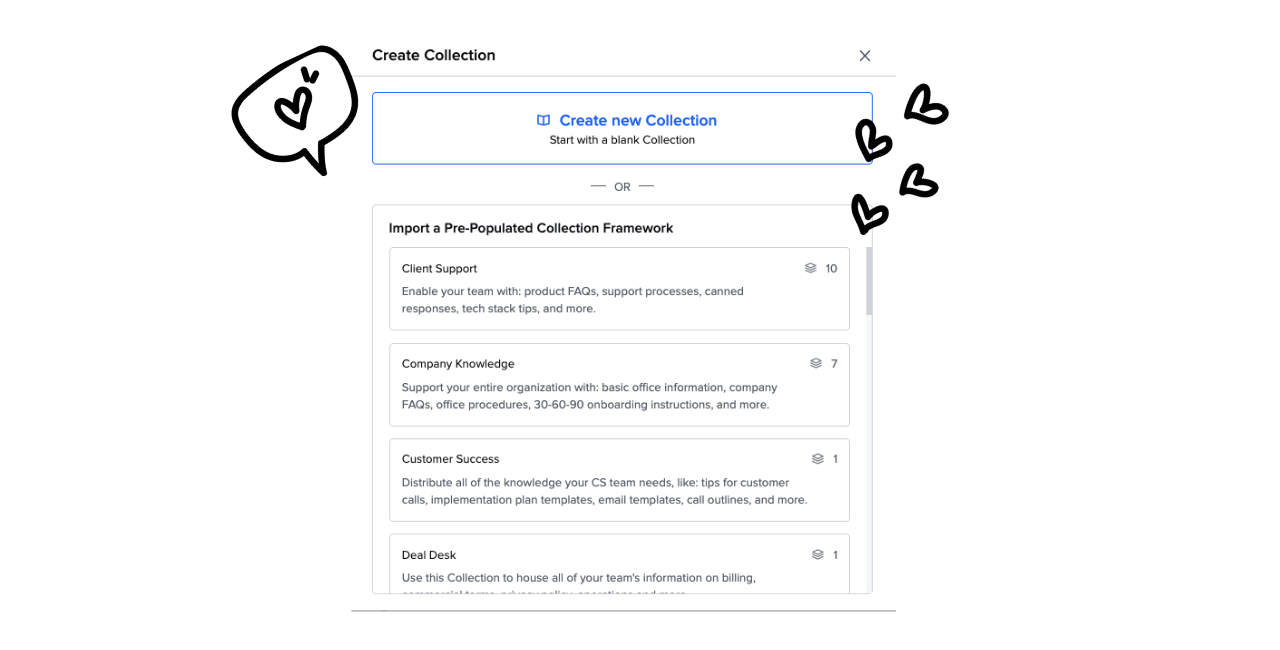
You can also navigate to the Collections page within Manage and click + Create a new Collection. From the pop-up menu, you can choose to start from scratch with a blank Collection, or, choose to start with a pre-populated Collection framework.
Collection frameworks contain pre-built folders and suggestions for types of Cards to help your team build and organize your own knowledge quickly.
Note
Any Collection imported via a framework (and those included at Guru team creation) will automatically assign the user who completed the action as the Collection owner, though this can be reassigned.
Adding Collection details
- If you chose to start with a blank Collection, the Create new Collection menu will prompt you to:
- Name the Collection.
- Customize the Collection's badge color and emoji. By default, the Collection will be assigned a random color and a book emoji. Colors and emojis help your team distinguish Collections from each other. 👌
- Type a description for the Collection. This helps your team understand what knowledge is contained within.
- Pick a Group to be the Collection owner.
- Decide if you'd like to enable public Card sharing.
- Click Create Collection to create the Collection with these settings.
You can always edit the Collection's name, badge color, badge emoji, description, owner, and public Card sharing settings at a later date by clicking the Collection's ellipses (“⋮") icon followed by Collection Settings.
How to edit a Collection
- From the Guru web app's All Collections page, click Manage Collections. You can also navigate to the "Collections" page by clicking Manage, then clicking Collections.
- Locate the Collection you want to edit or delete and click the ellipses (“⋮") icon followed by Collection Settings.
- In this menu, you can change the Collection's name, badge color, badge emoji, or edit its description. You can also enable or disable public Card sharing.
- Click Save.
How to delete a Collection
Important
Deleting the Collection will permanently delete all the content contained within the Collection, including archived Cards that were once part of that Collection. Once the delete Collection action is confirmed, there is no option to undo the action and restore the Collection.
- From the Guru web app All Collections page, click Manage Collections. You can also navigate to the same location from Manage by clicking Collections at the top of the "Users, Groups, and Collections" page.
- Locate the Collection you want to edit or delete and click the ellipses (“**⋮**") icon followed by Collection Settings.
- Click Delete Collection.
- Check the box to confirm you understand that all folders and Cards (including archived Cards) within this Collection will be permanently deleted. Click Delete.
Updated about 2 months ago