Toscakaka (Swedish Caramel Almond Cake) The Ultimate Toffee Cake
/
Makes: One 9 inch layer Serves: 10 to 12
Oven Temperature: 325˚F/160˚C Baking Time: 25 to 30 minutes
400˚F/200˚C Caramel Time:8 to 10 minutes
When our friend Thomas Emerick sent me a photo of this cake I knew I had to try it. I love toffee and trust Thomas because he is an excellent baker. And yes: it is such an unusual and amazing cake we have to share it with you.
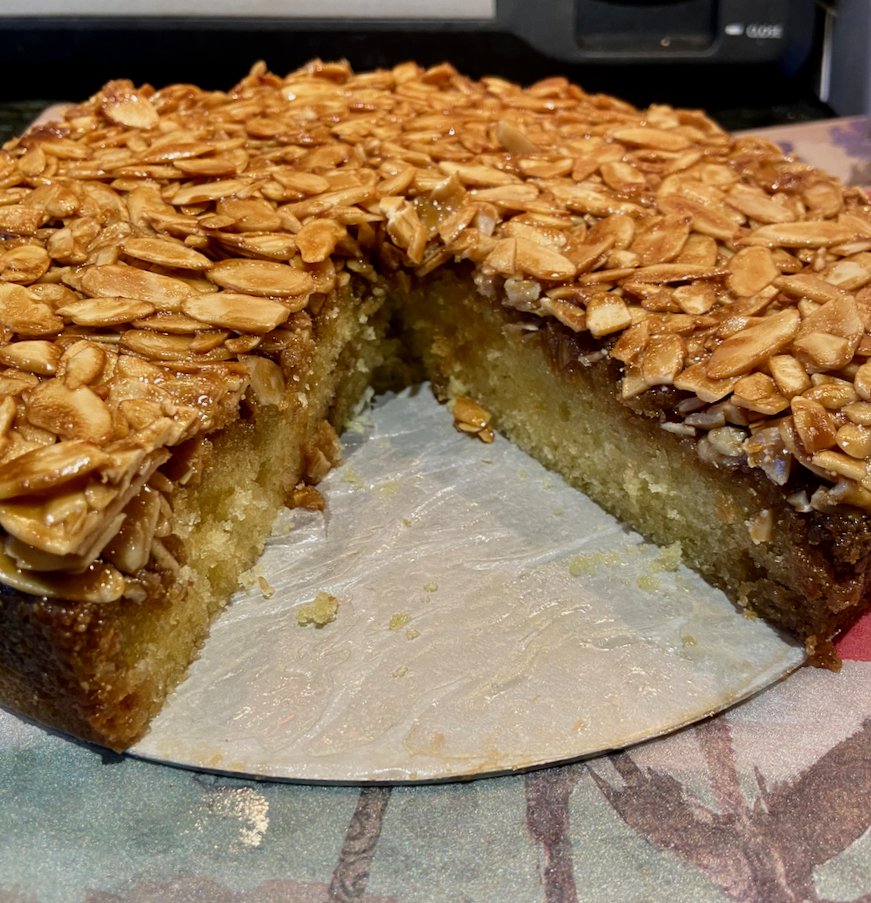
The cake is very much like a génoise but easier to make. Because it has more flour and more butter, it is denser and moister requiring no syrup. After the cake has baked fully, a butterscotch toffee with almonds is poured on top and baked for a few minutes more. It provides flavor, texture, and also extra moisture.
The cake has the softest texture within a few hours after baking but regains it perfectly if the slices are set in a 130˚F/54˚C warm oven shortly before serving.
This cake is now a permanent part of our baking repertoire!
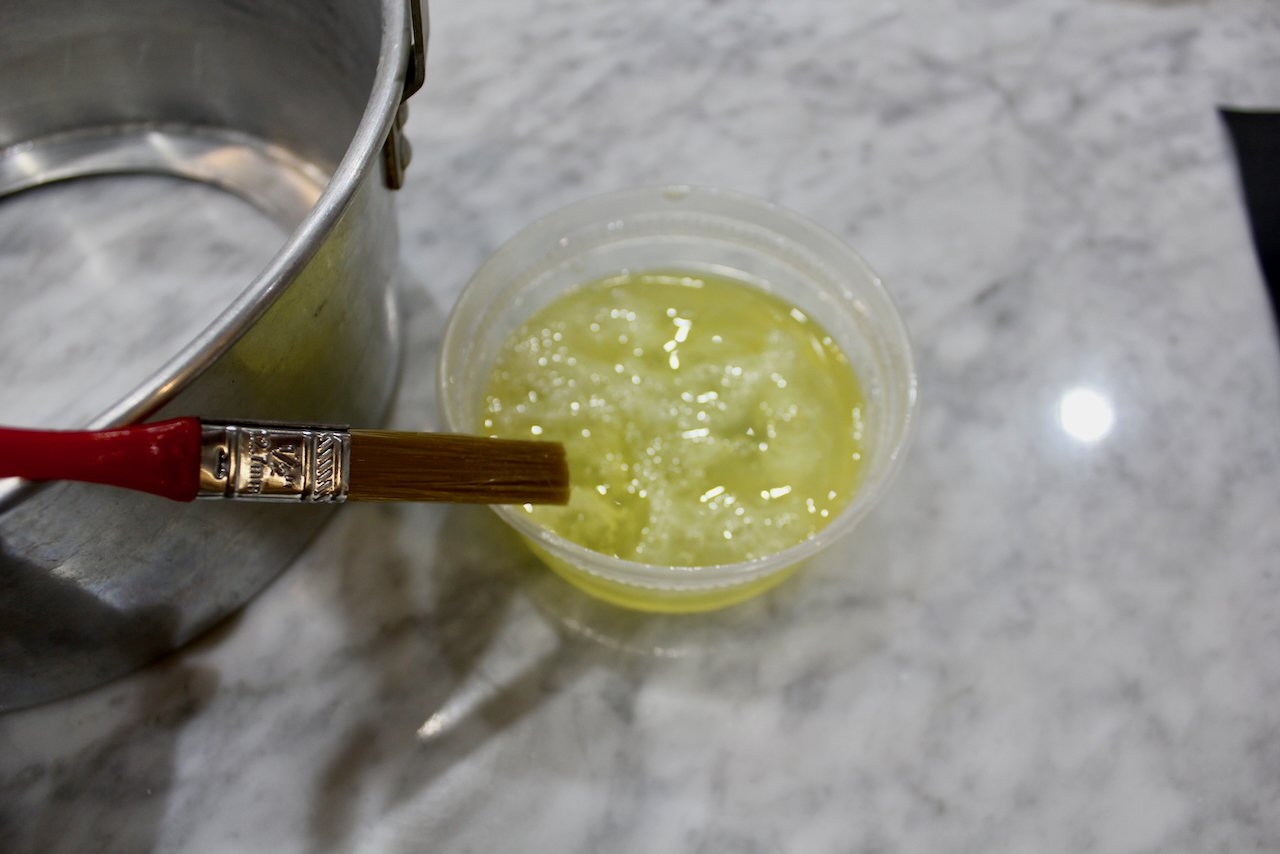
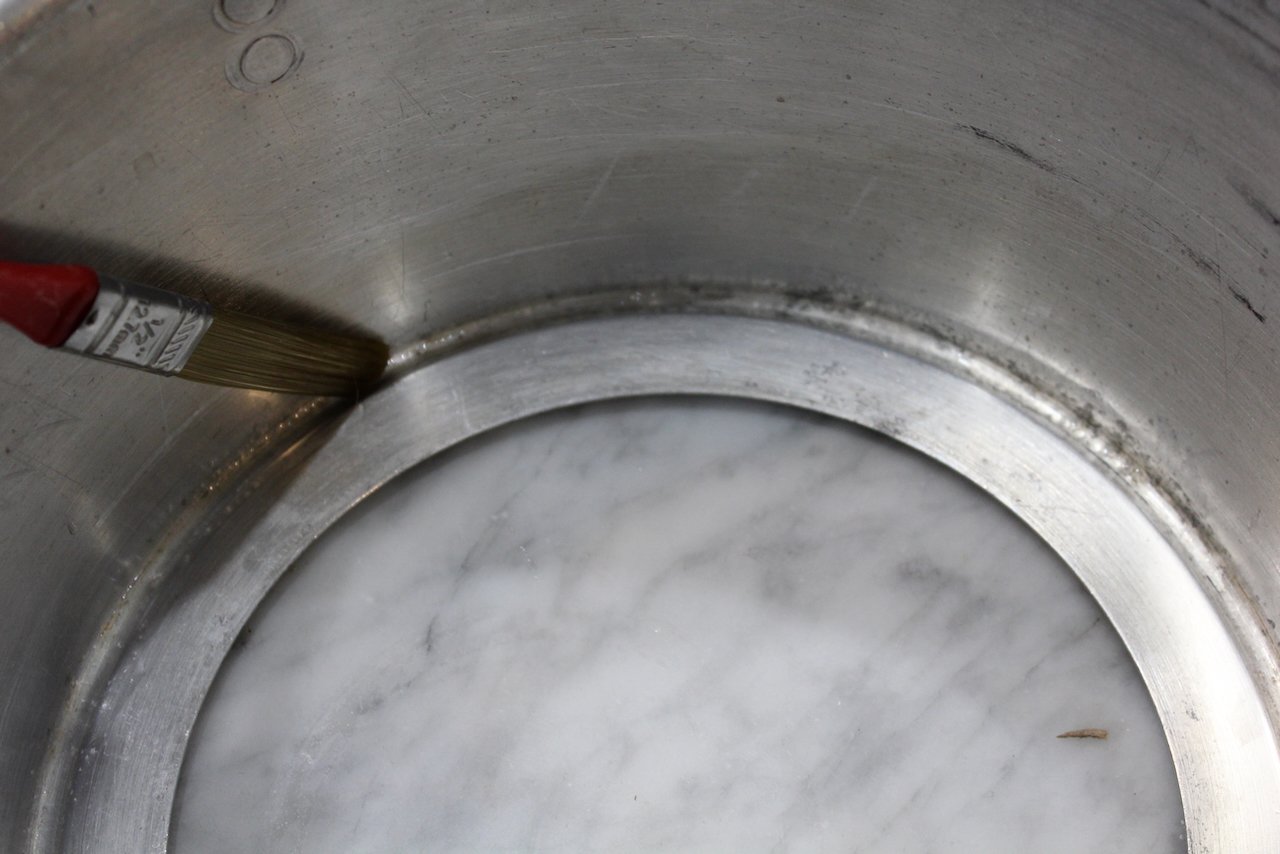
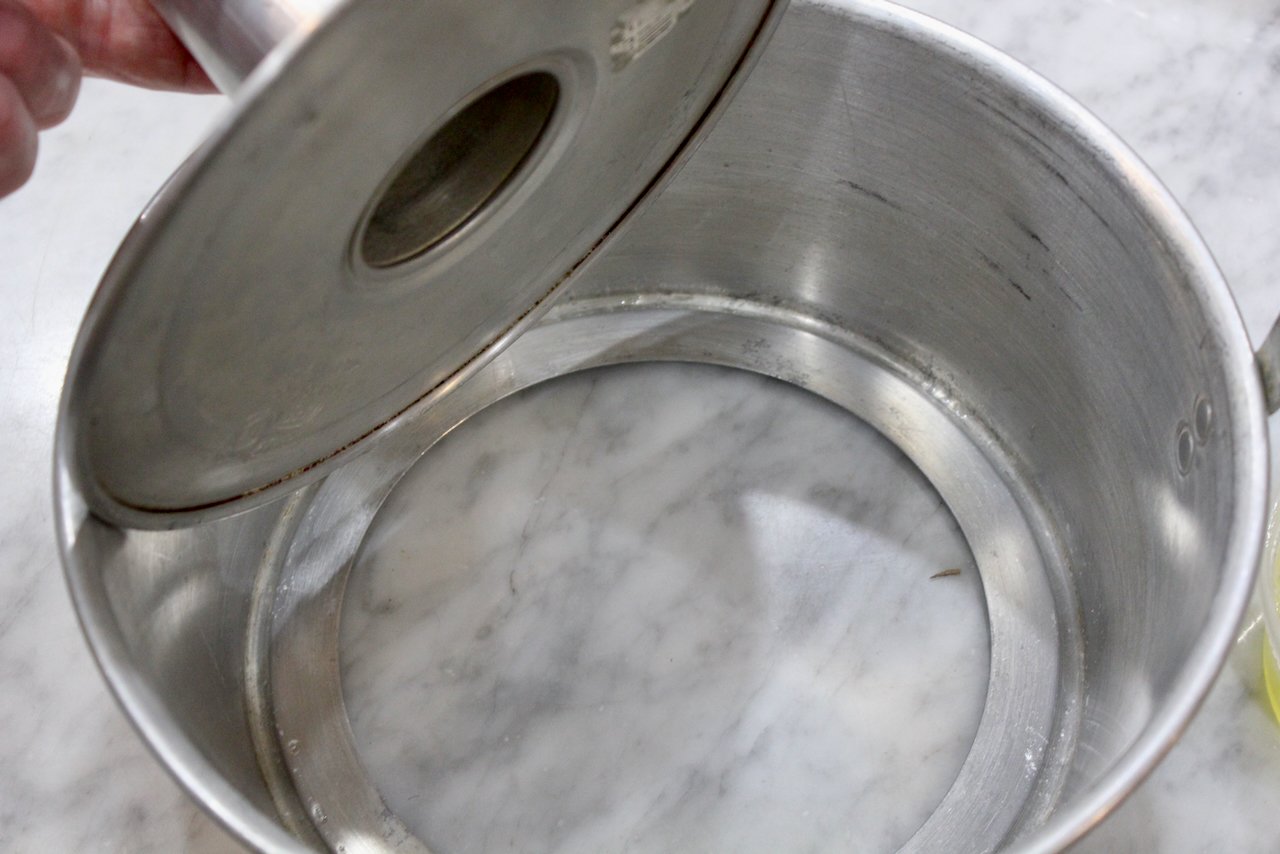
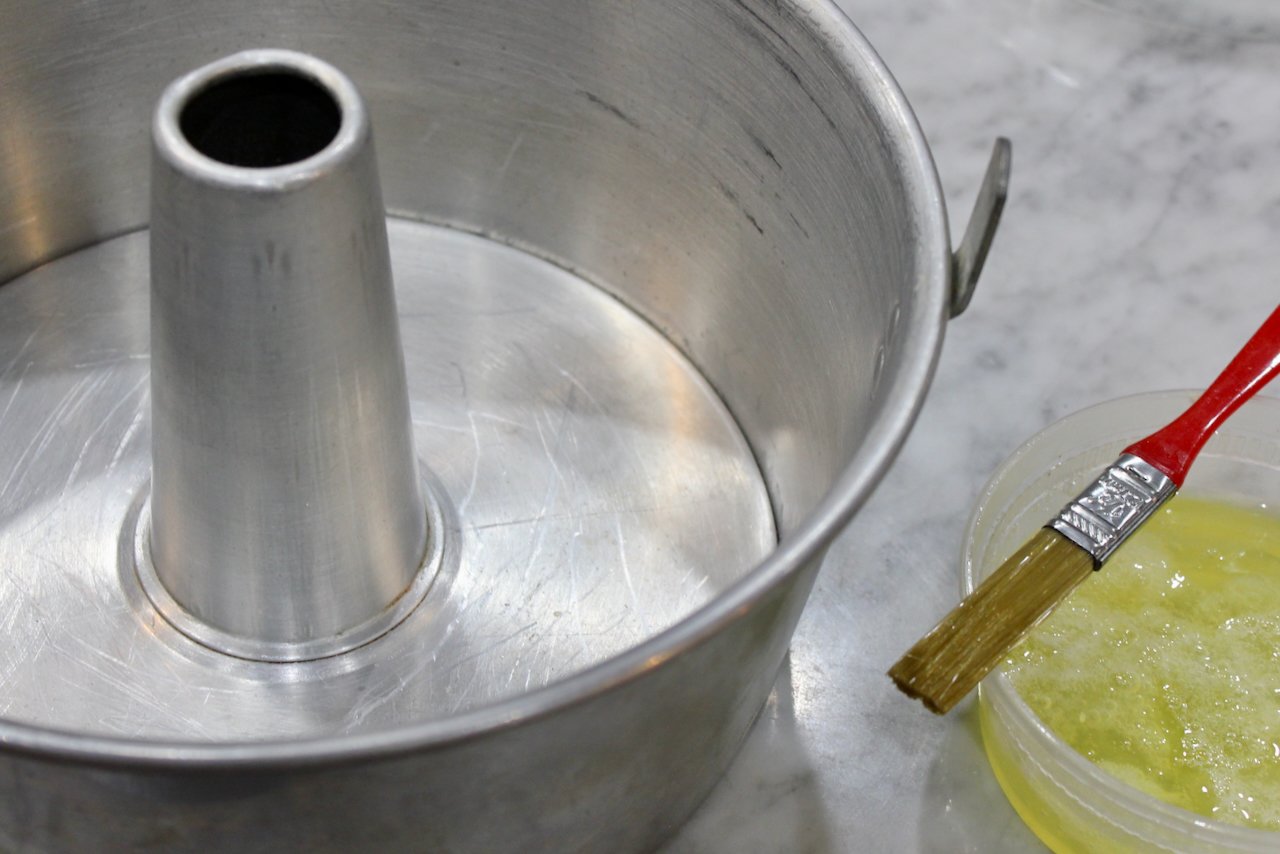
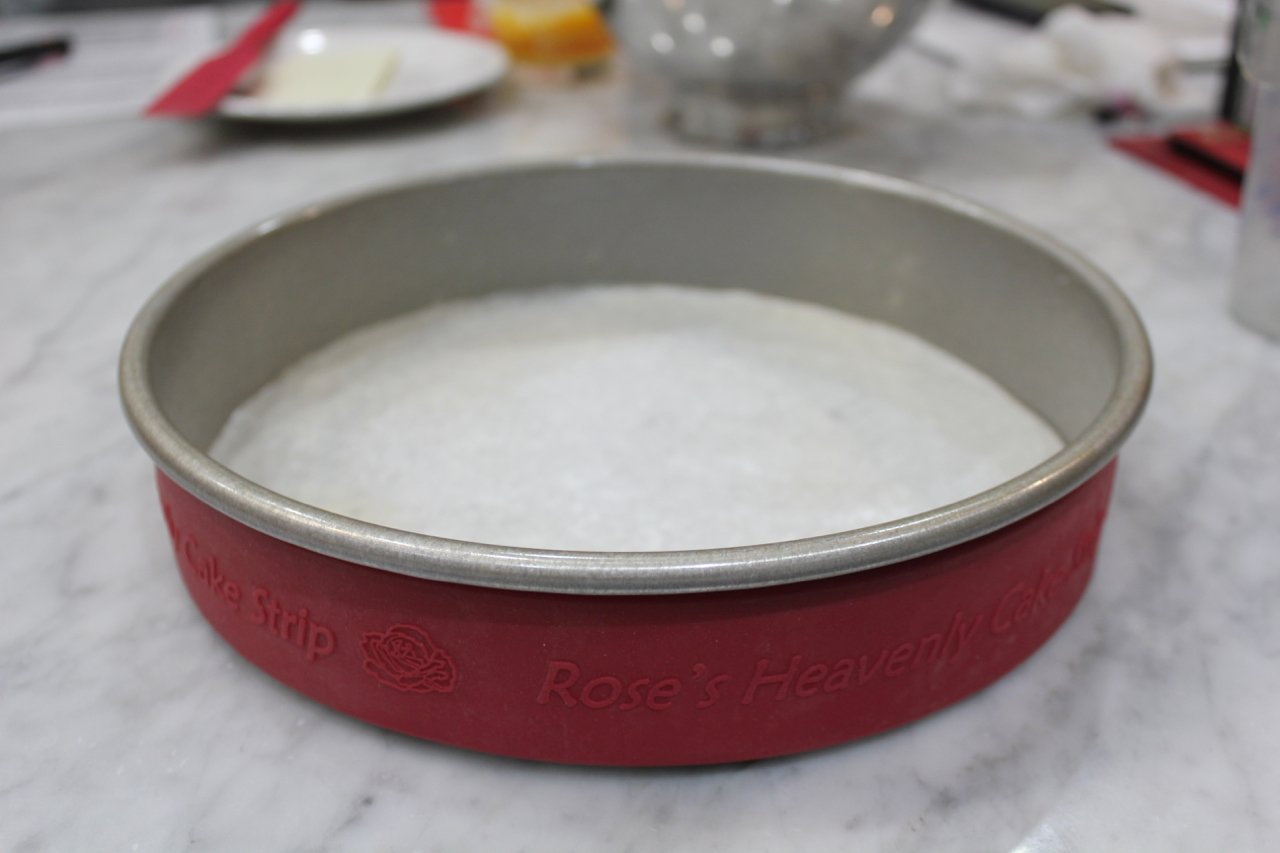
Special Equipment One 9 by 2-1/2 to 3 inch round springform pan, bottom coated with shortening, topped with a parchment round, ten well-coated with baking spray with flour
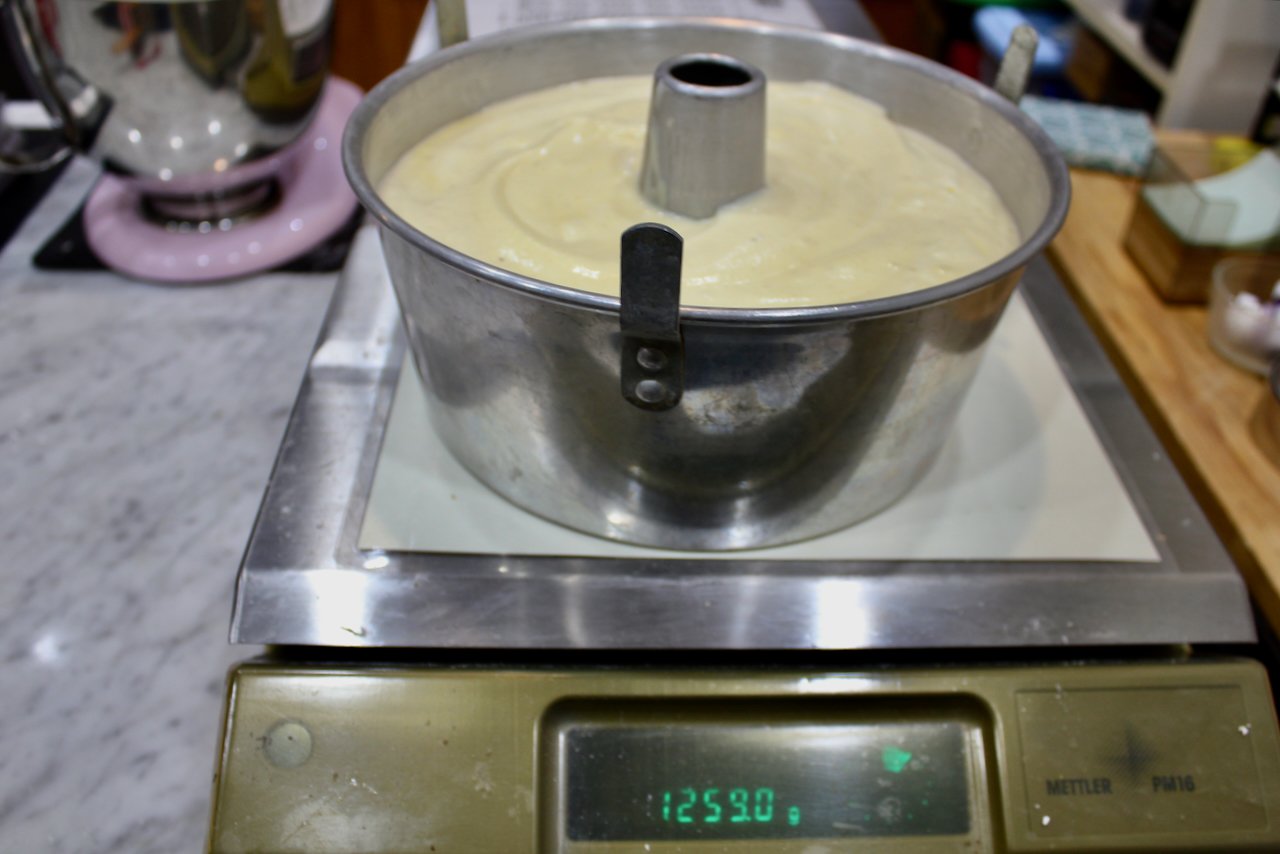
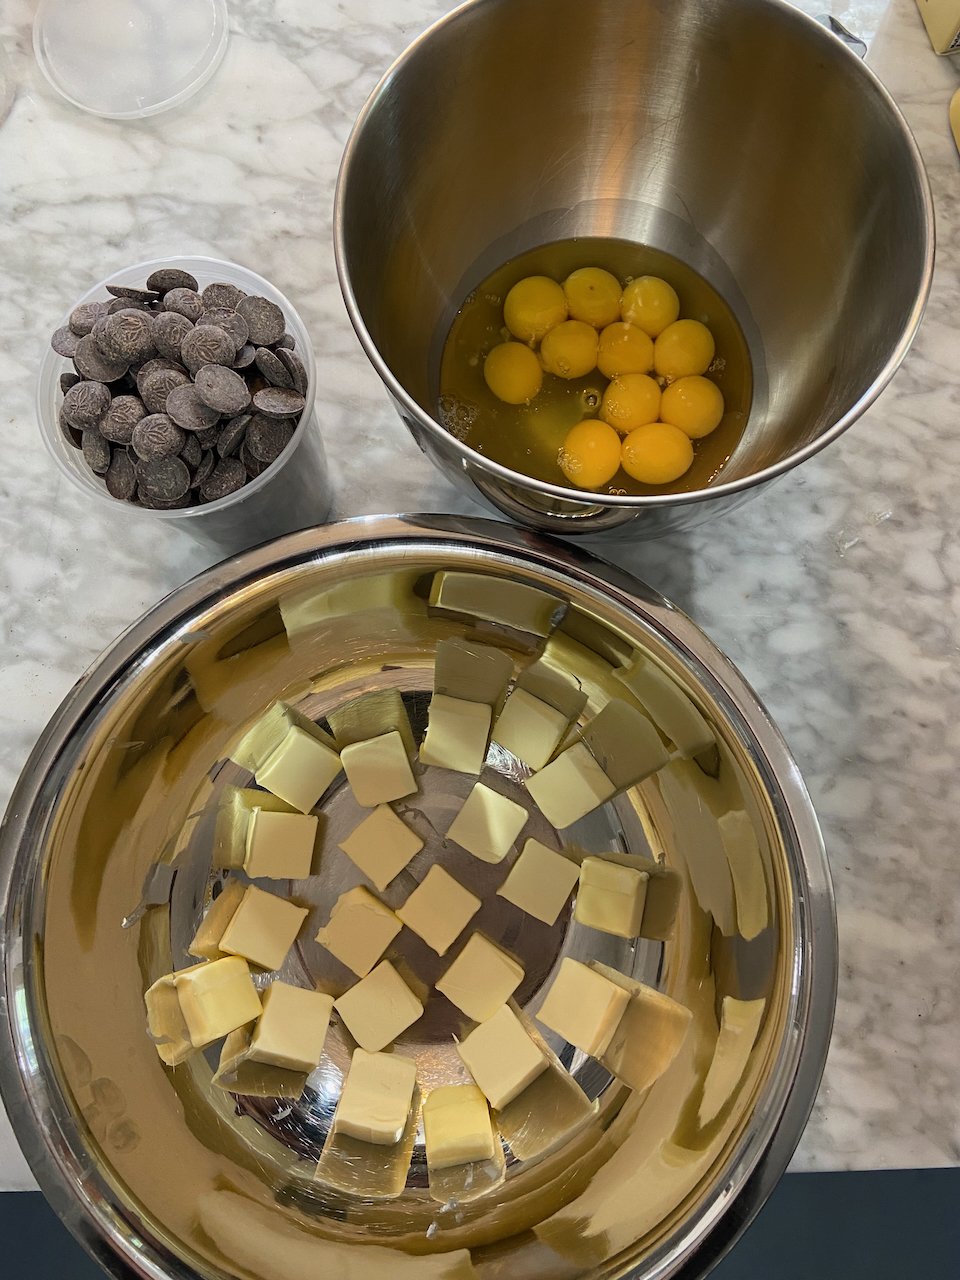
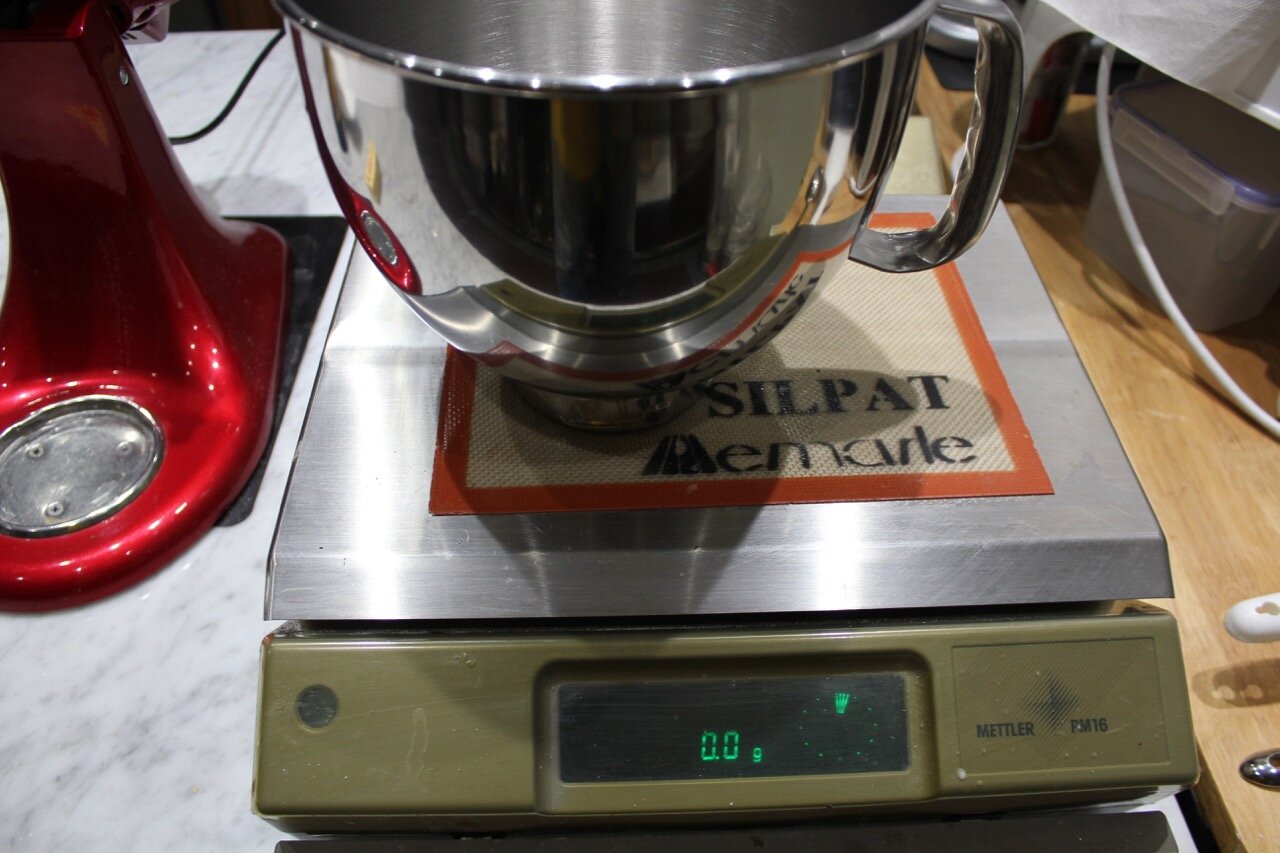
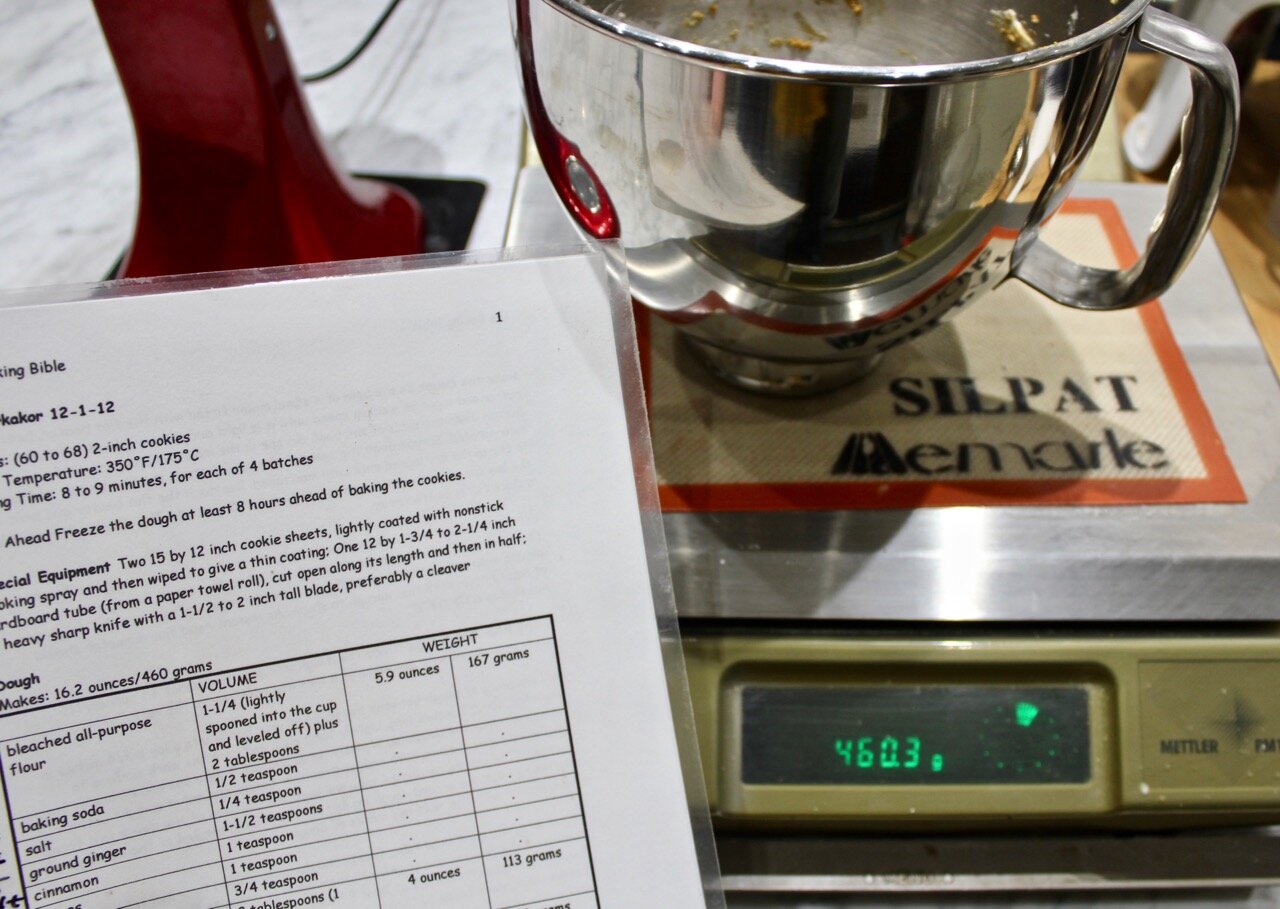
Batter: 600 grams / eggs & butter at room temperature

Caramel Topping: 450 grams

Preheat the Oven Twenty minutes or longer before baking, set an oven rack in the lower third of the oven. Set the oven at 325°/160°C.
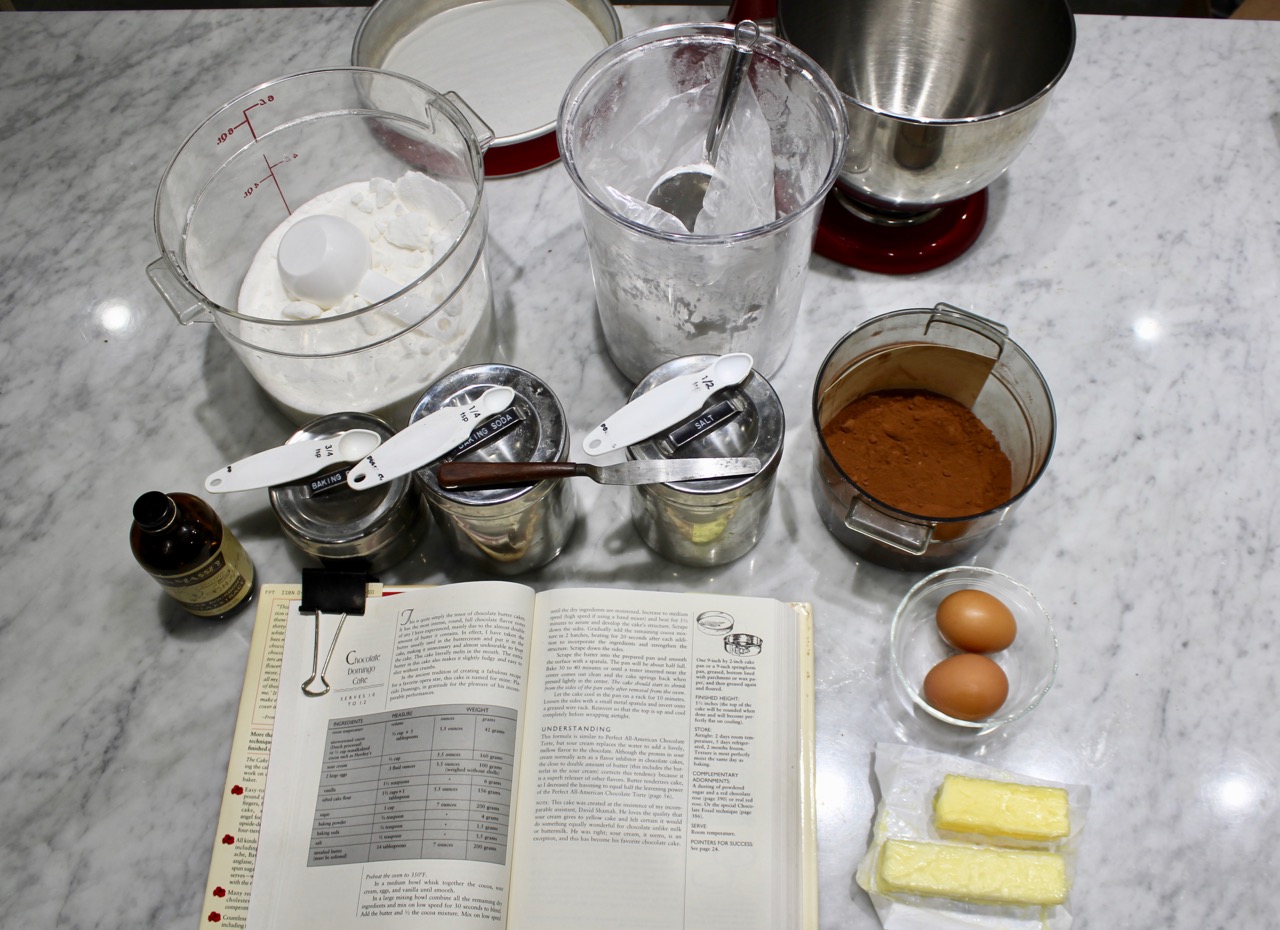
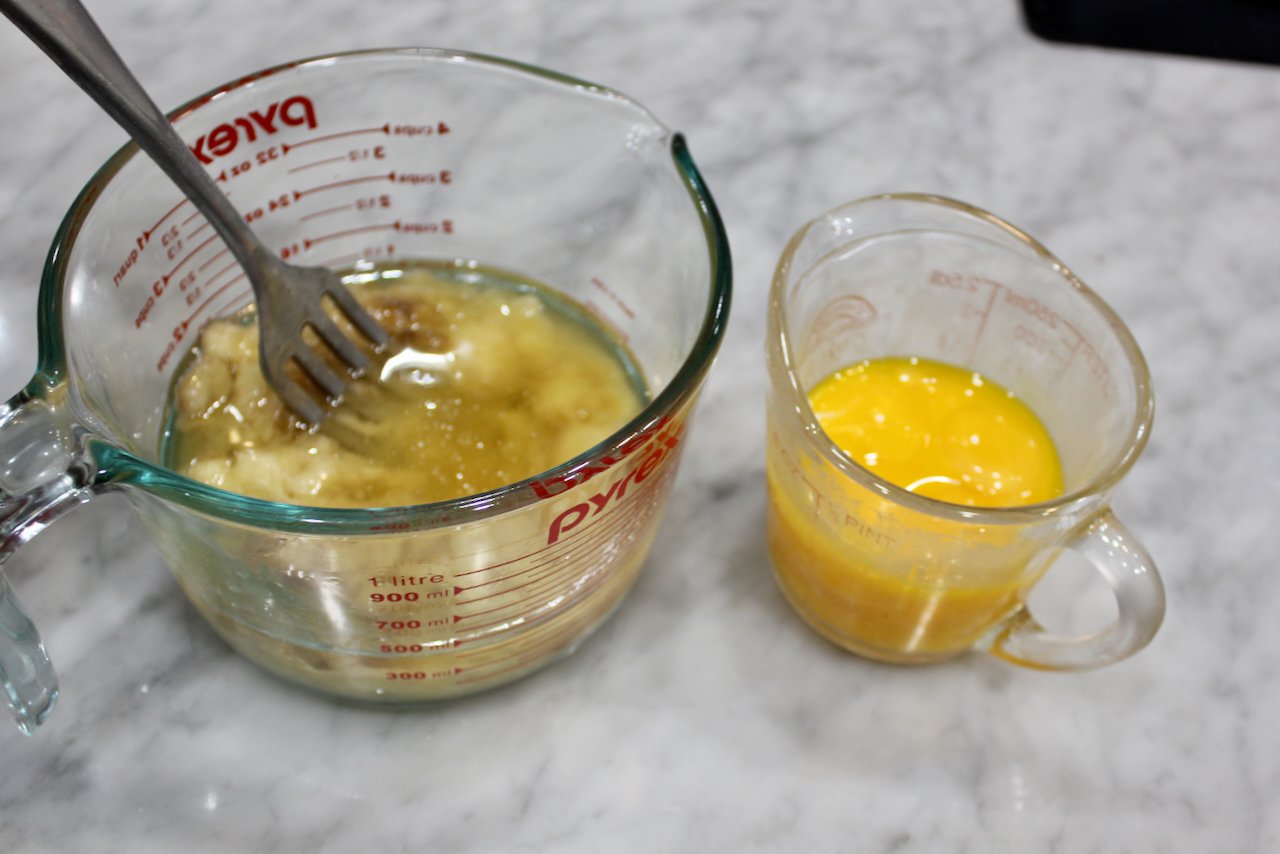
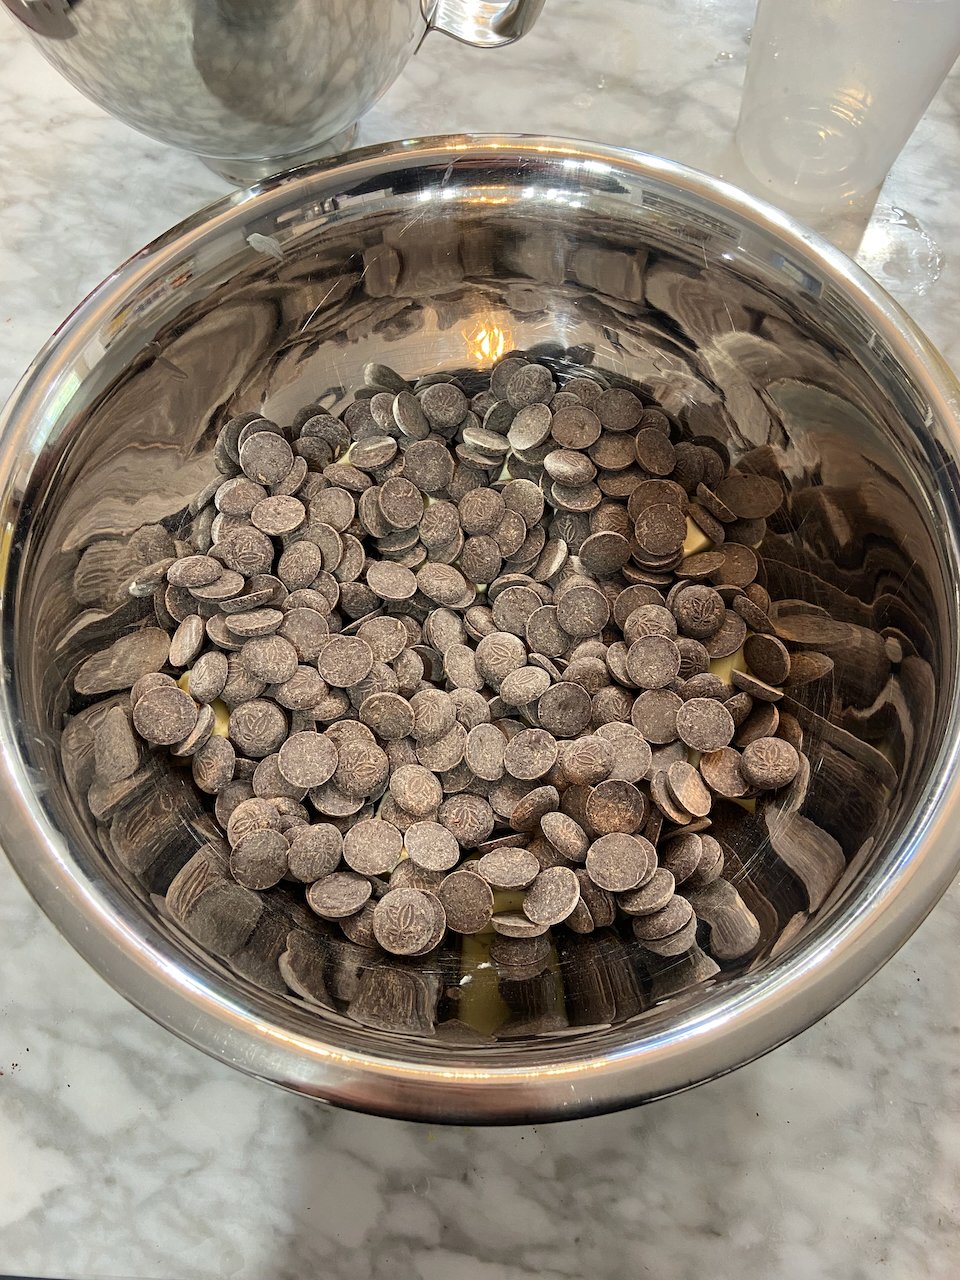
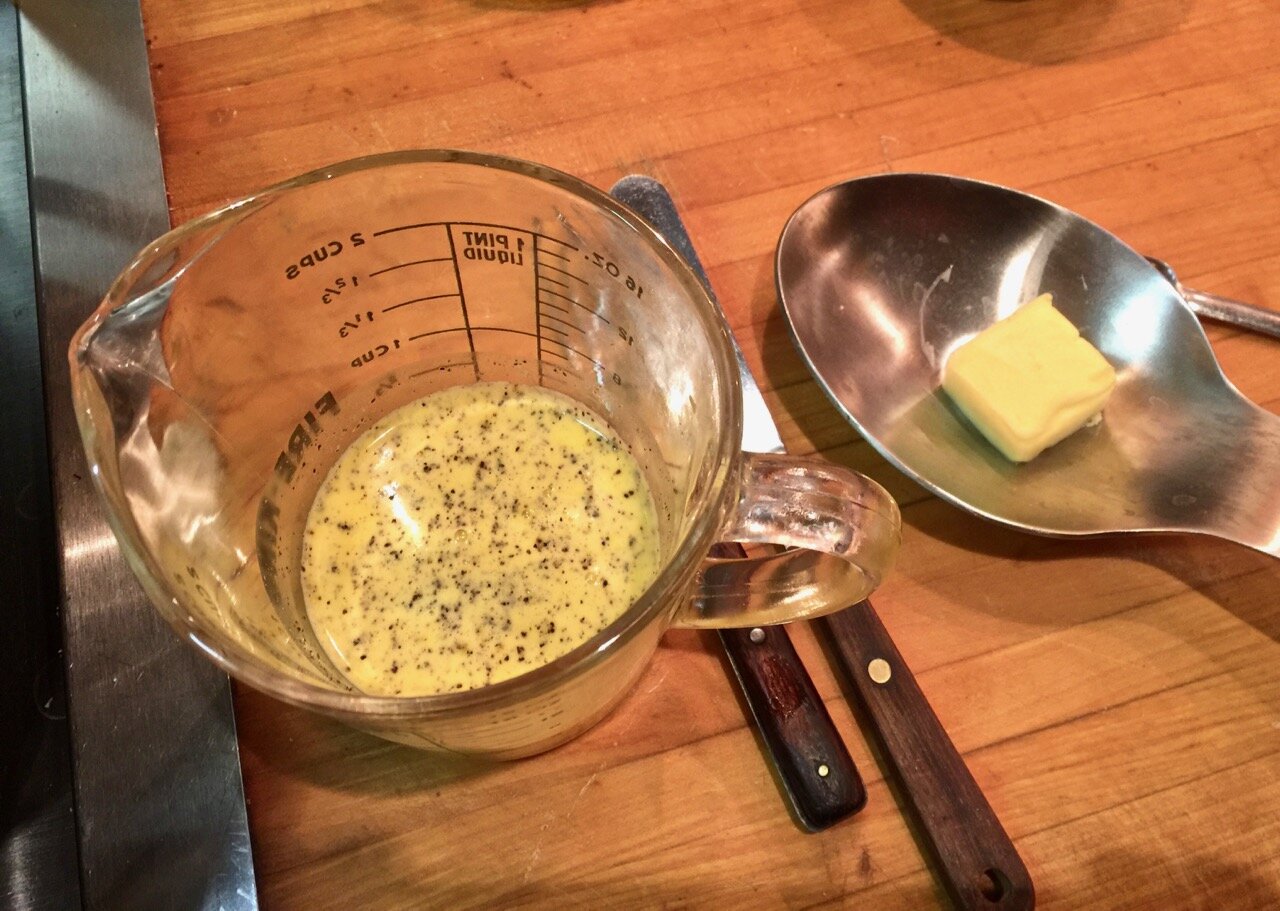
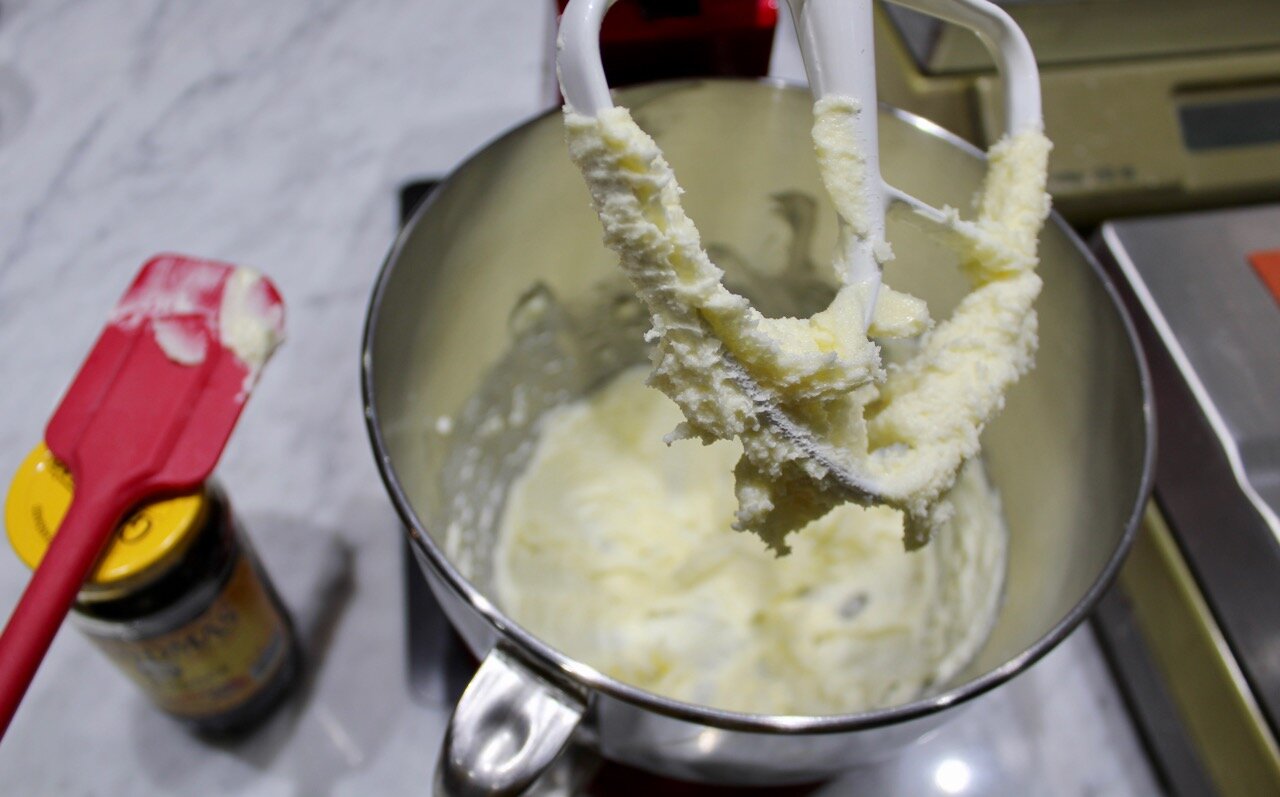
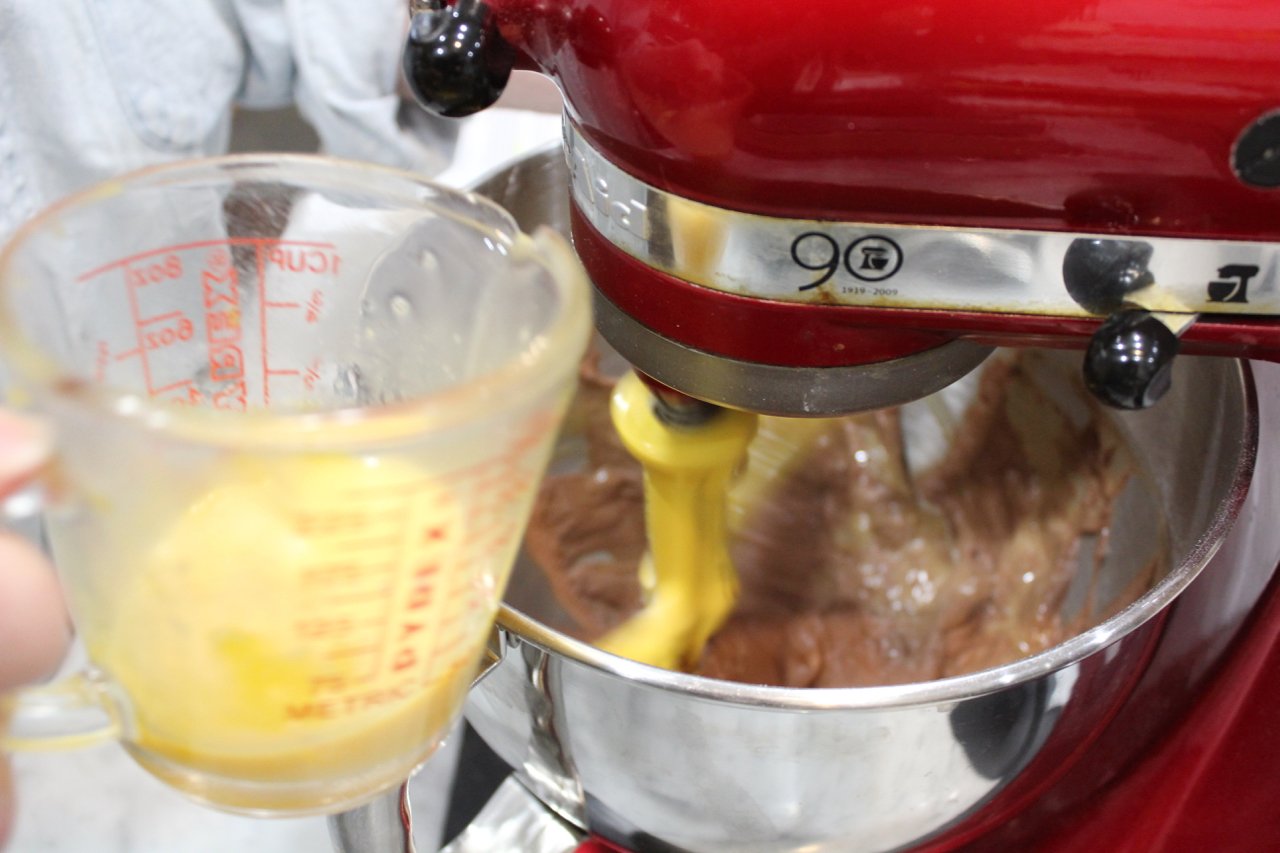
Melt the Butter In a 1 cup/237ml glass measure with a spout, place the 76 grams of butter for the batter. Melt the butter in a microwave and then cool it to room temperature.
** Toast the Almonds for the Topping Spread the almonds evenly on a baking sheet and bake for about 7 minutes, or until pale gold. Stir once or twice to ensure even toasting and prevent overbrowning. Cool completely.
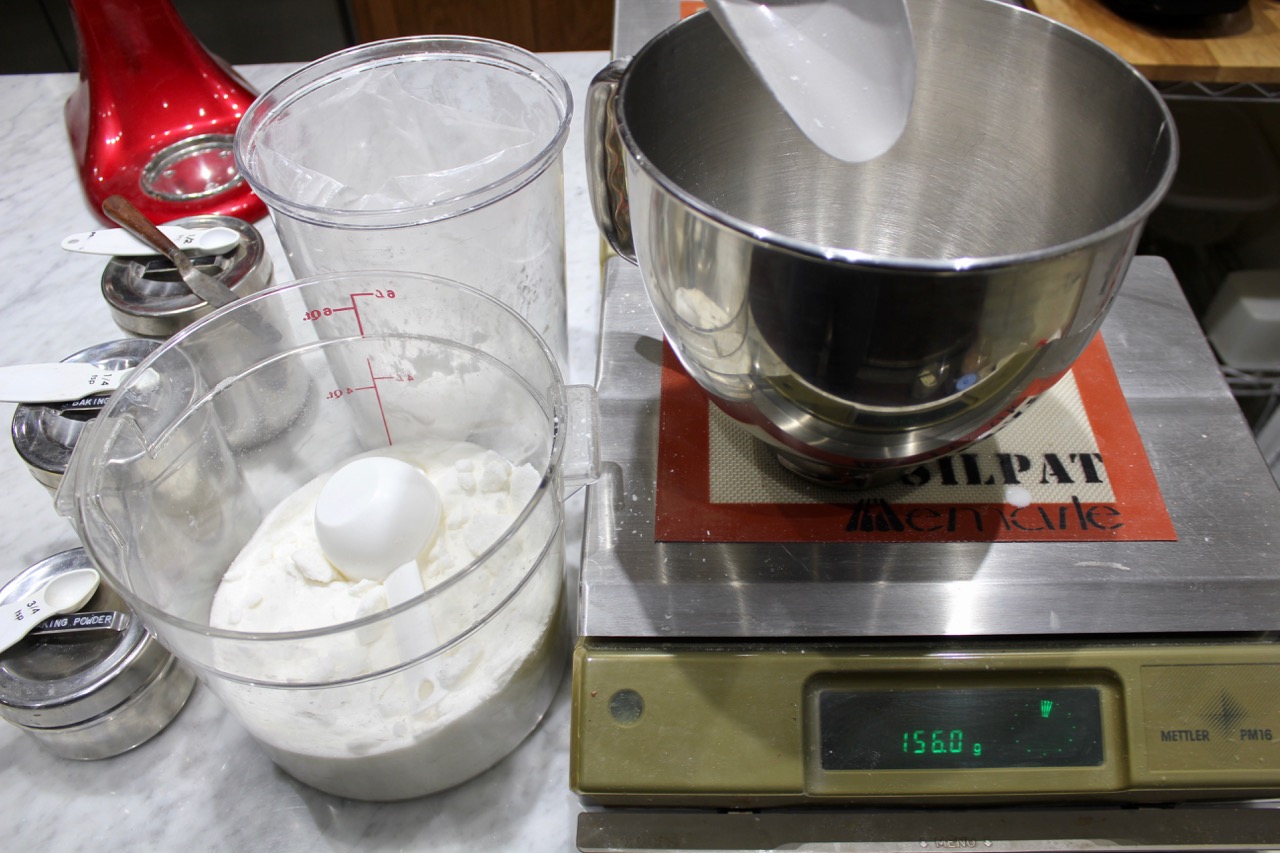
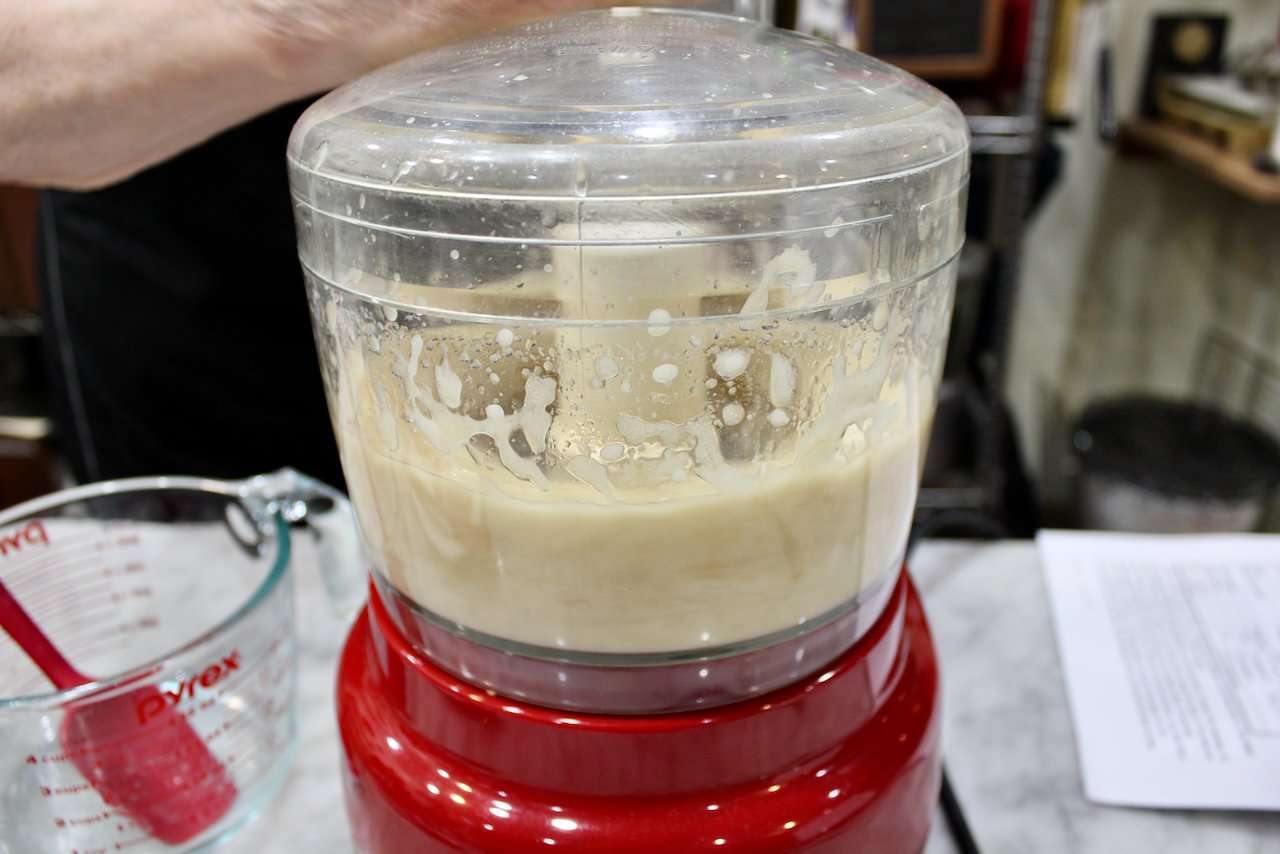
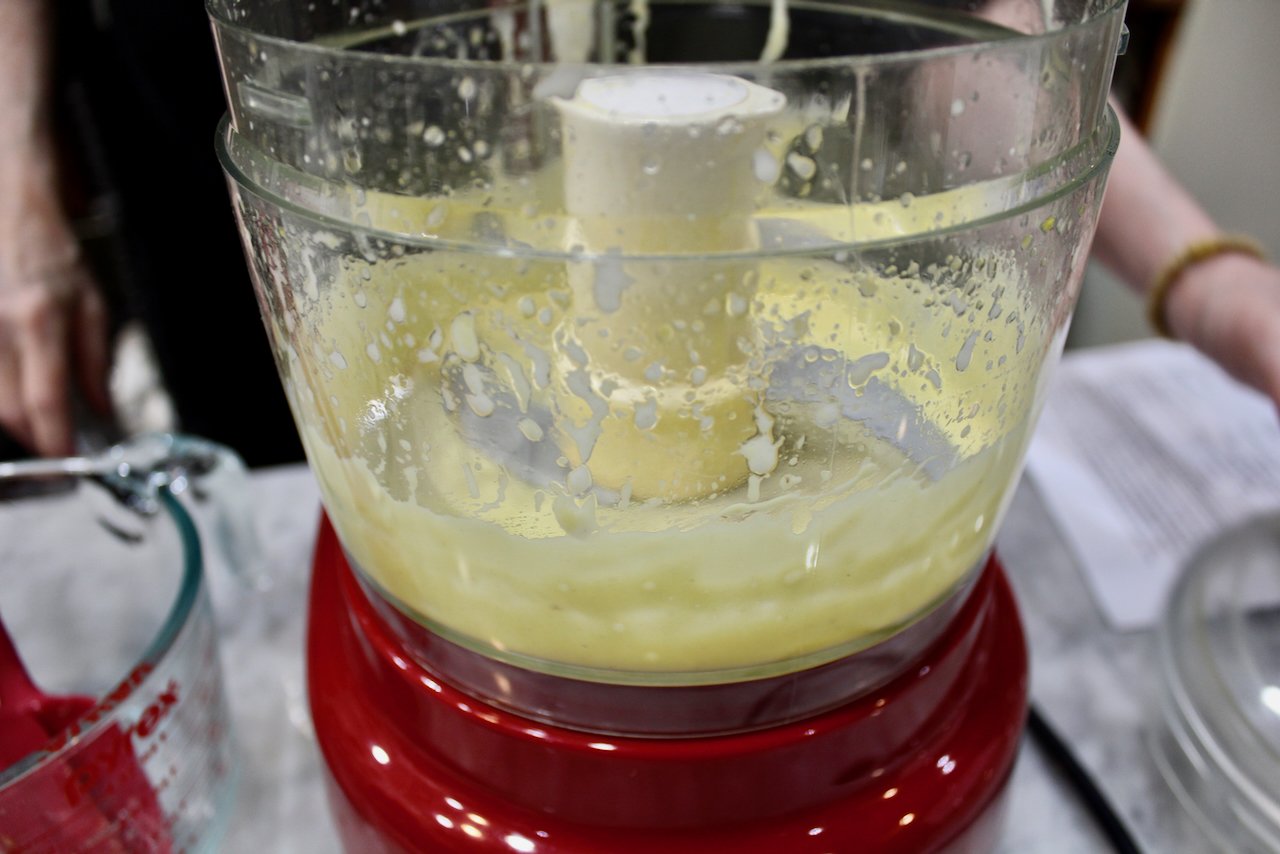
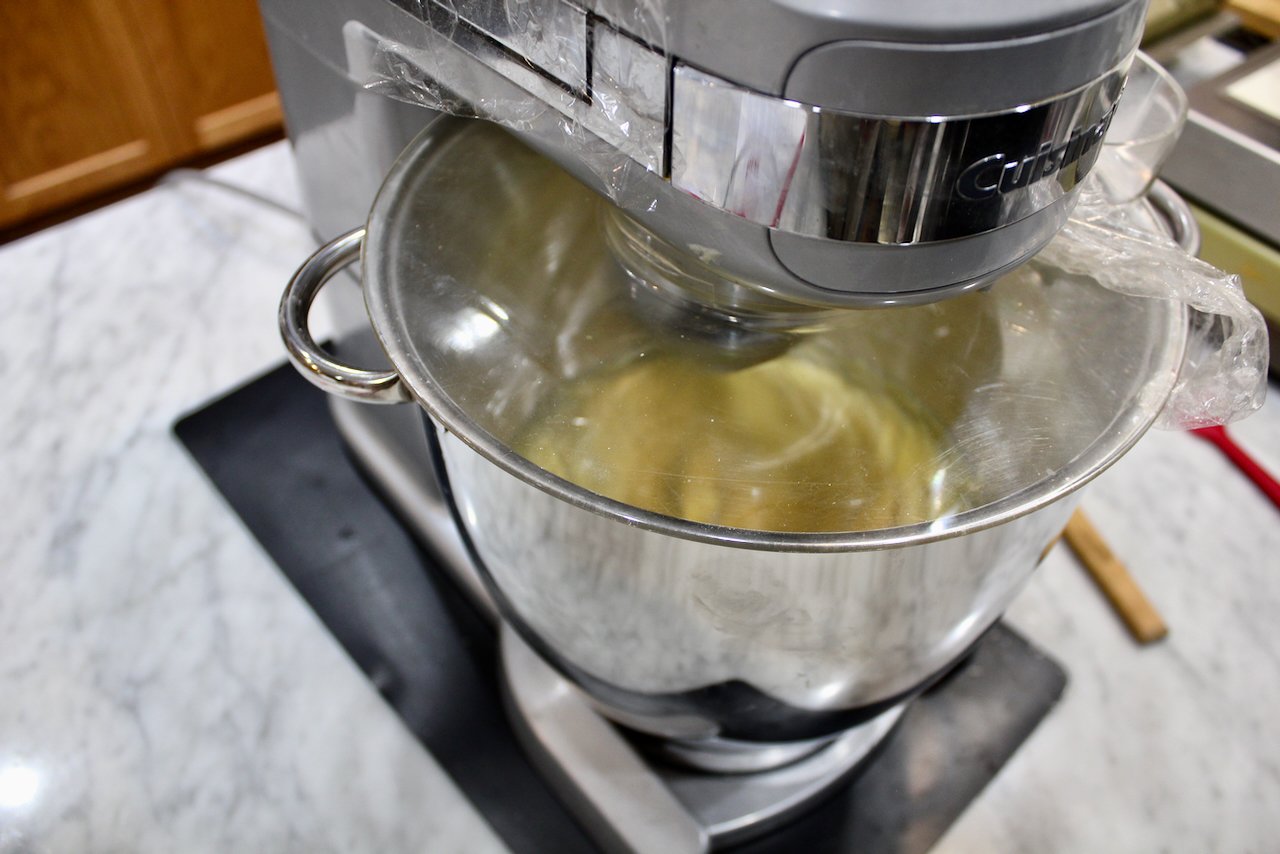
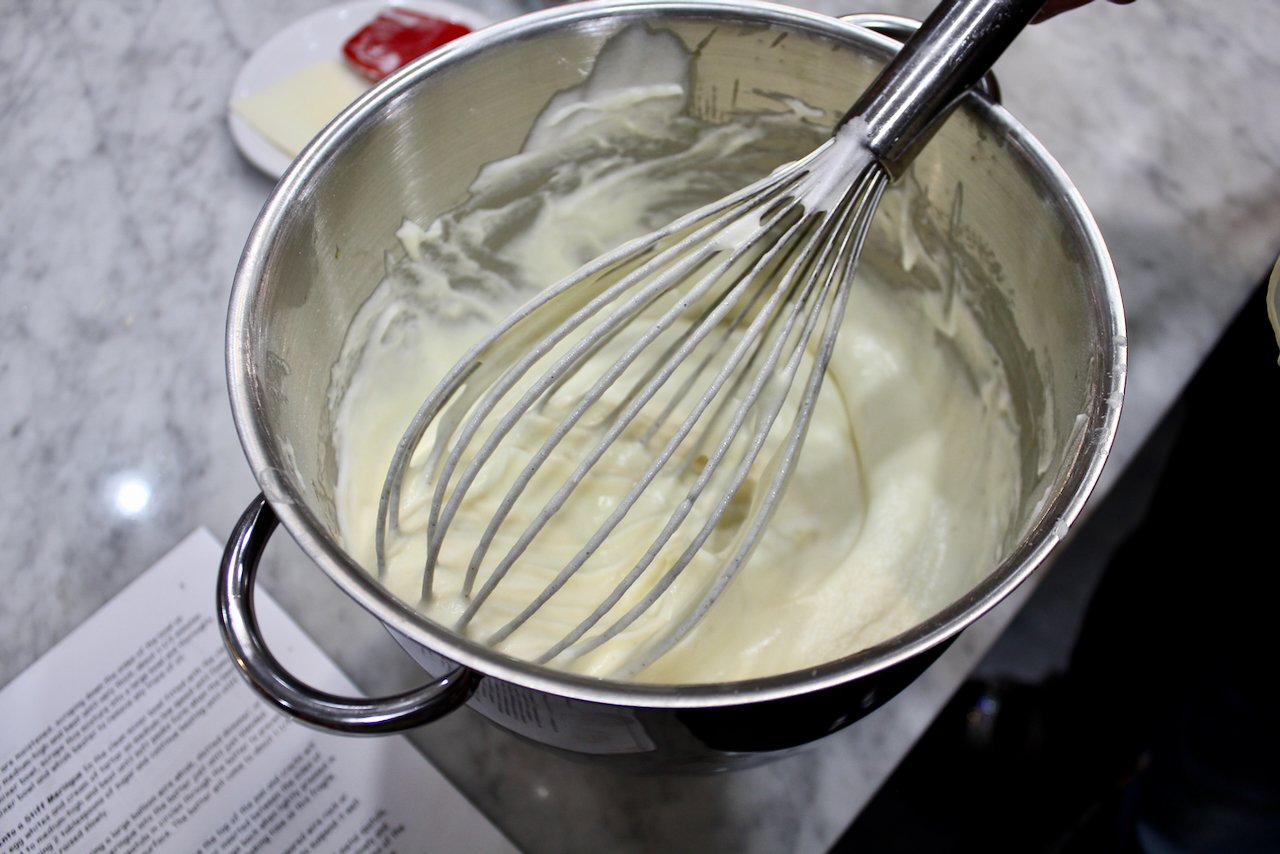
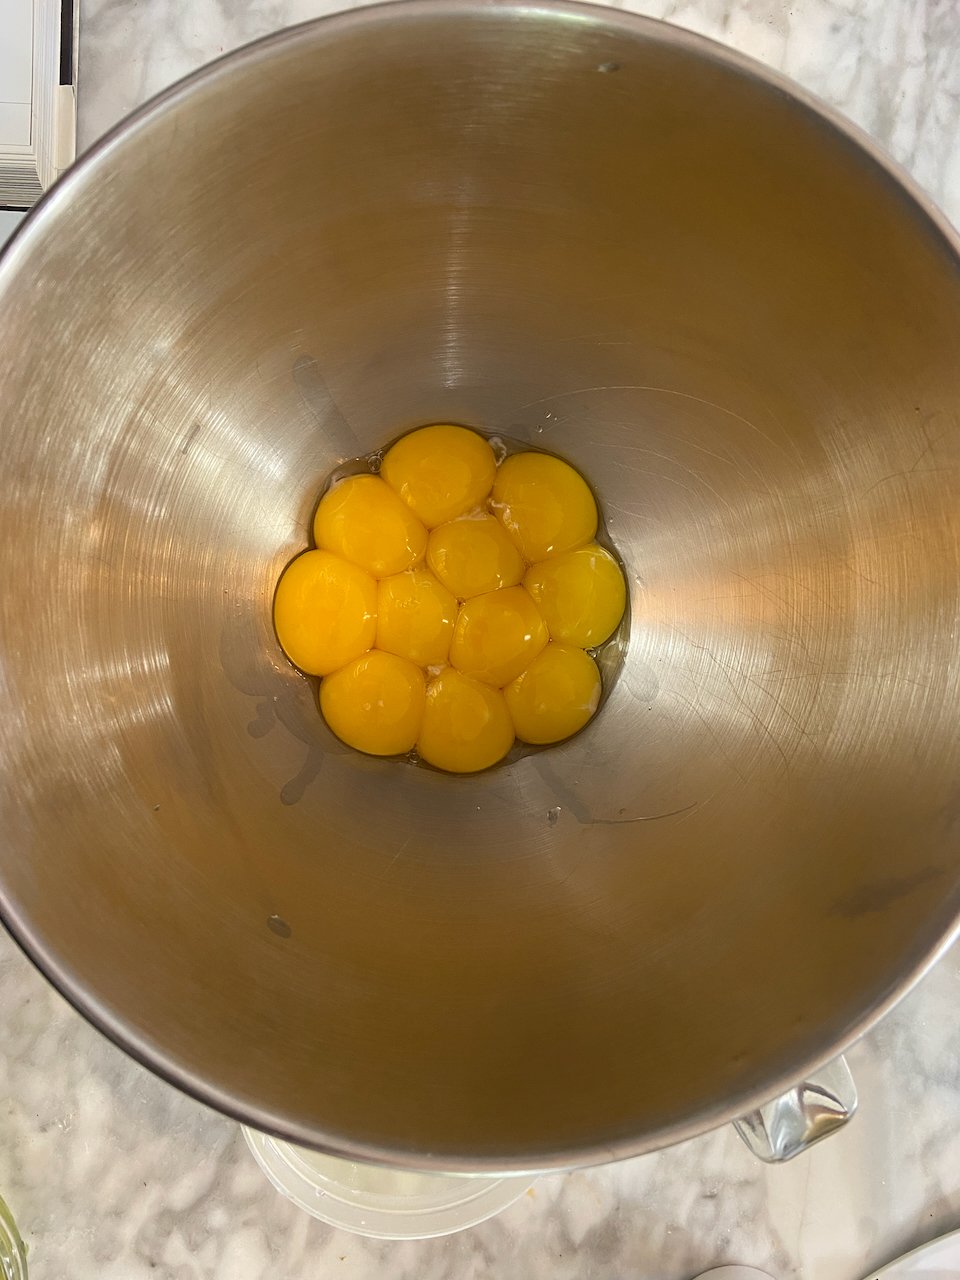
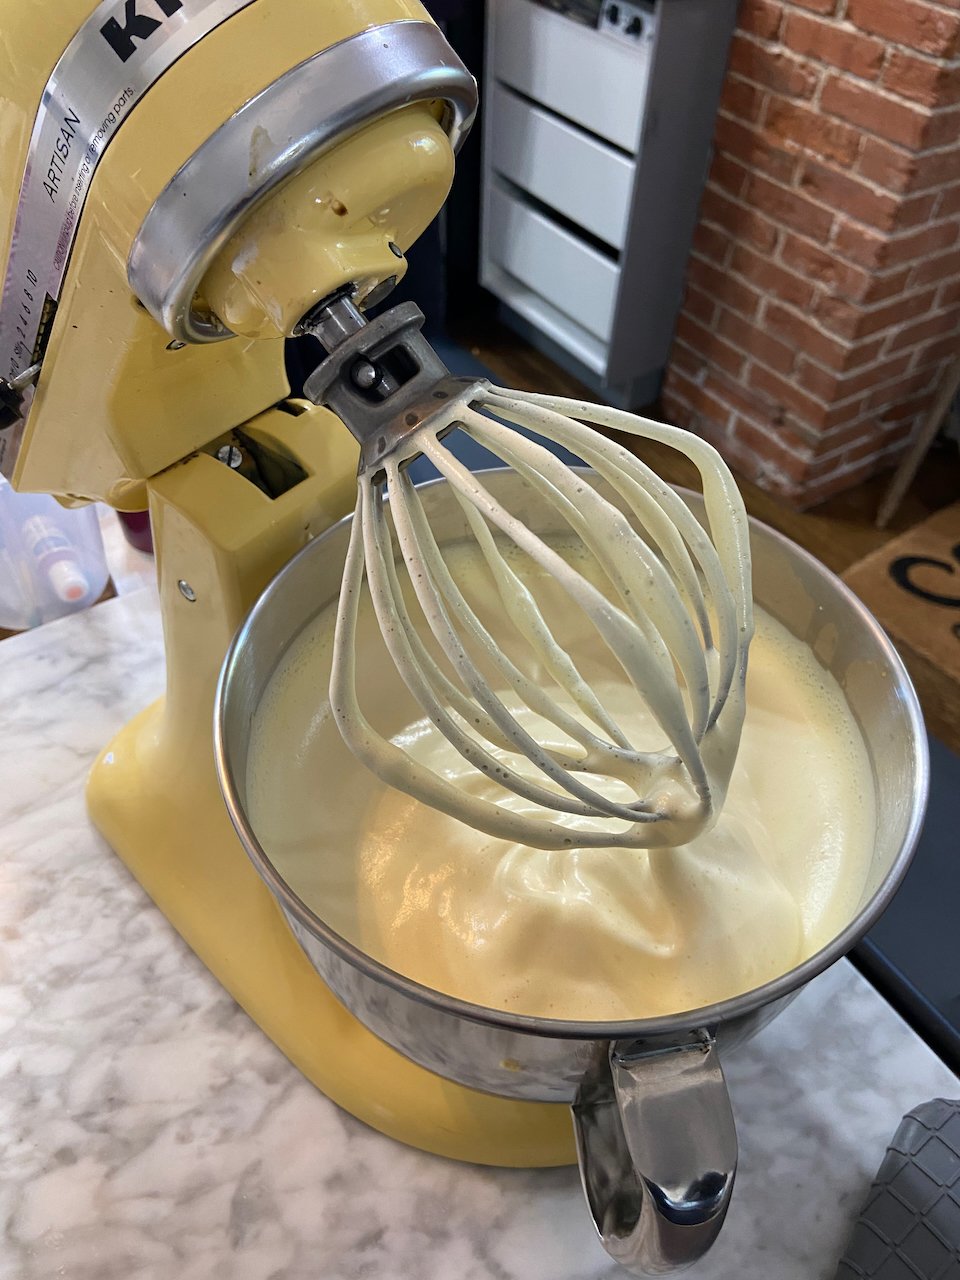
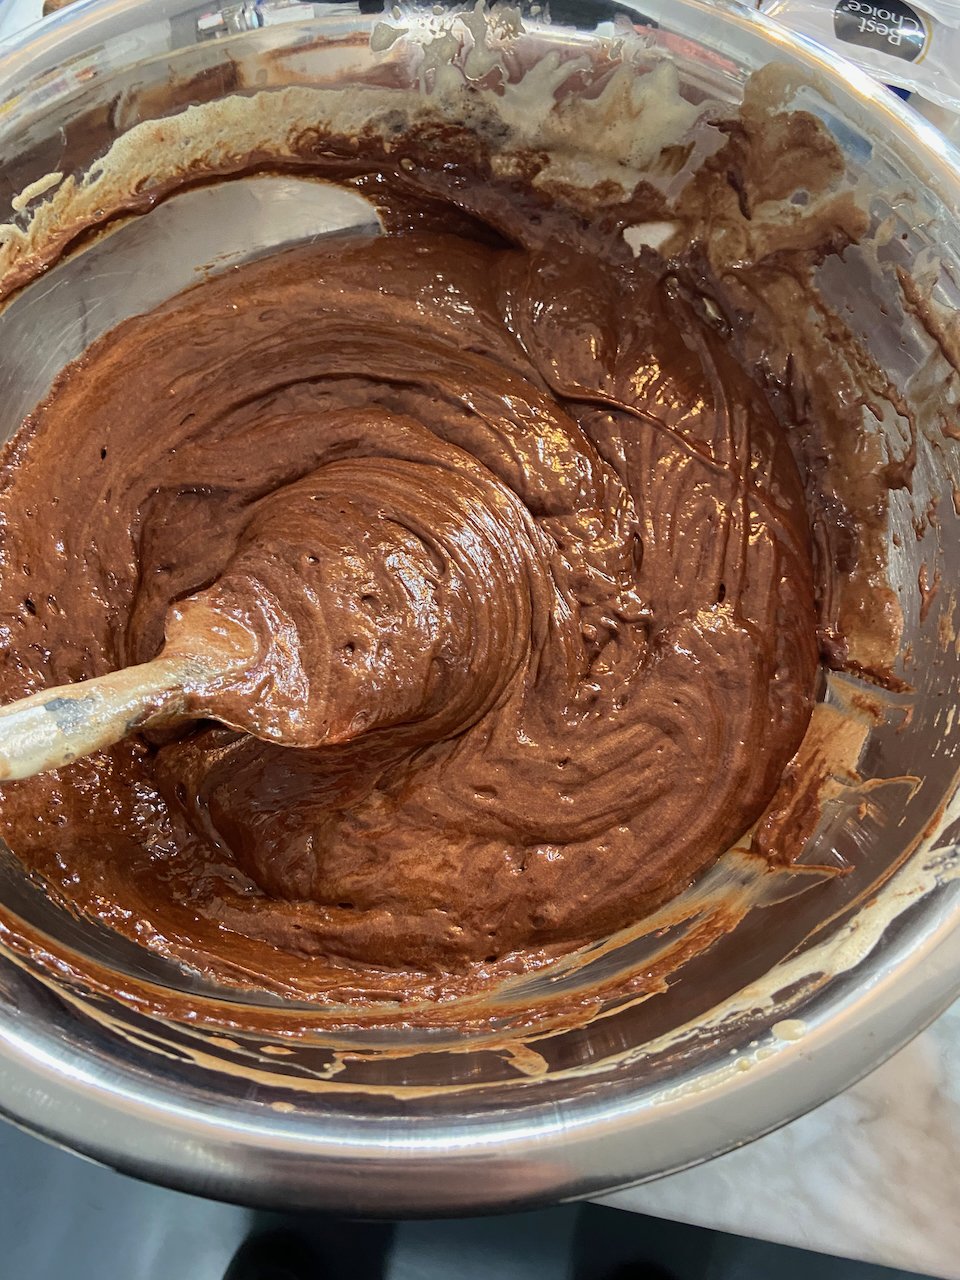
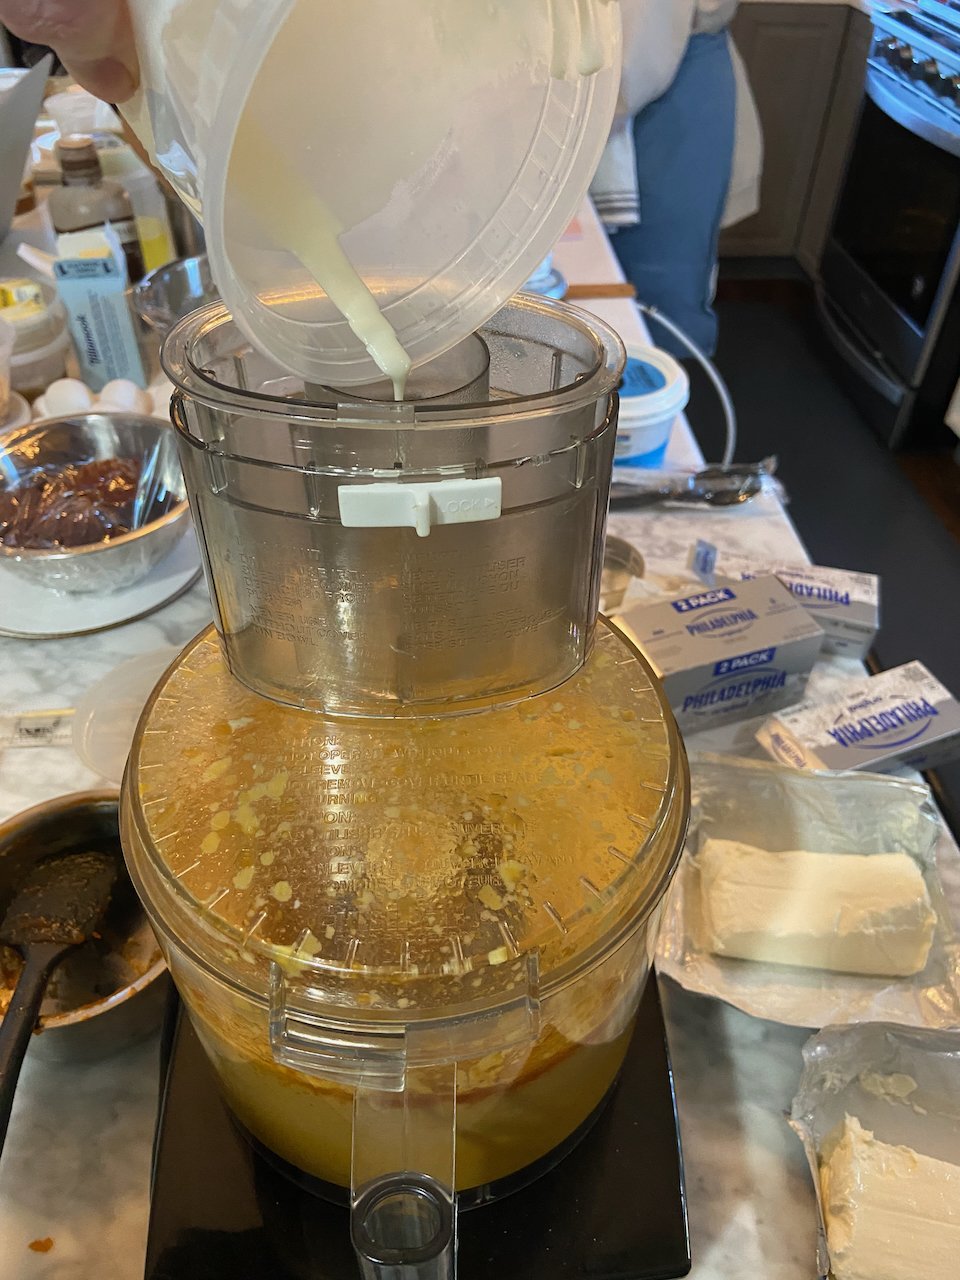
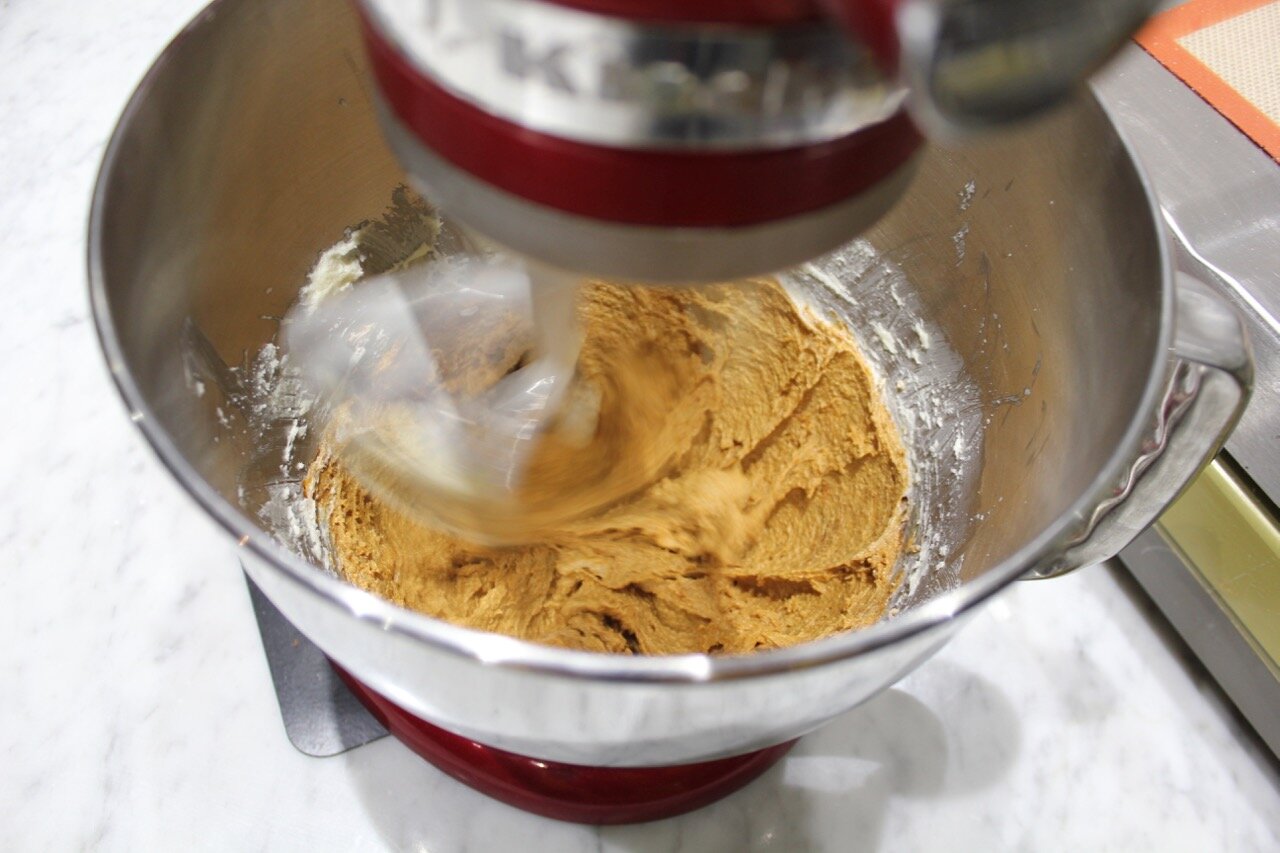
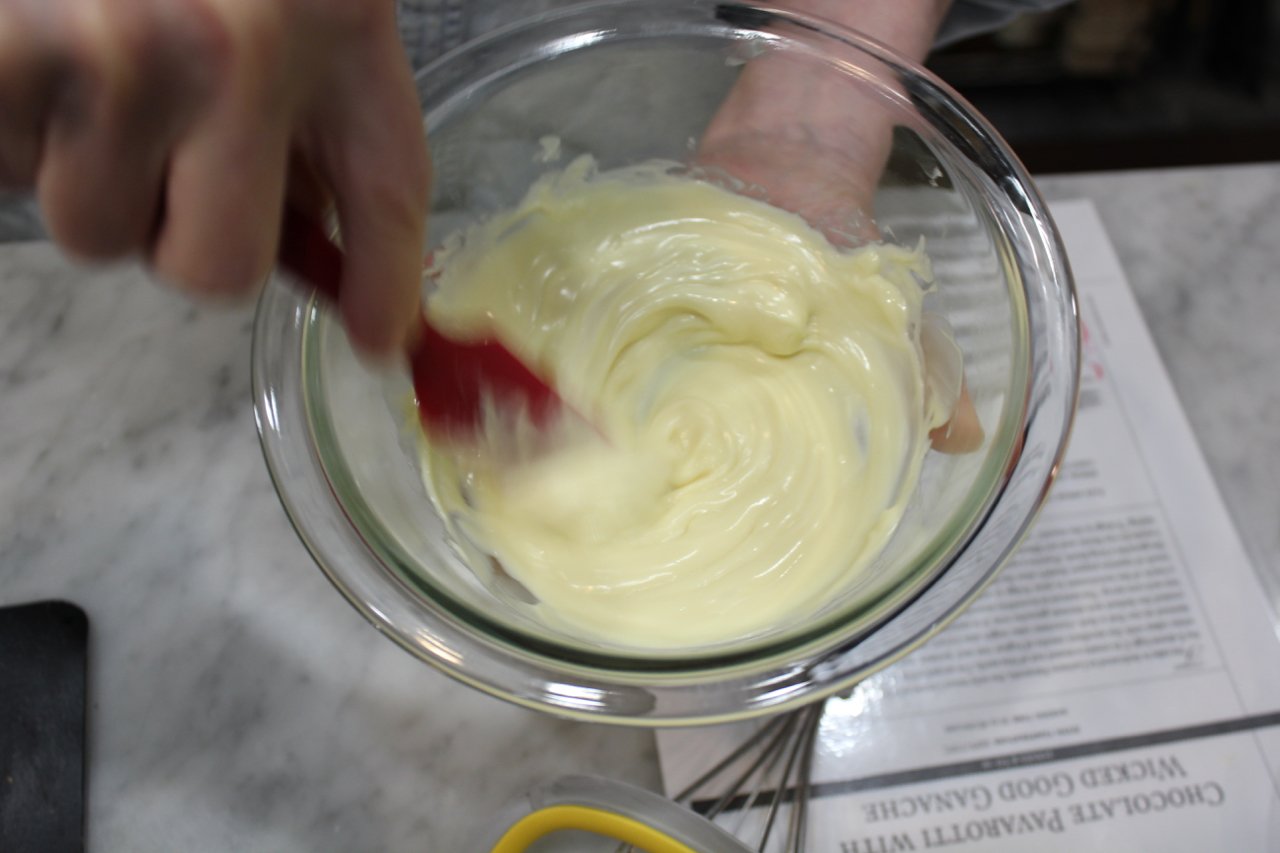
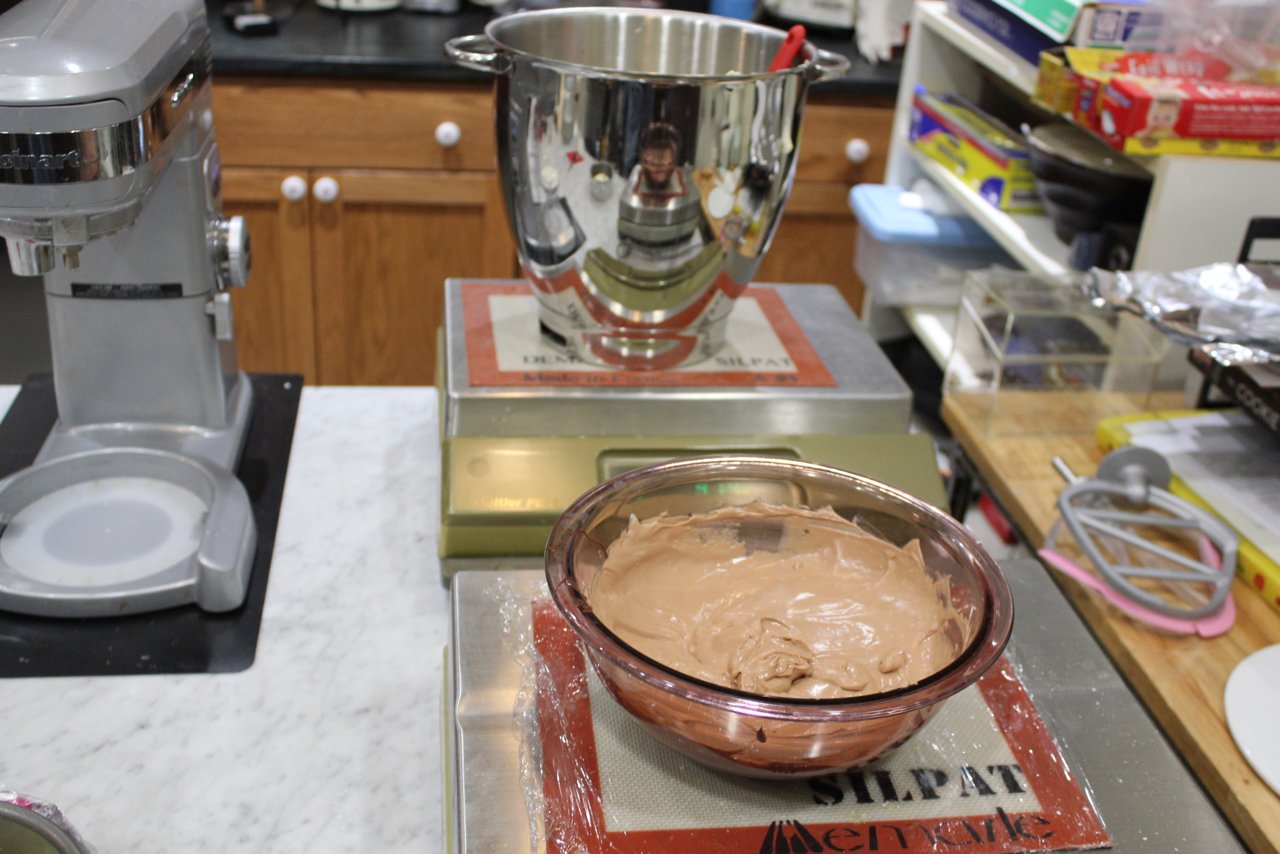
Make the Batter In the bowl of a stand mixer fitted with the whisk beater, beat the eggs, sugar, and vanilla on high speed for 5 minutes. The mixture should be a creamy color and very thick (when you remove the whisk, the trail should stay visible for at least 5 seconds).
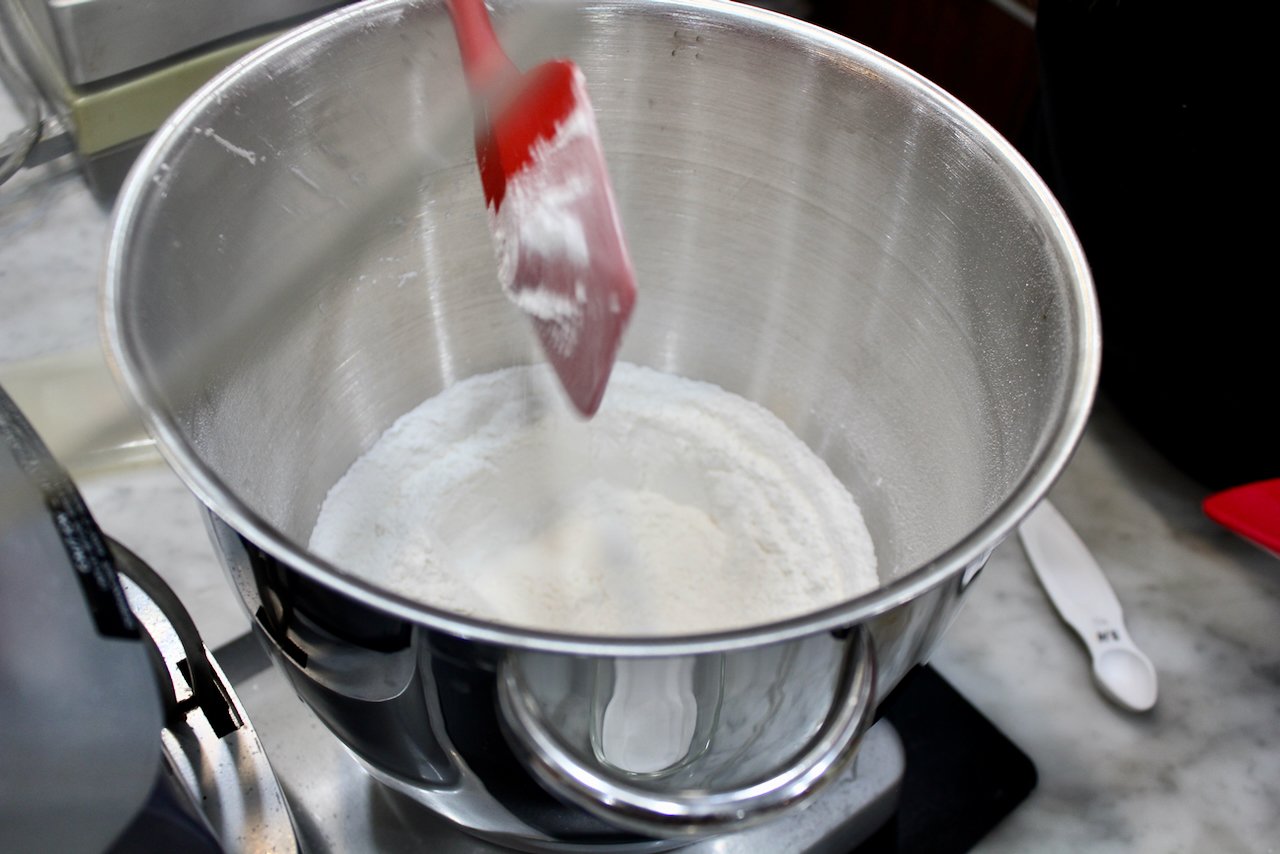
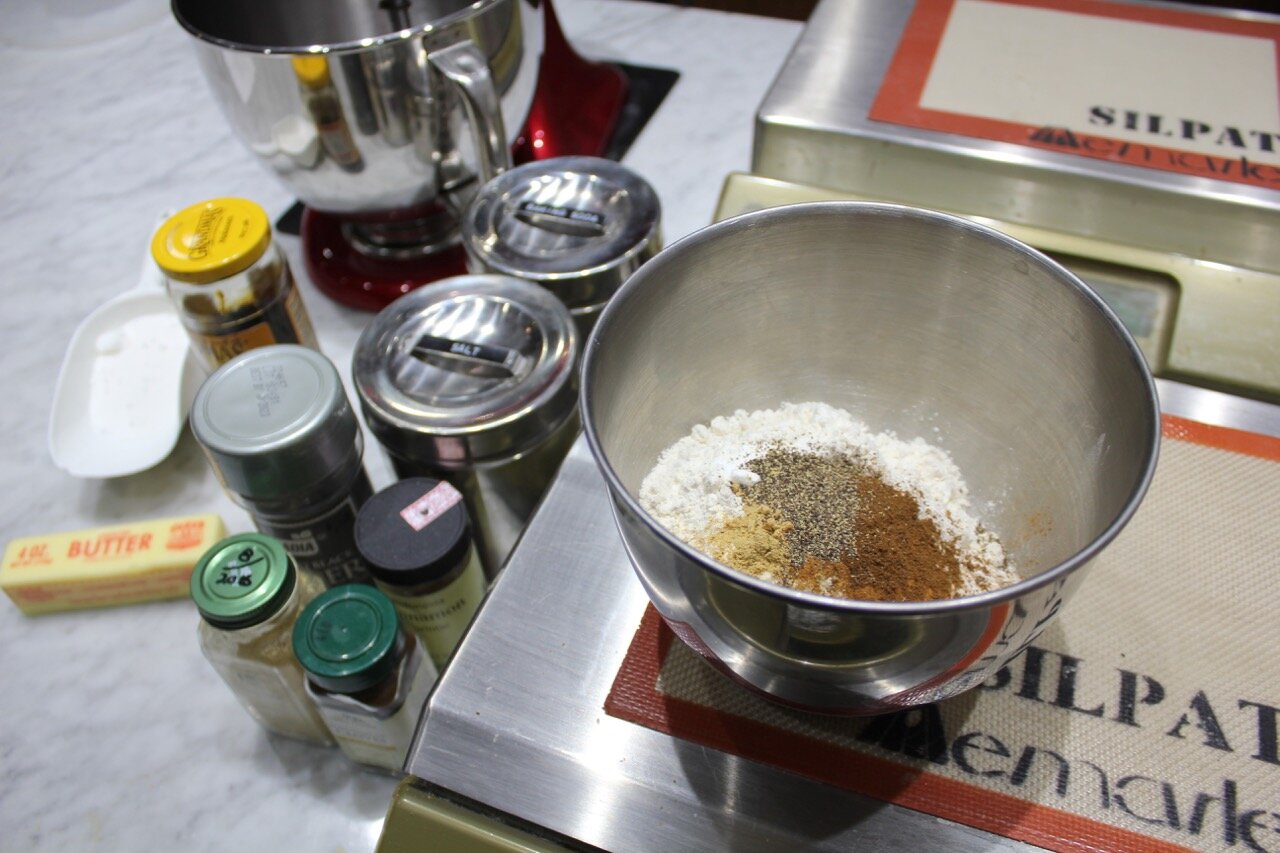
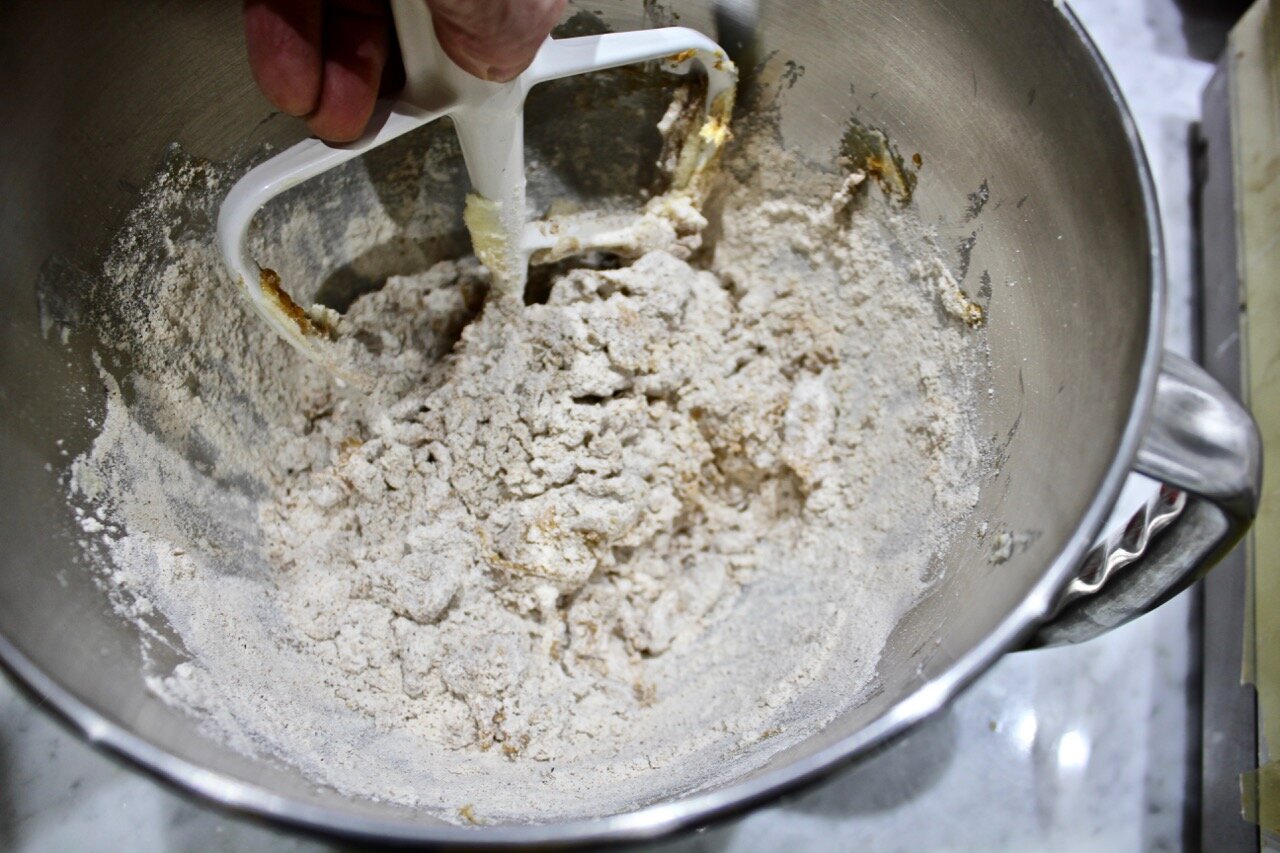
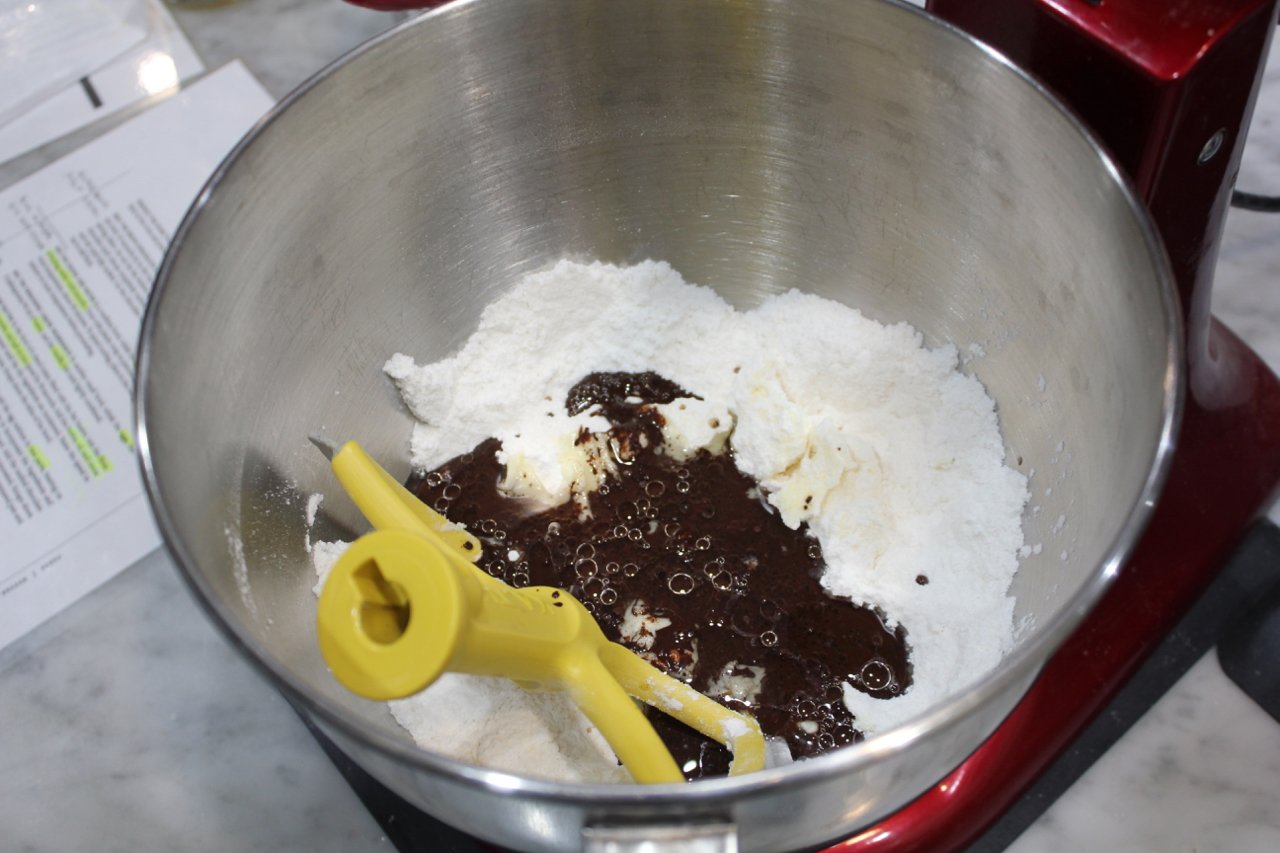
Mix the Dry Ingredients While the egg mixture is mixing, in a medium bowl, whisk together the flour, baking powder, and salt. Sift the mixture onto a piece of parchment.
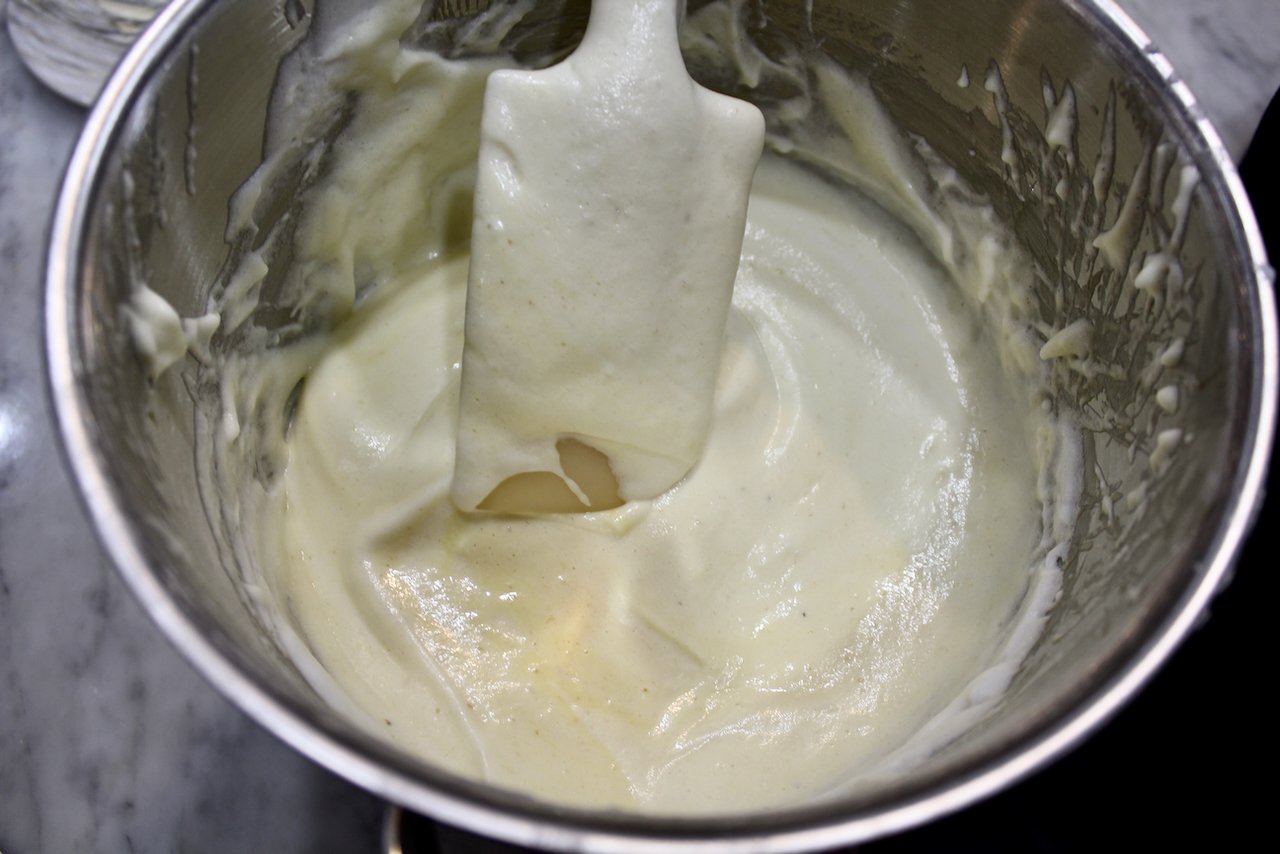
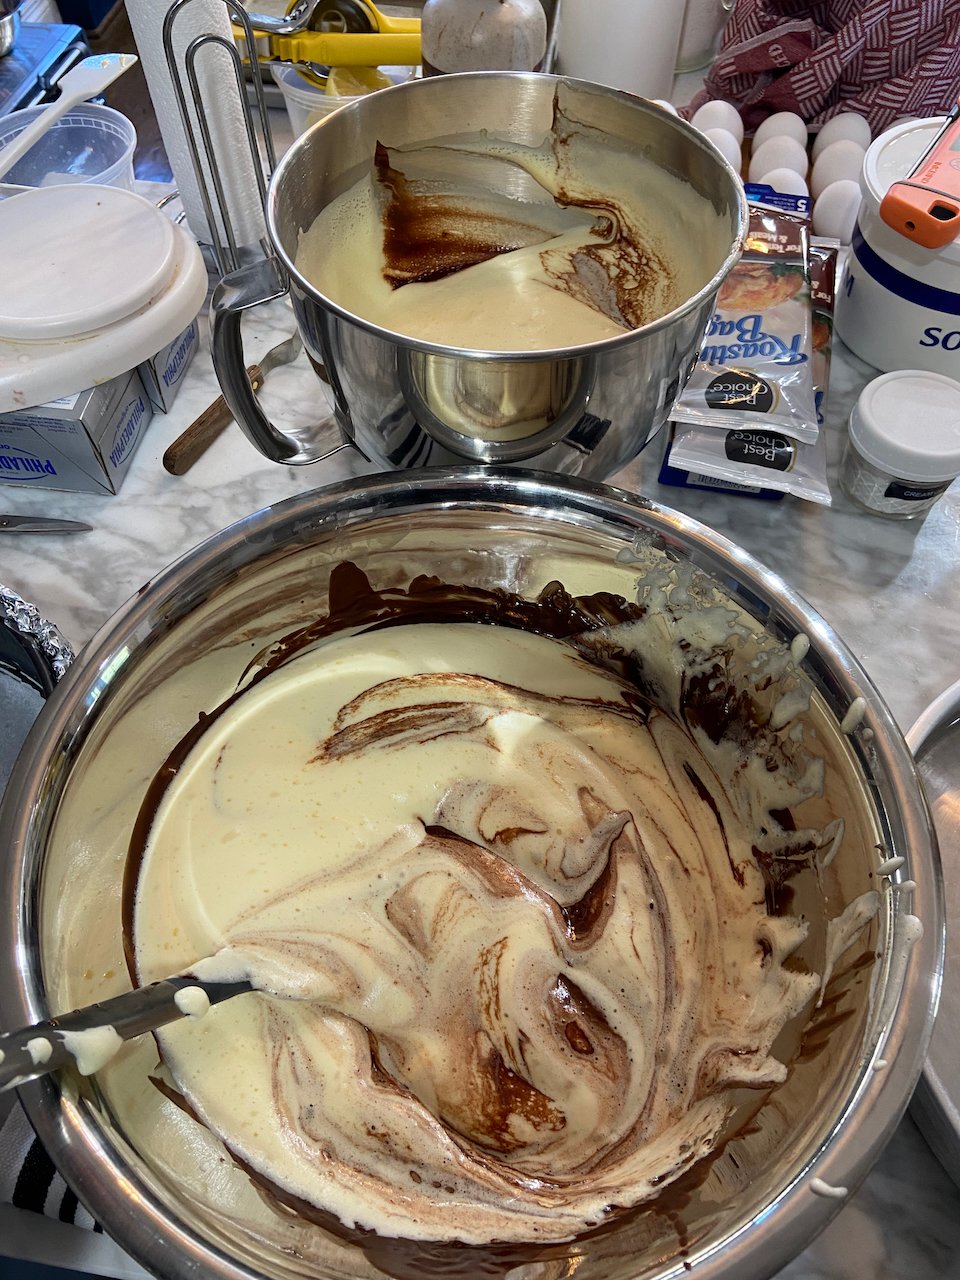
Sift one-third of the flour mixture over the egg mixture and fold it in gently with a flat wire whisk, slotted skimmer, or silicone spatula, until almost all the flour has disappeared. Drizzle half of the milk over the top and fold it in. Repeat with the next one-third of the flour, the rest of the milk, then the rest of the flour.
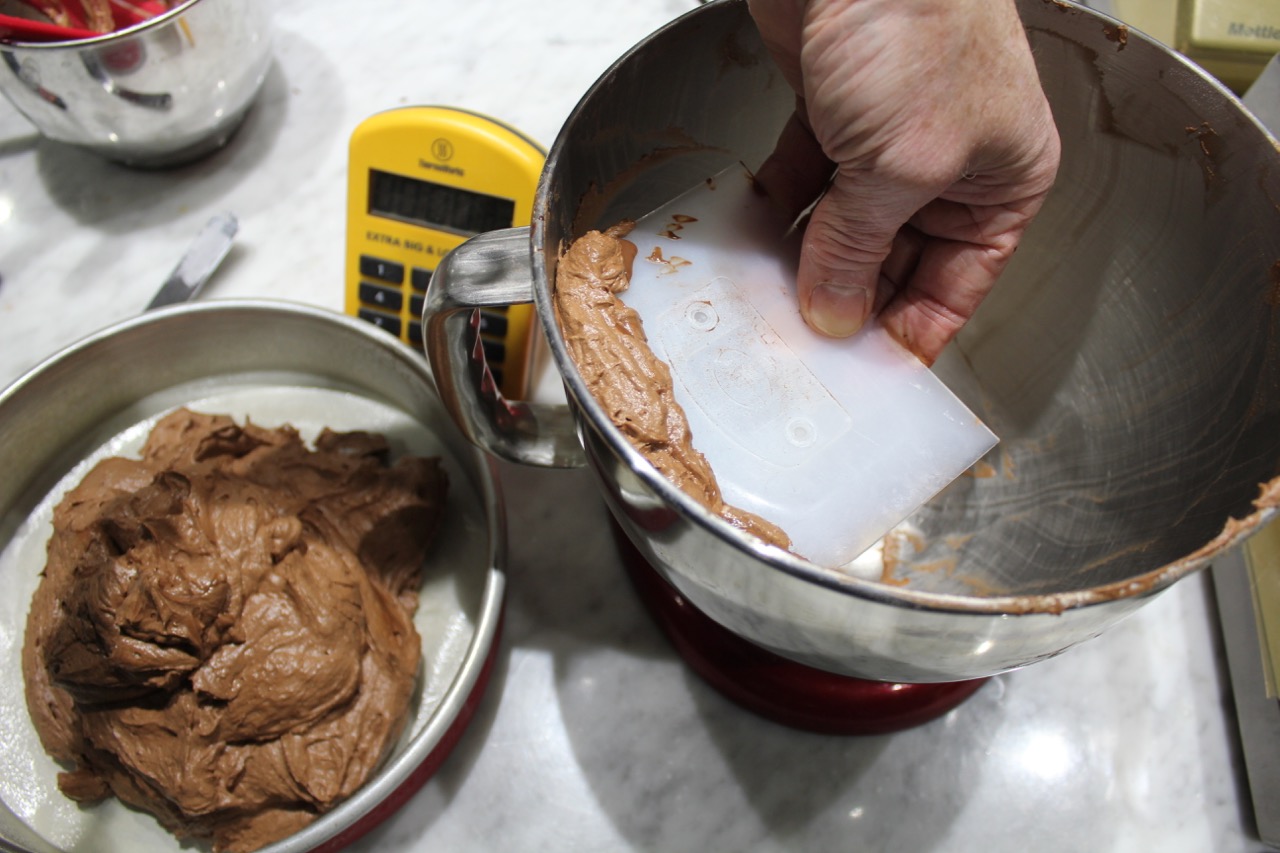
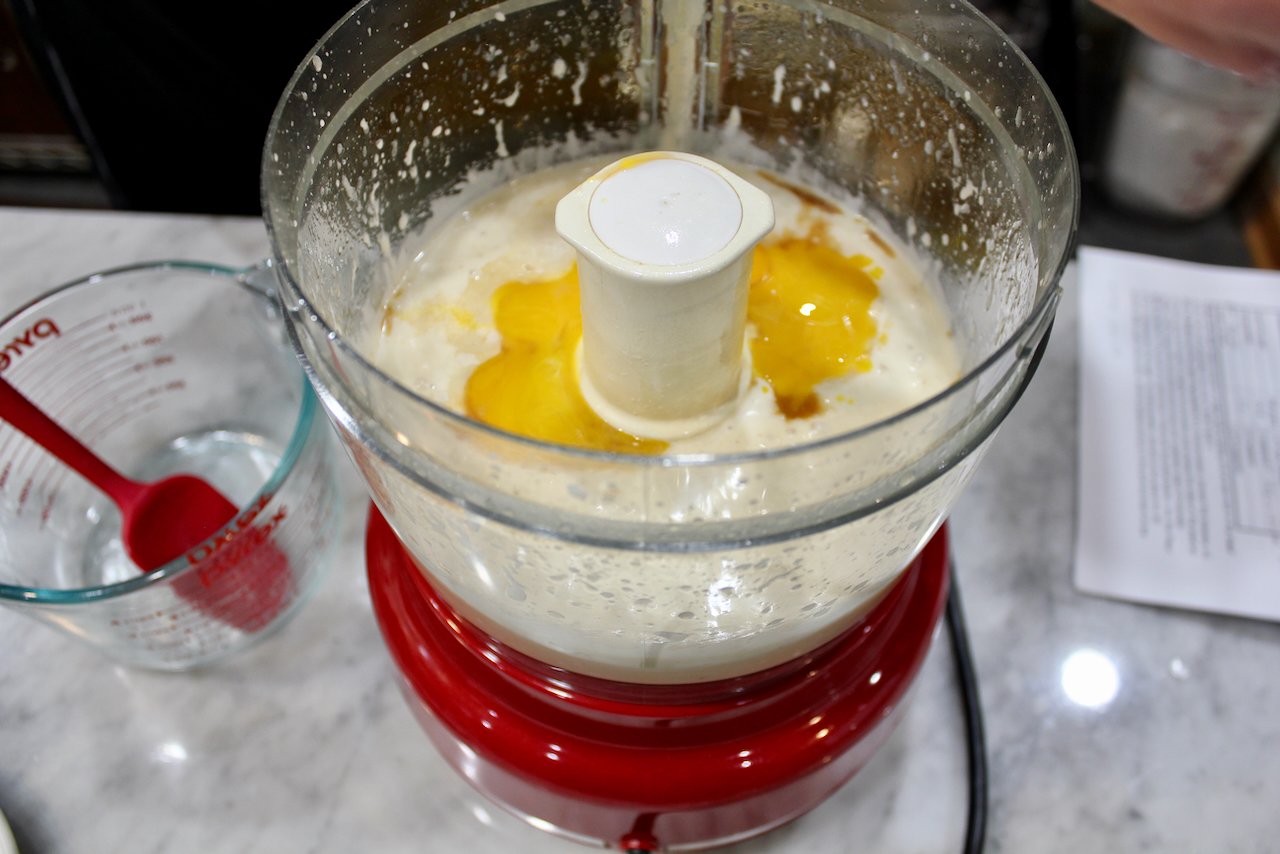
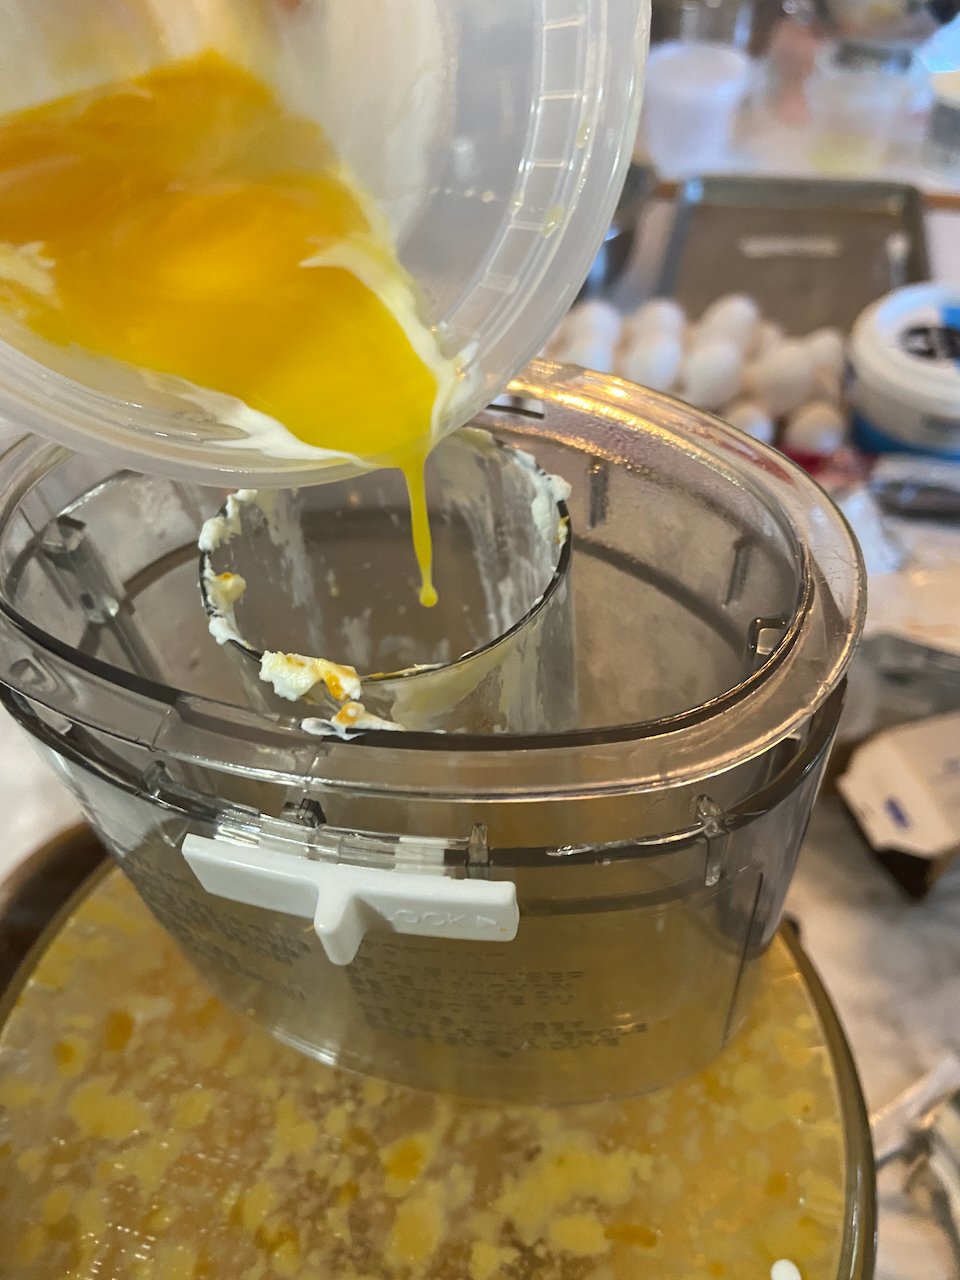
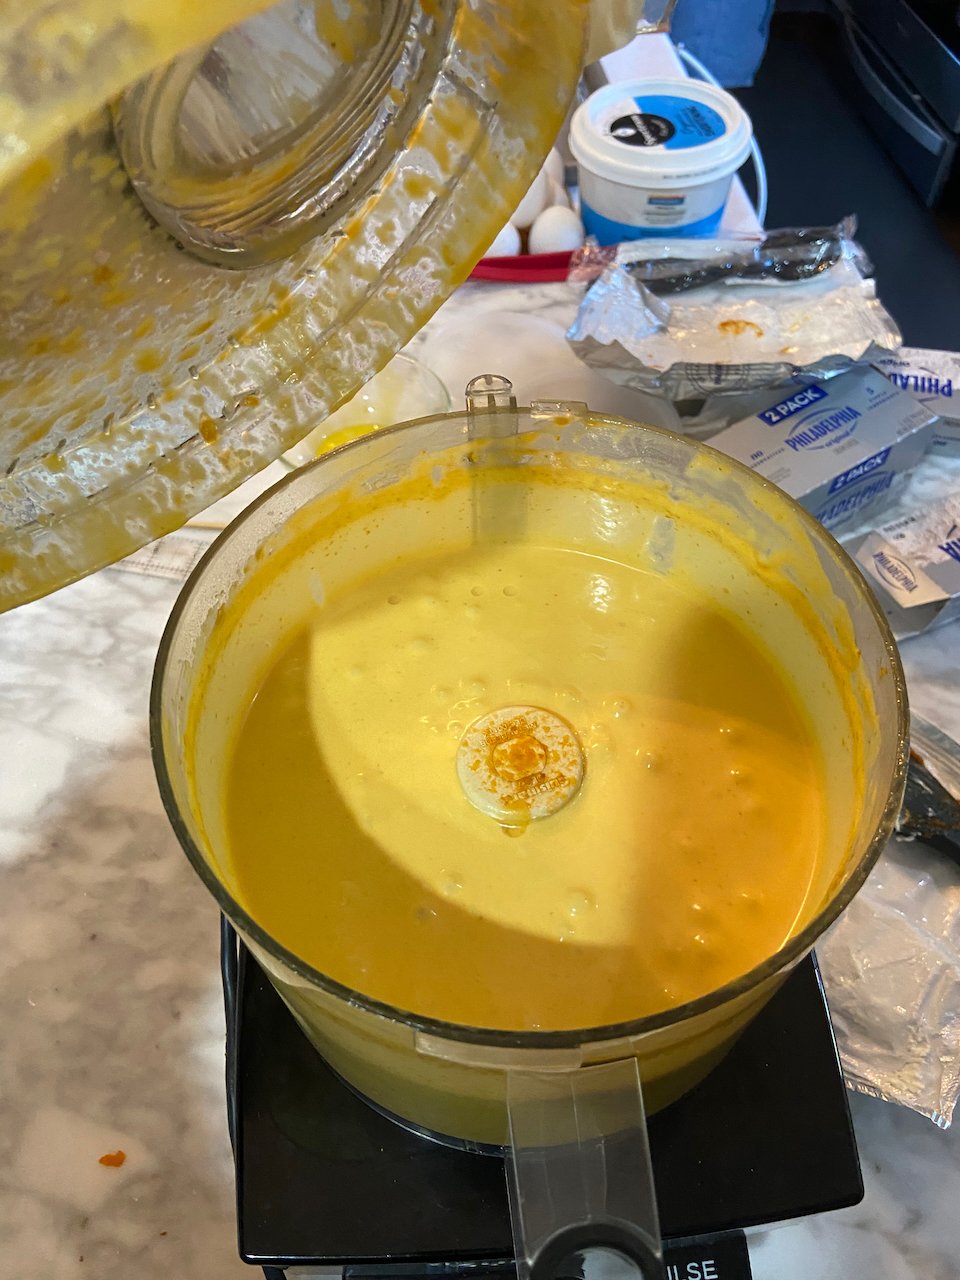
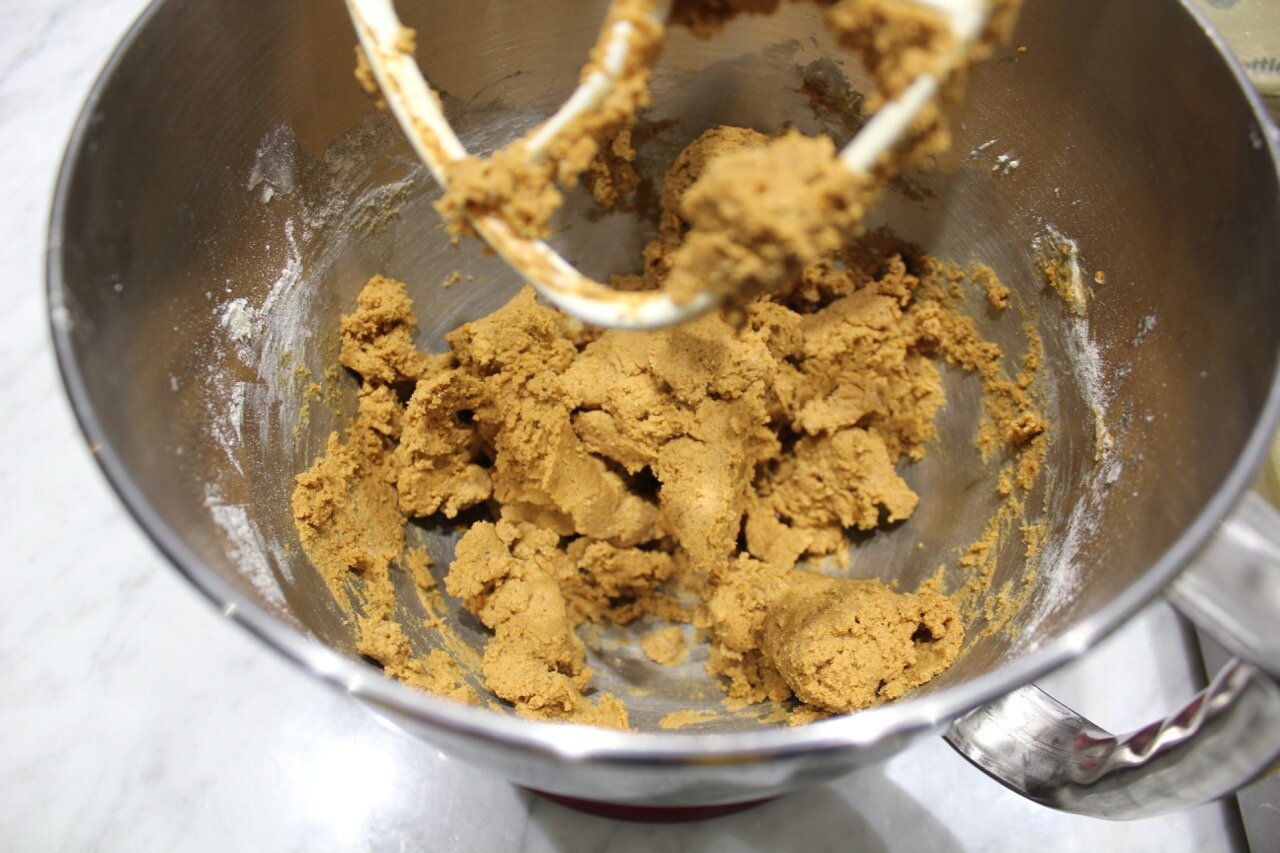
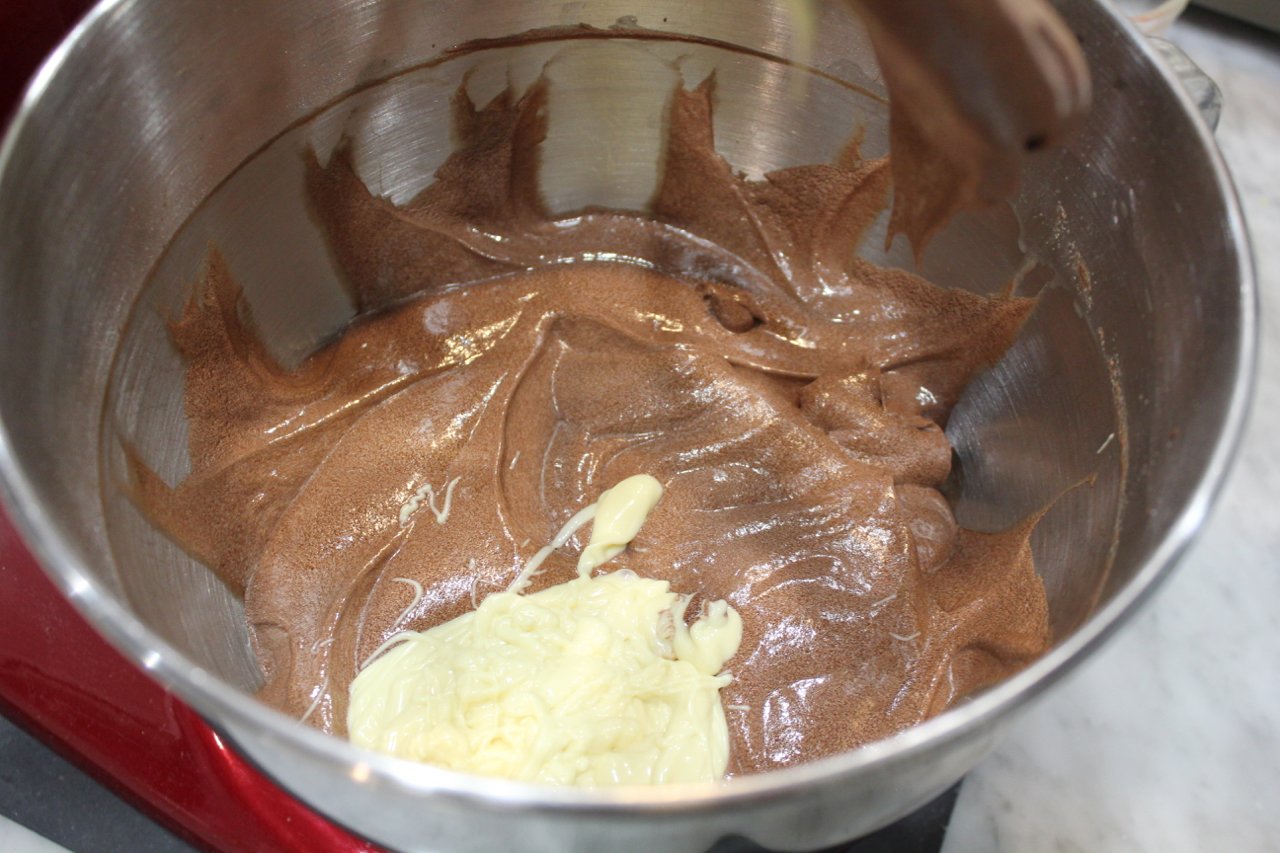
Finally drizzle half of the butter over the top, fold it in, and then repeat with the remaining butter. Be very gentle but thorough. Use a silicone spatula to reach to the bottom of the bowl to ensure that it is evenly mixed.
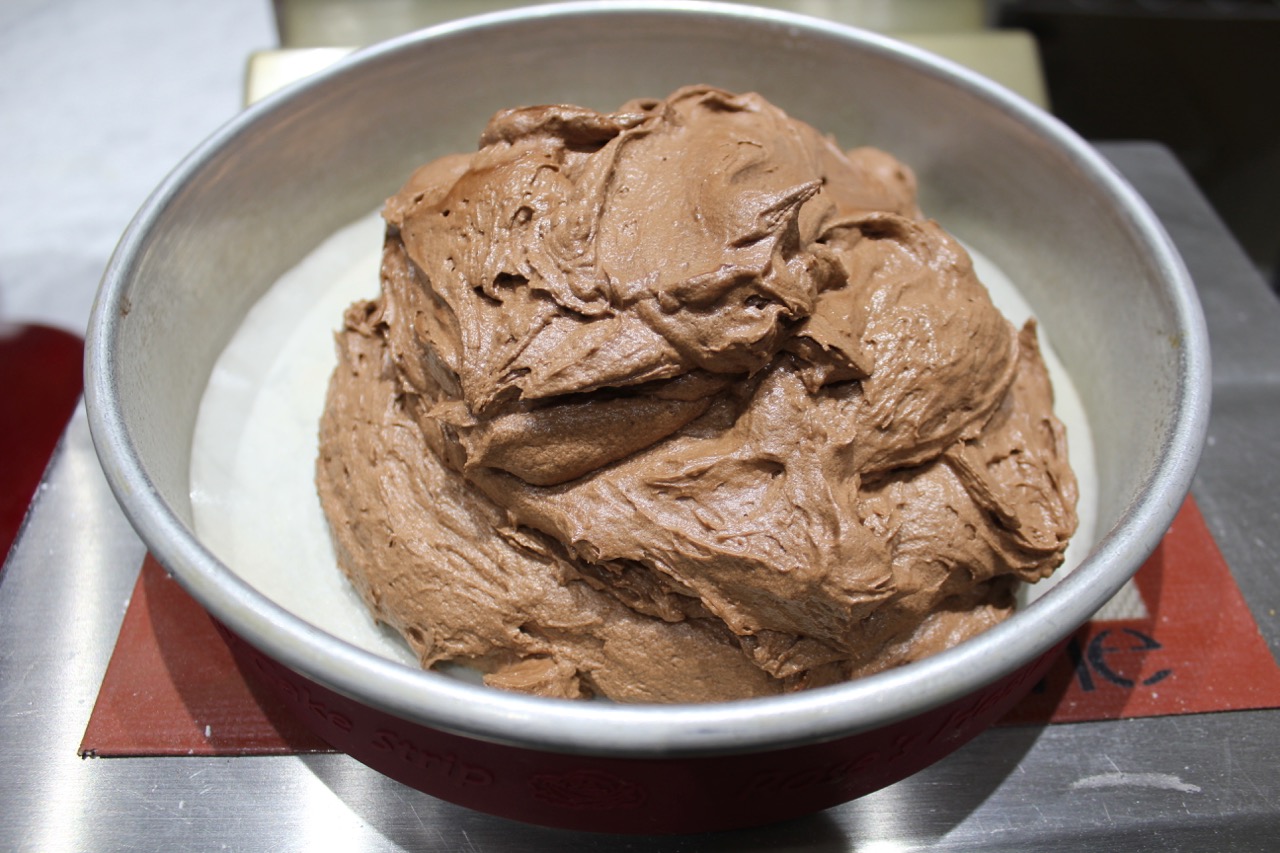
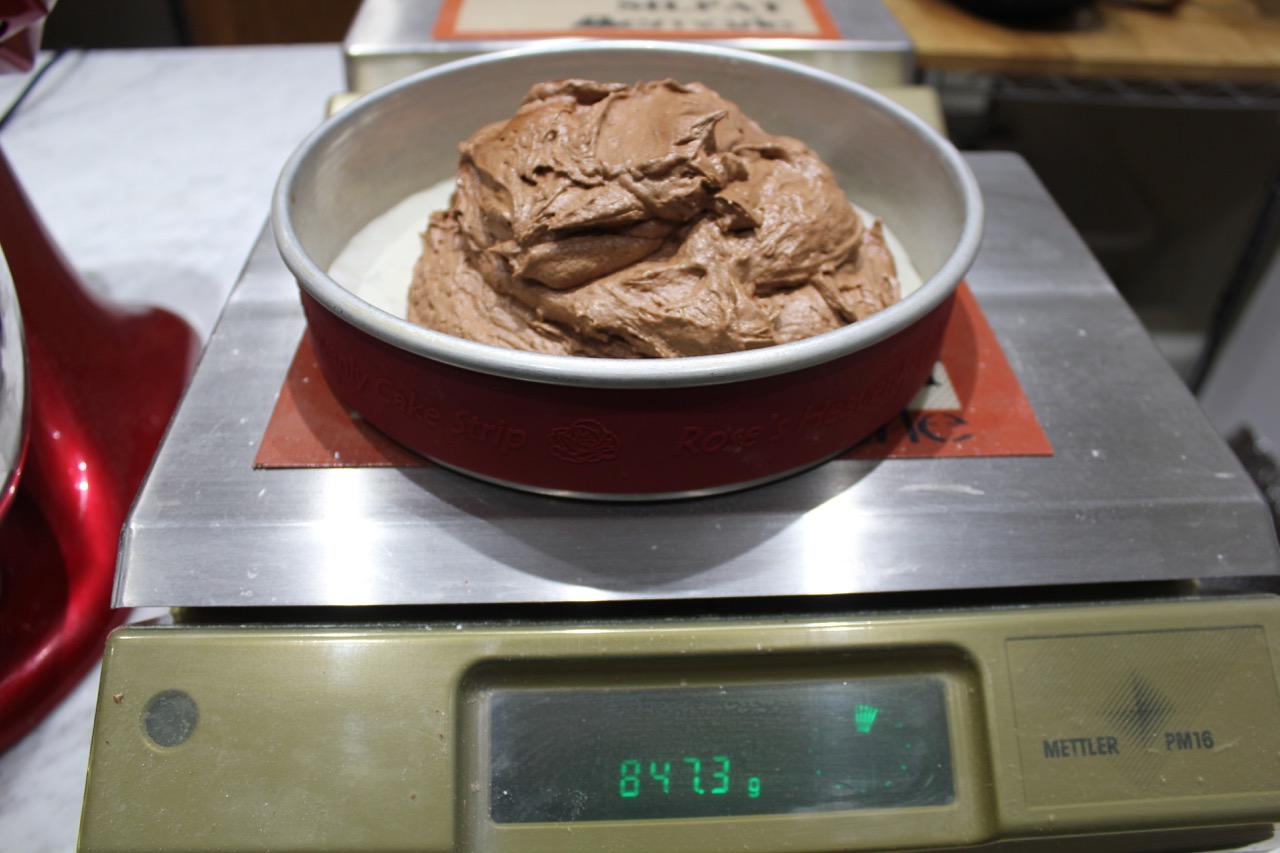
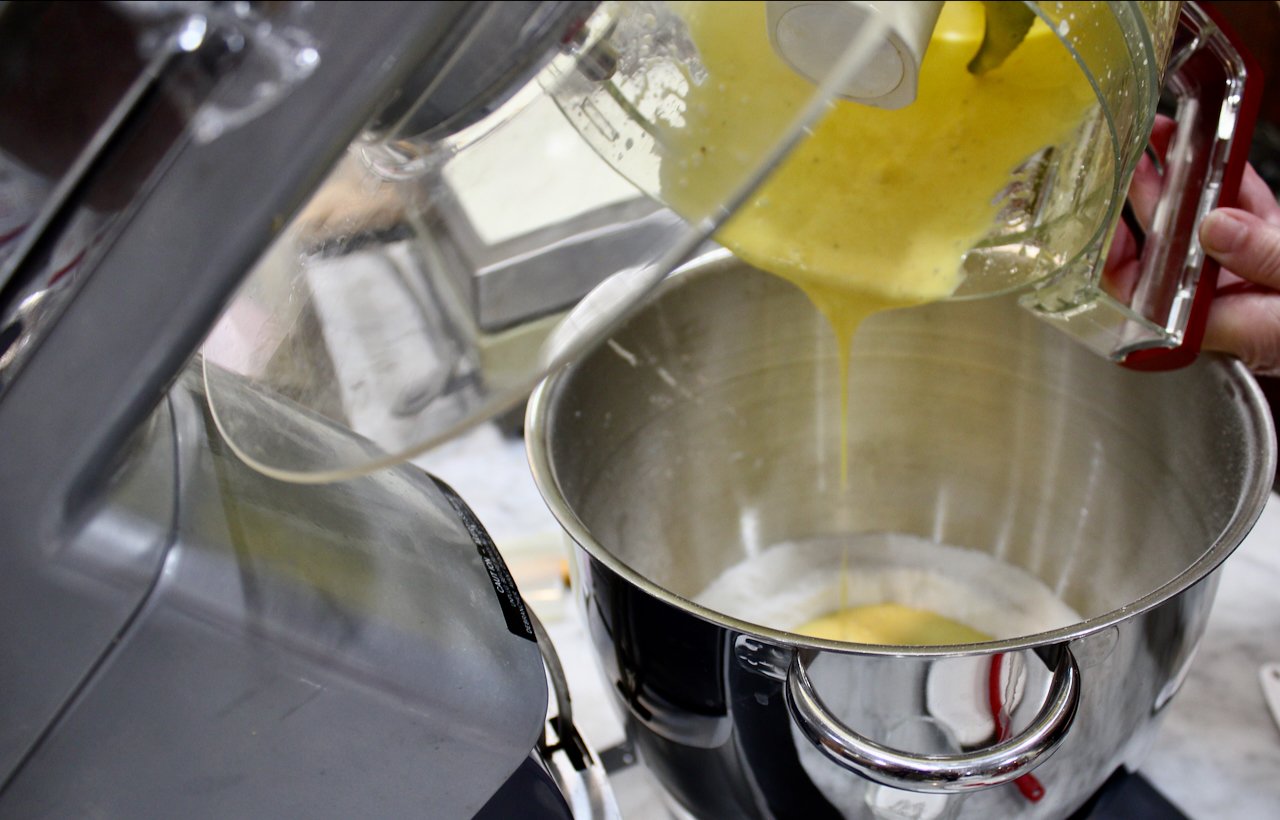
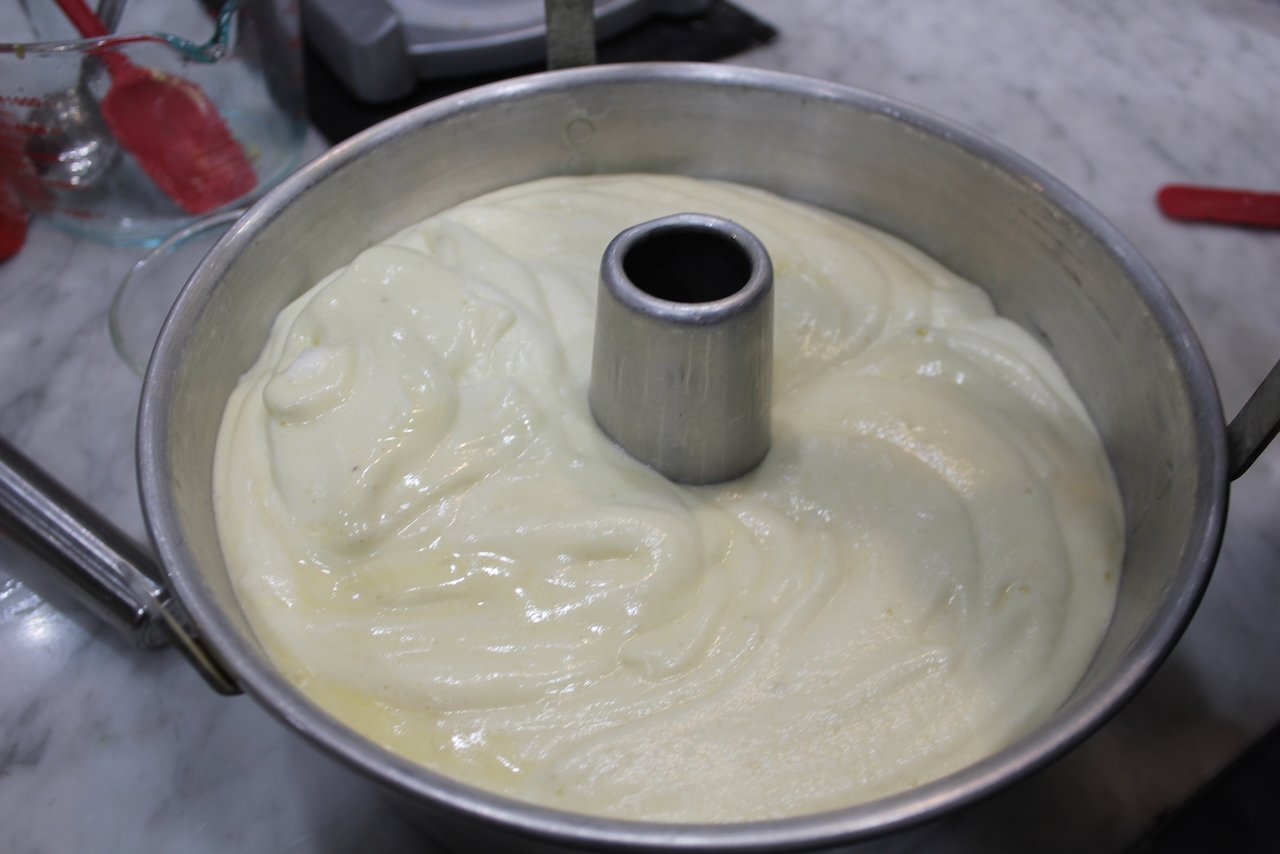
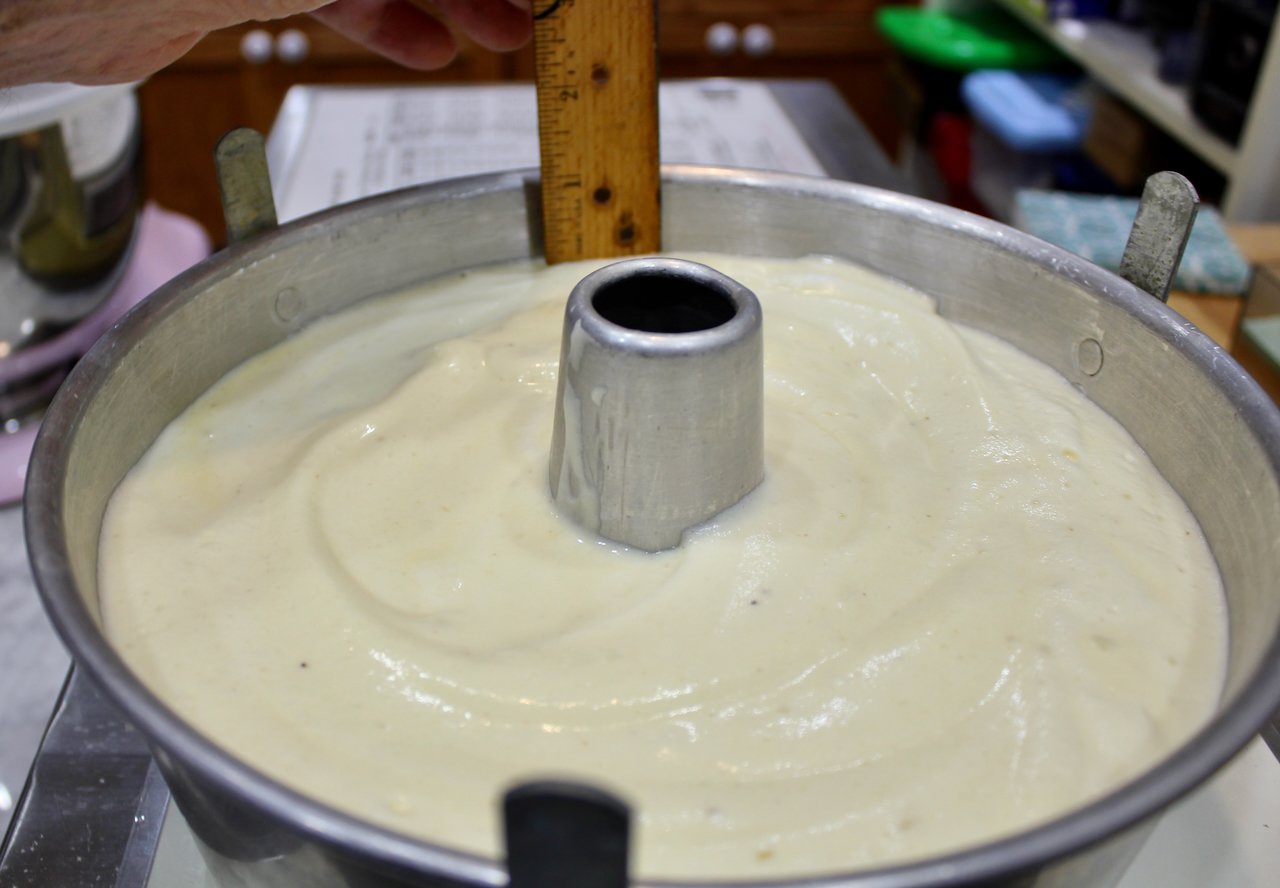
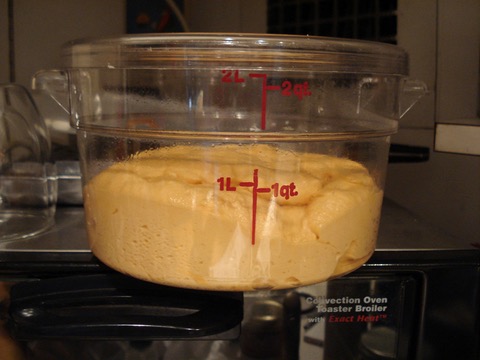
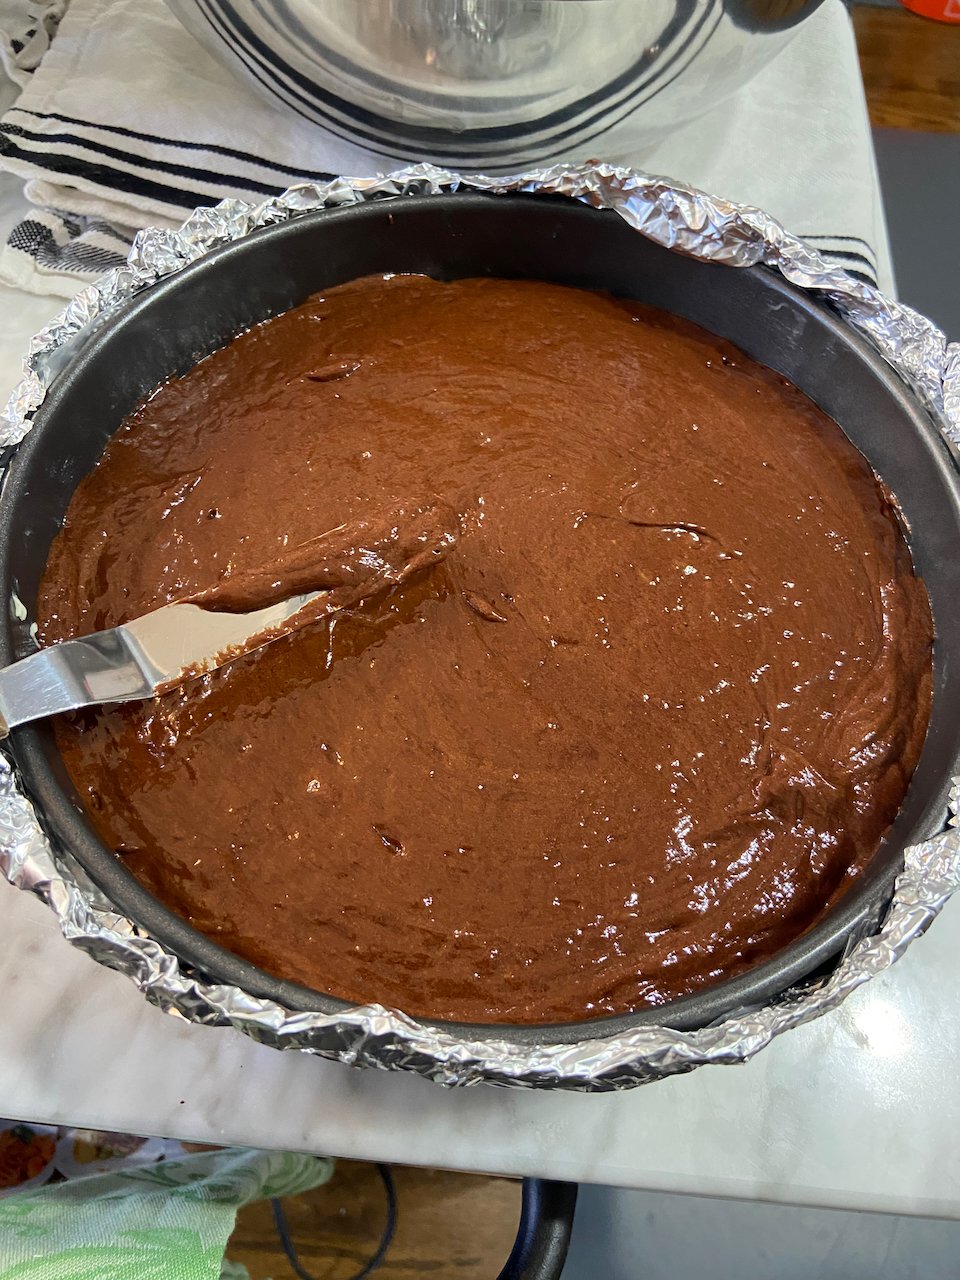
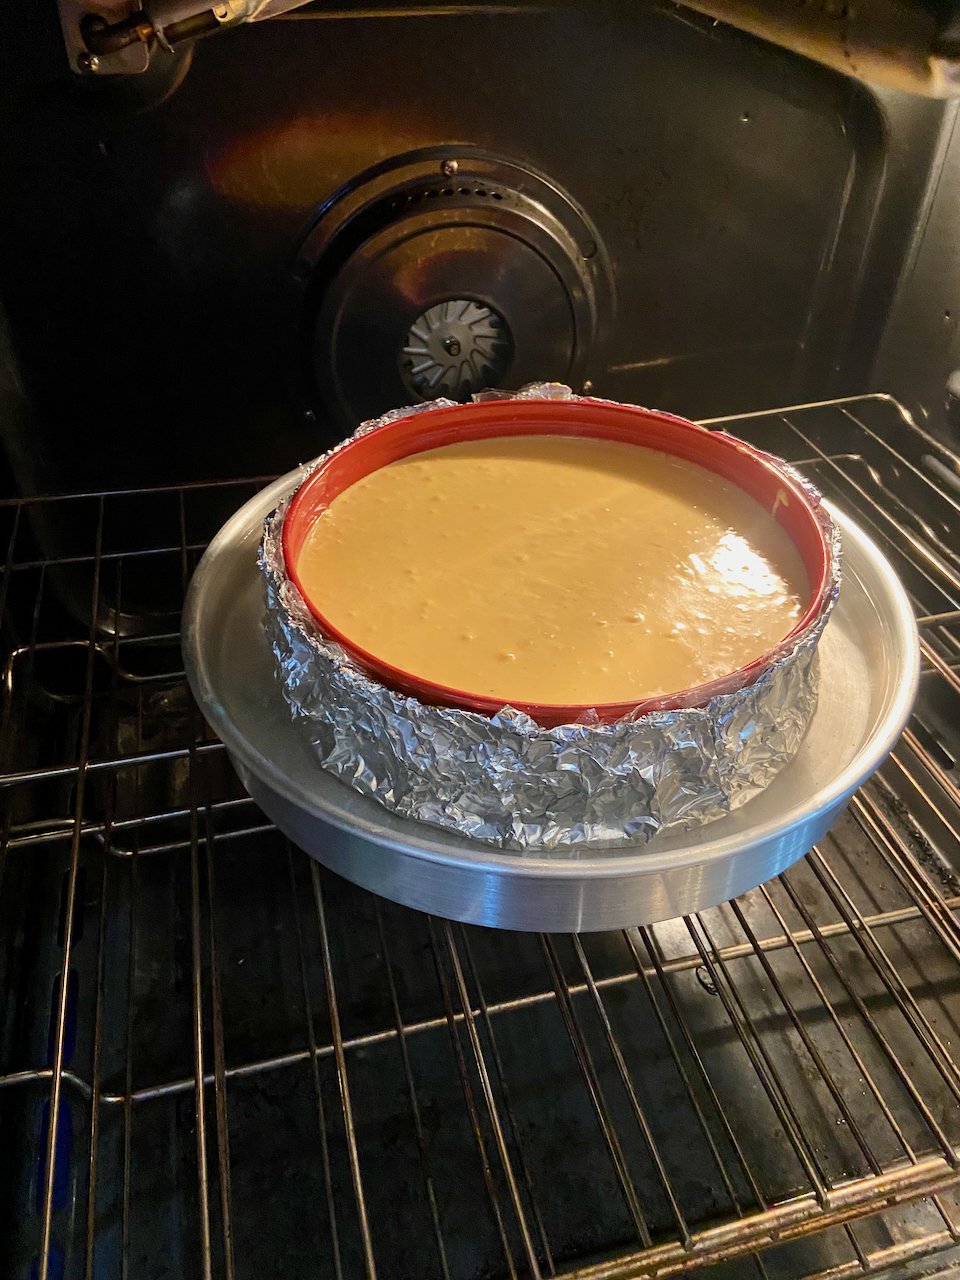
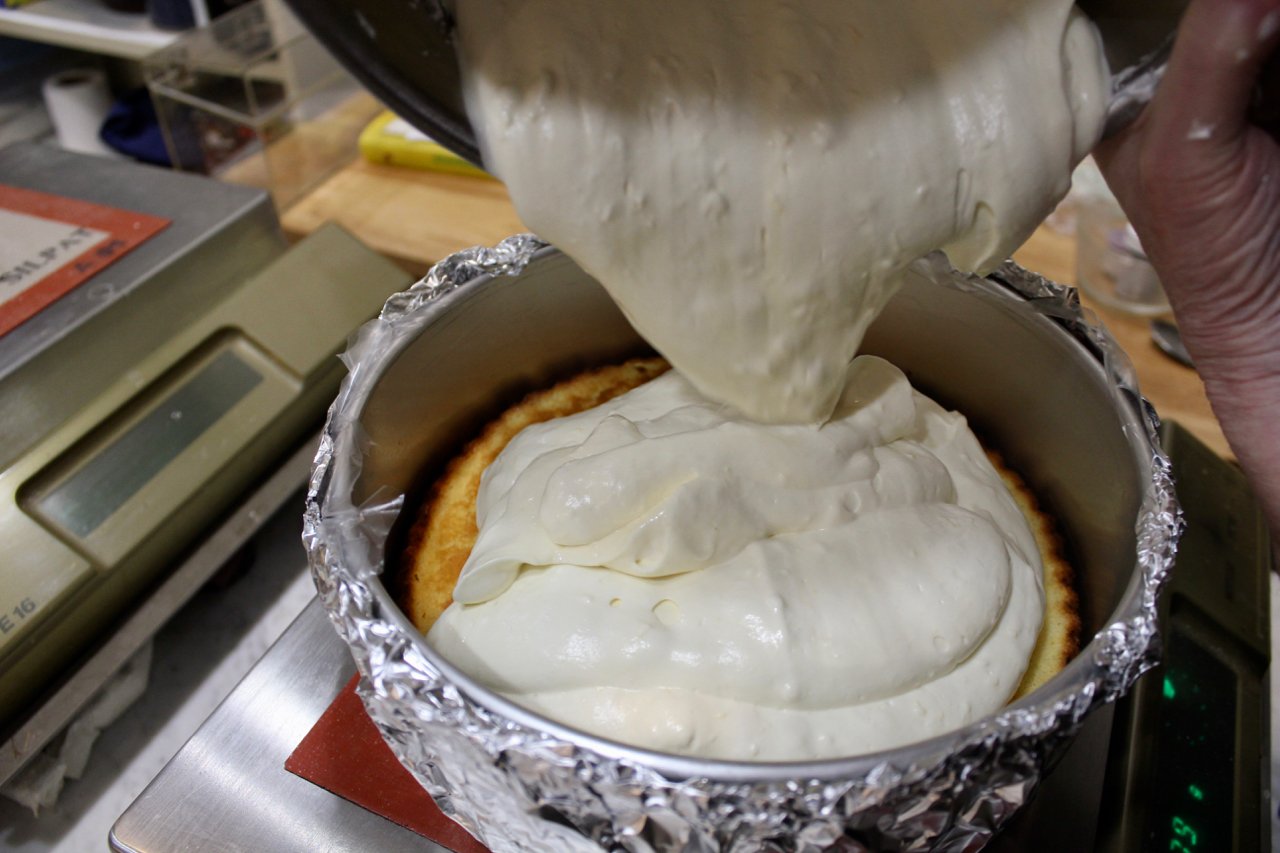
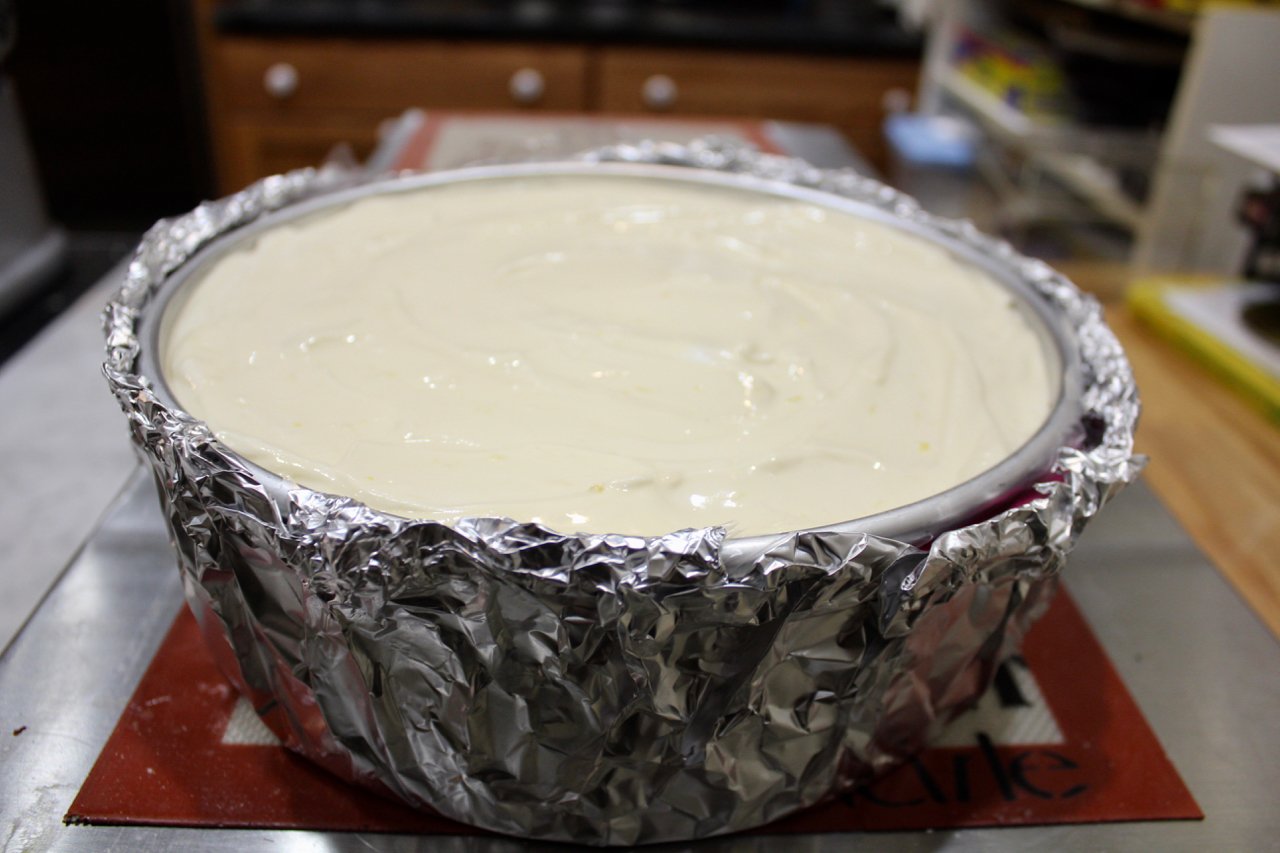
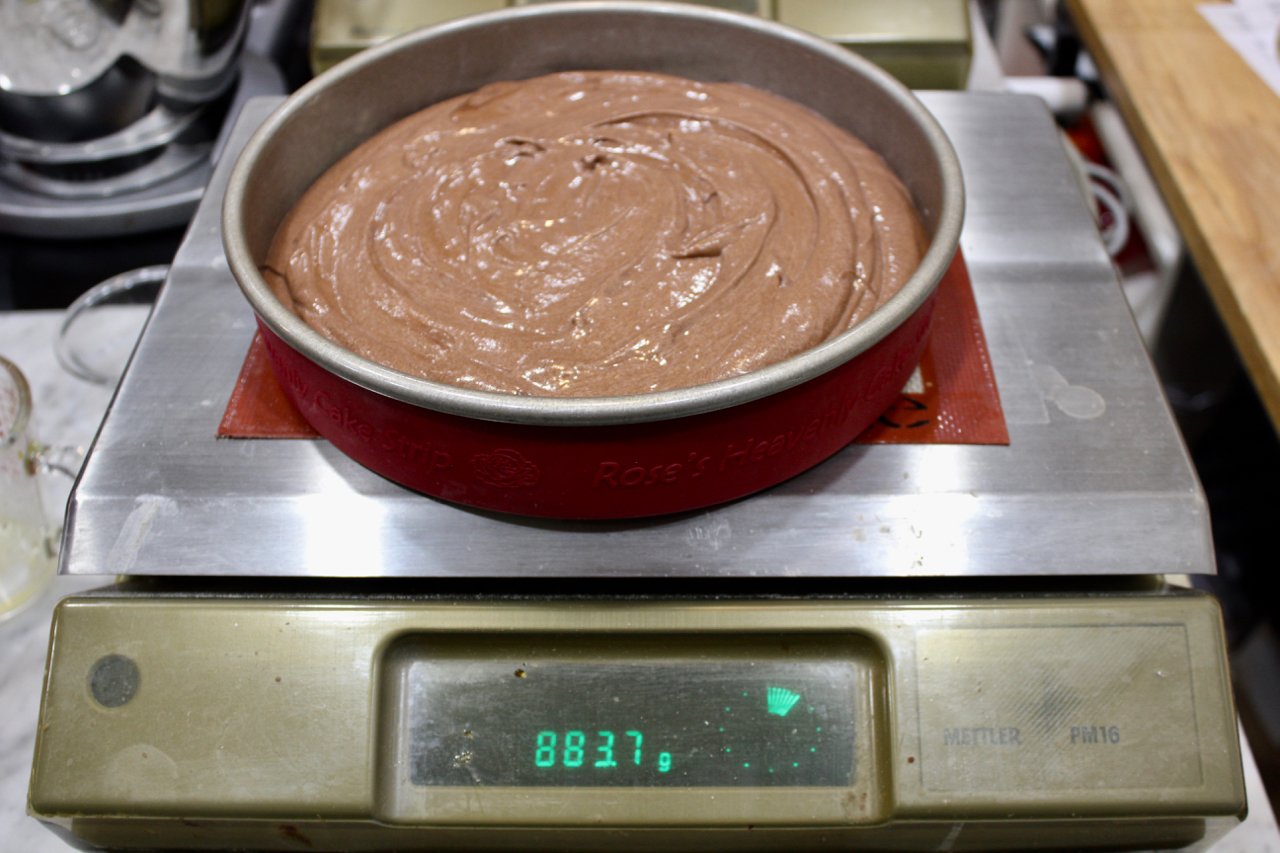
Slowly pour the batter into the prepared pan. The 3 inch high pan will be about one-third full.
** Prepare the topping while the cake is baking.
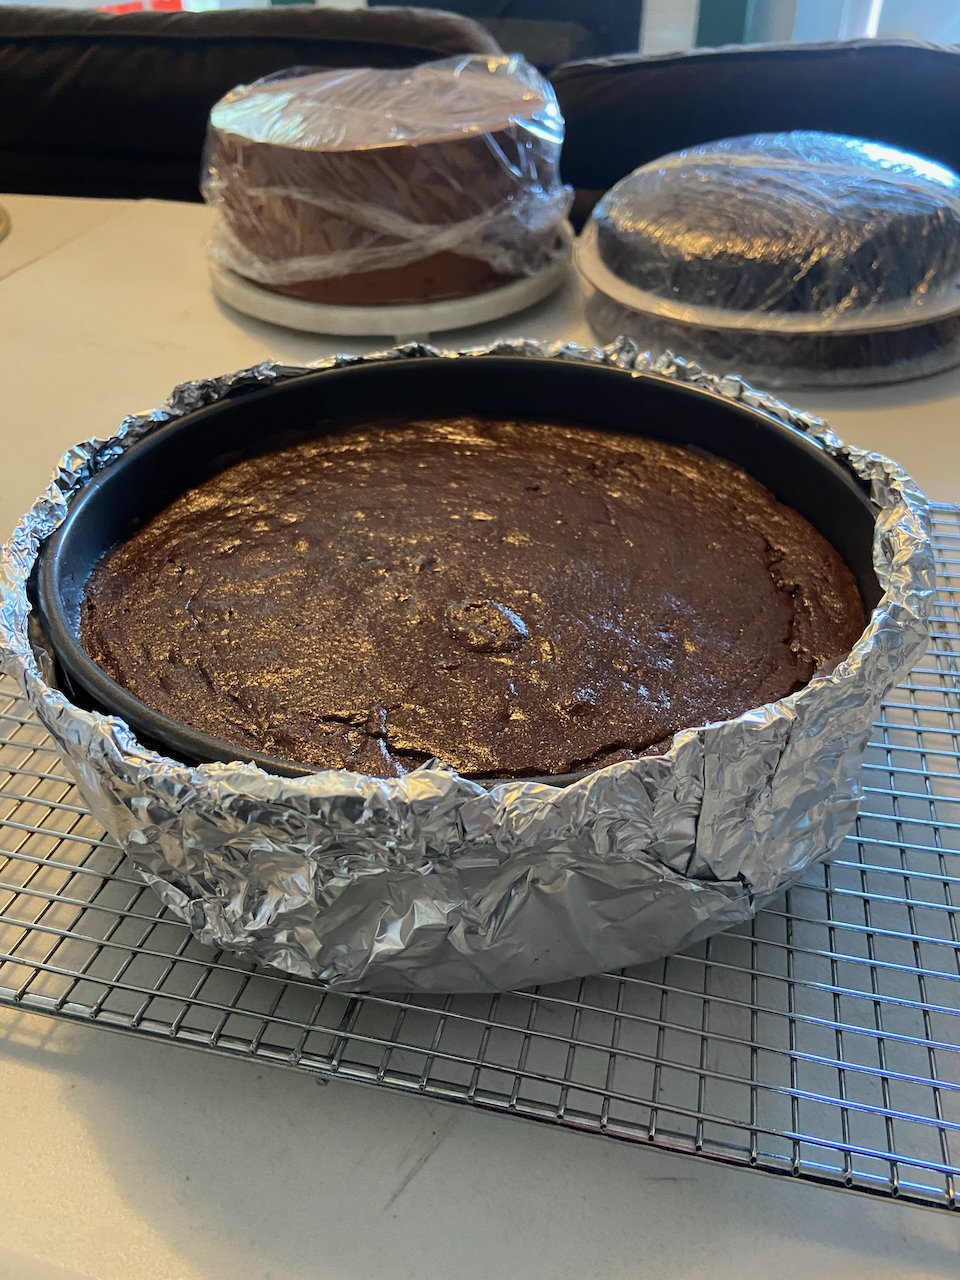
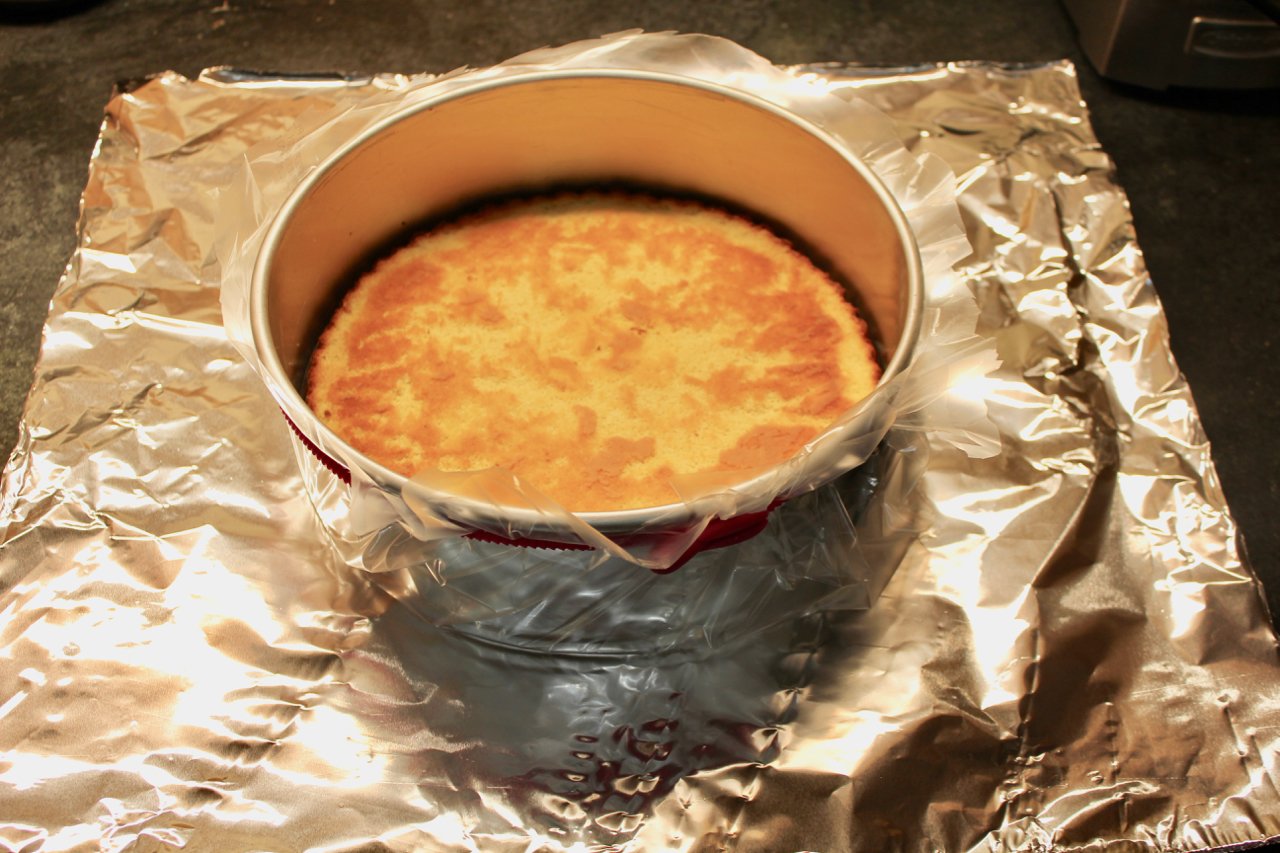
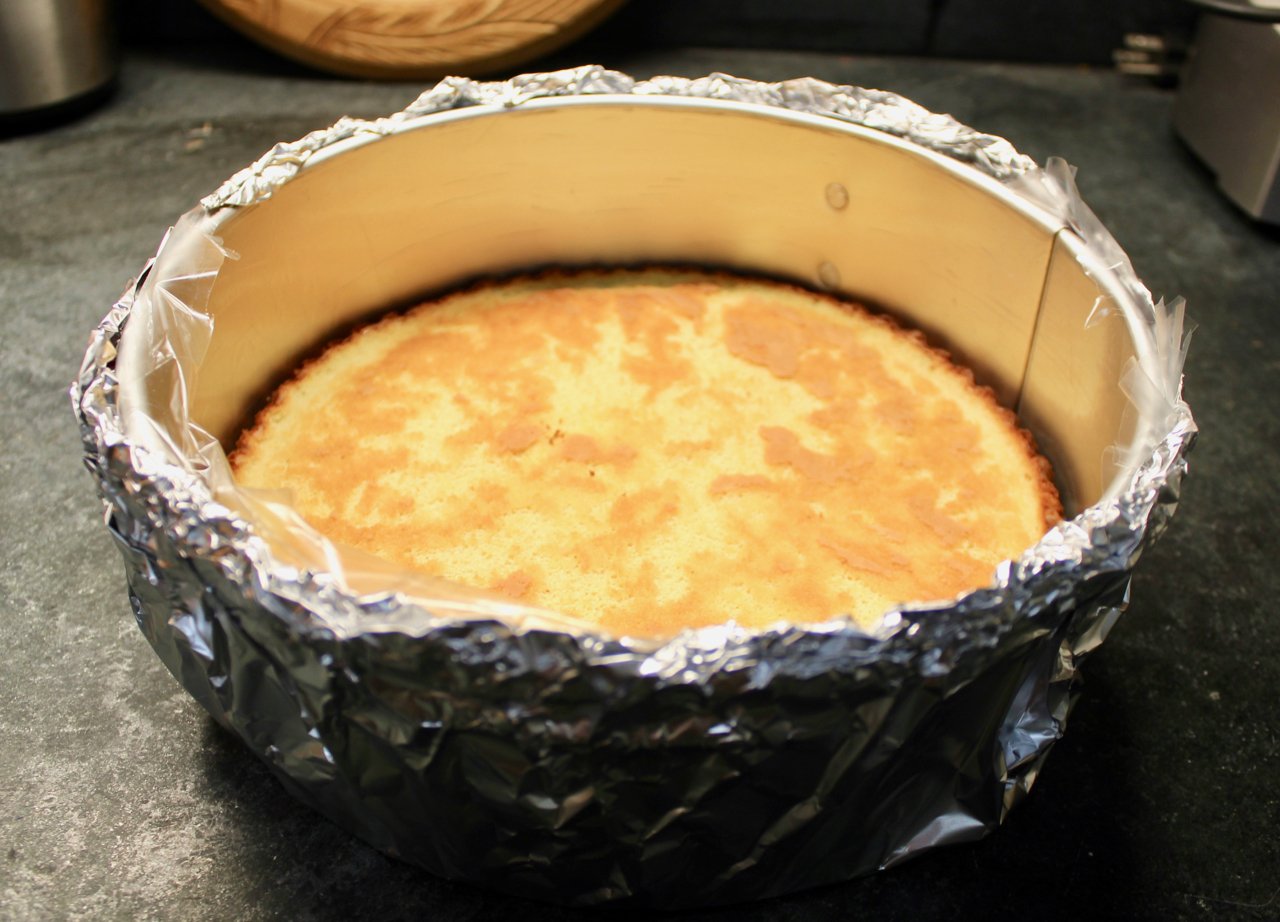
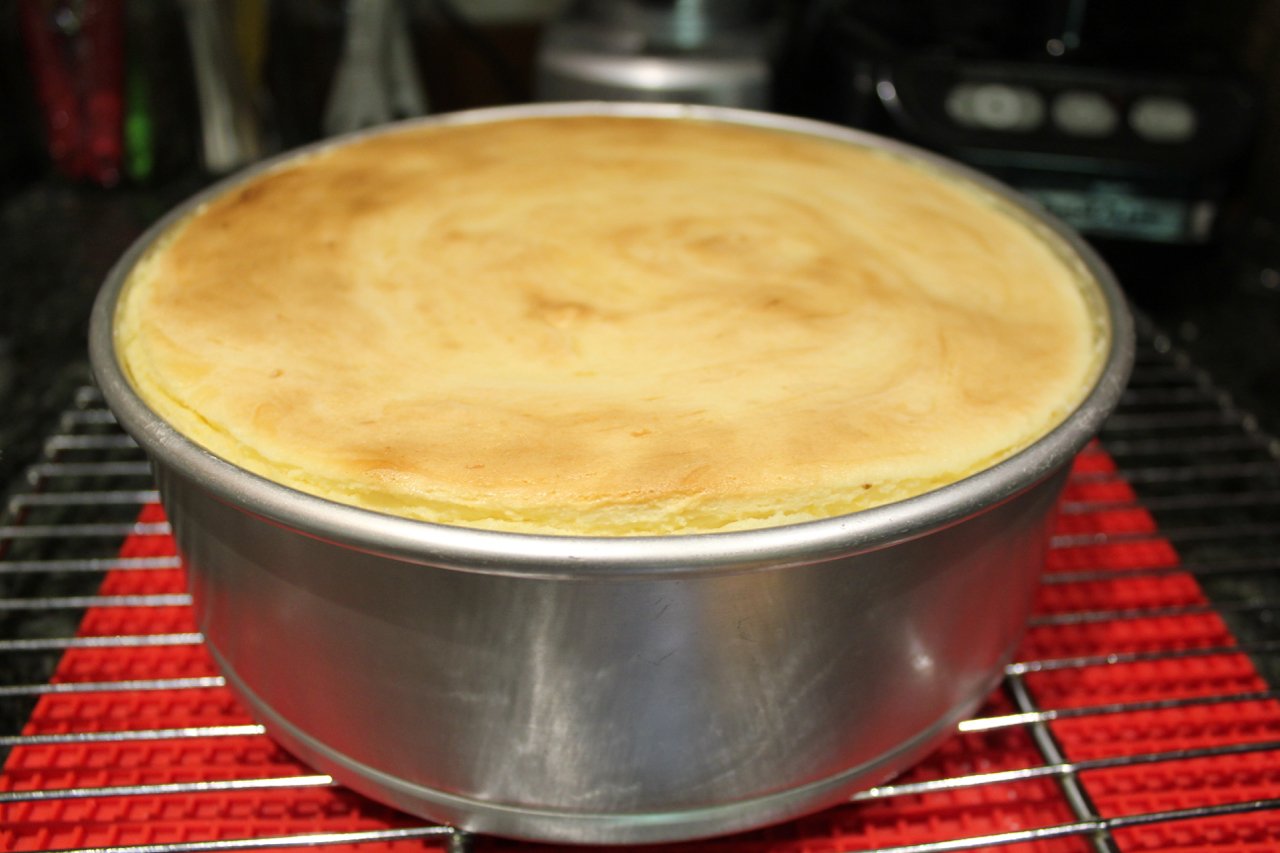
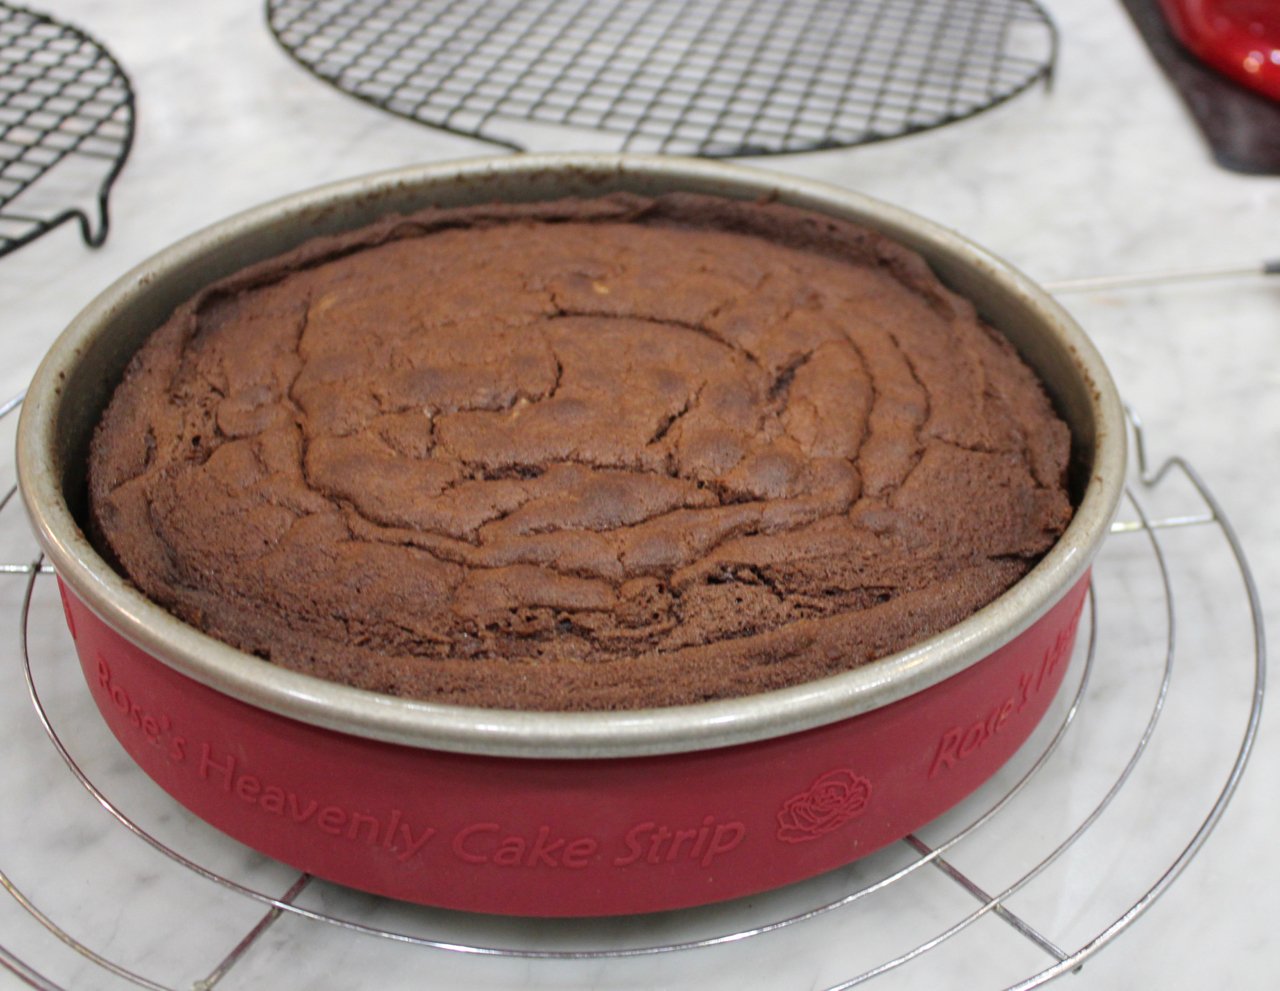
Bake the Cake Bake for 25 to 30 minutes, or until the cake is golden brown. Avoid opening the oven door before the minimum time or the cake could fall. A wooden skewer should come out clean. The cake needs to be baked fully to support the topping.
Set the pan on a wire rack.
** Increase the oven temperature to 400˚F/200˚C.
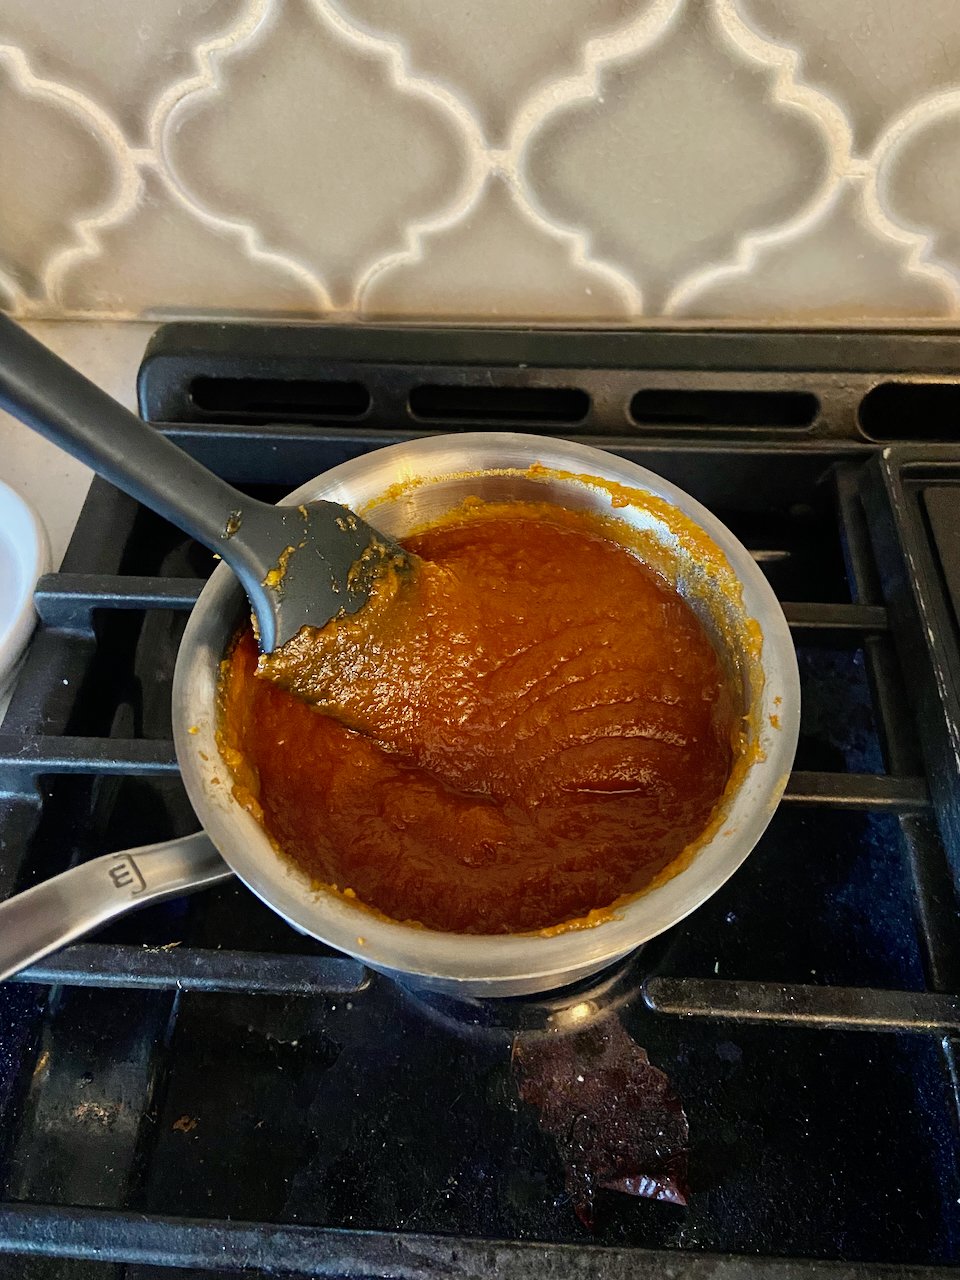
Make the Topping In a medium saucepan, place the butter, sugar, milk, salt and espresso powder (or vanilla). Stir over medium heat until the butter melts. Keep heating for about 3 minutes. The mixture should bubble and thicken slightly. Remove from the heat. Stir in the almonds and set it aside.
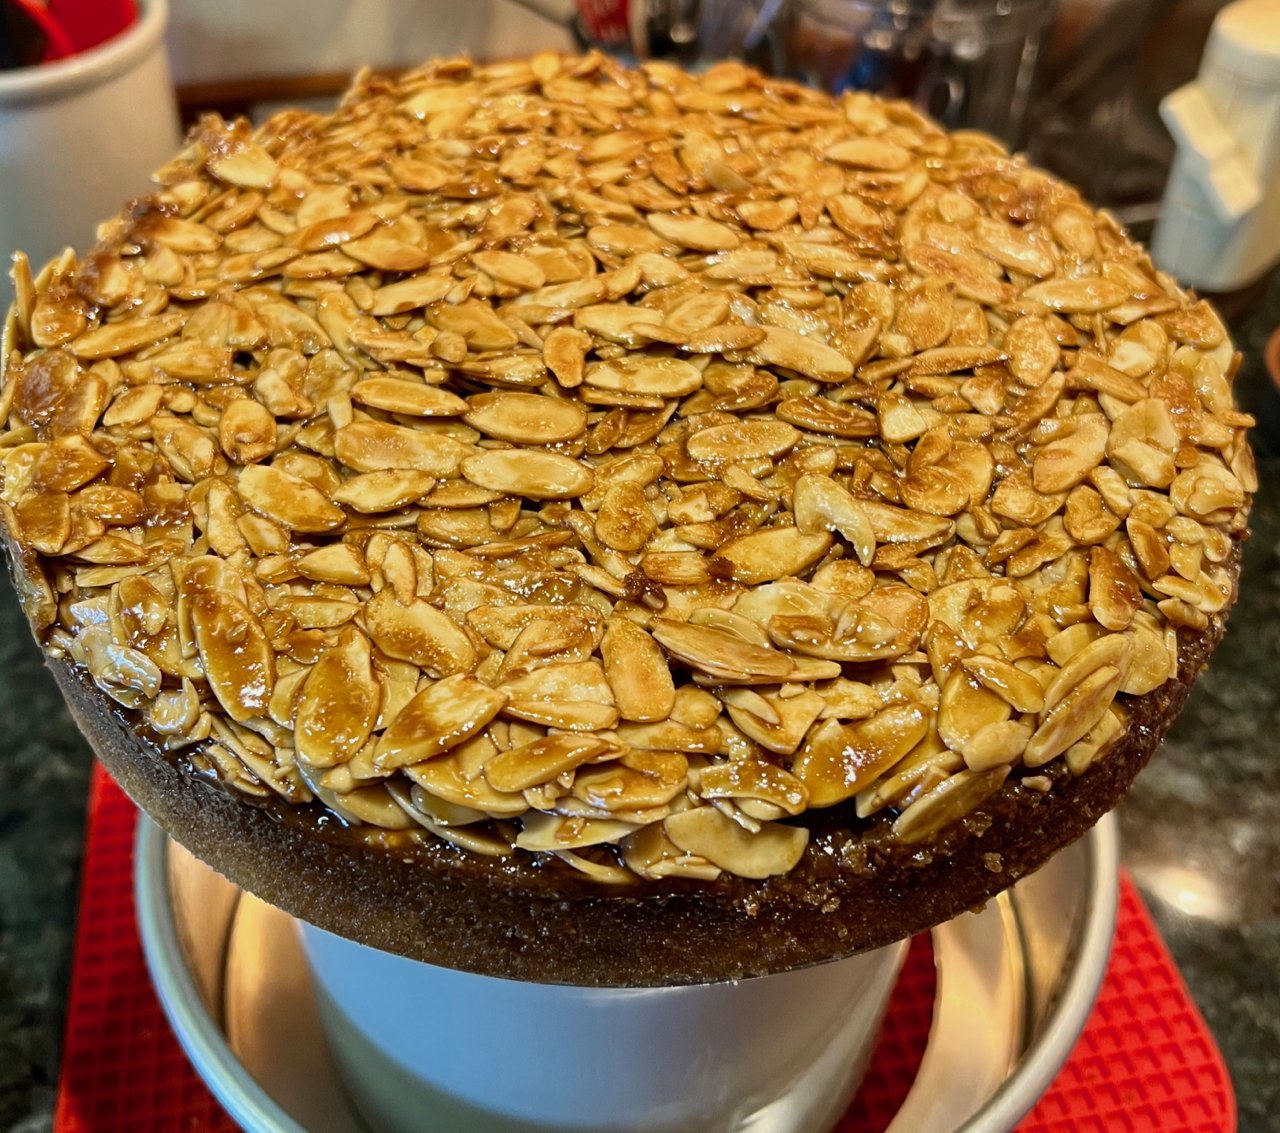
Heat the Topping Spoon the topping over the surface of the cake. Spread the almonds out into an even layer.
Place the cake back into the oven and bake for 8 to 10 minutes until the topping is darkened and bubbling.
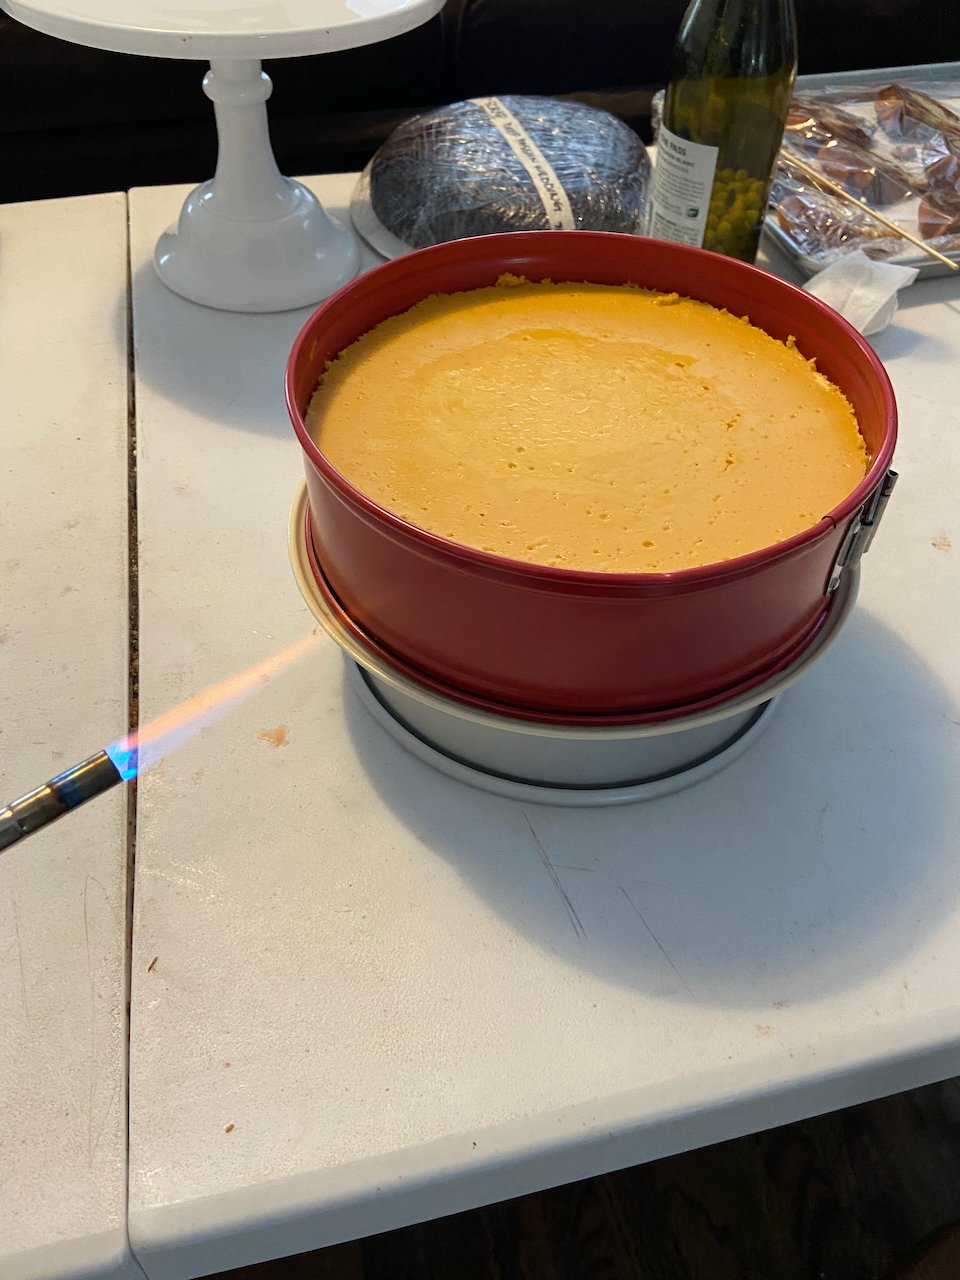
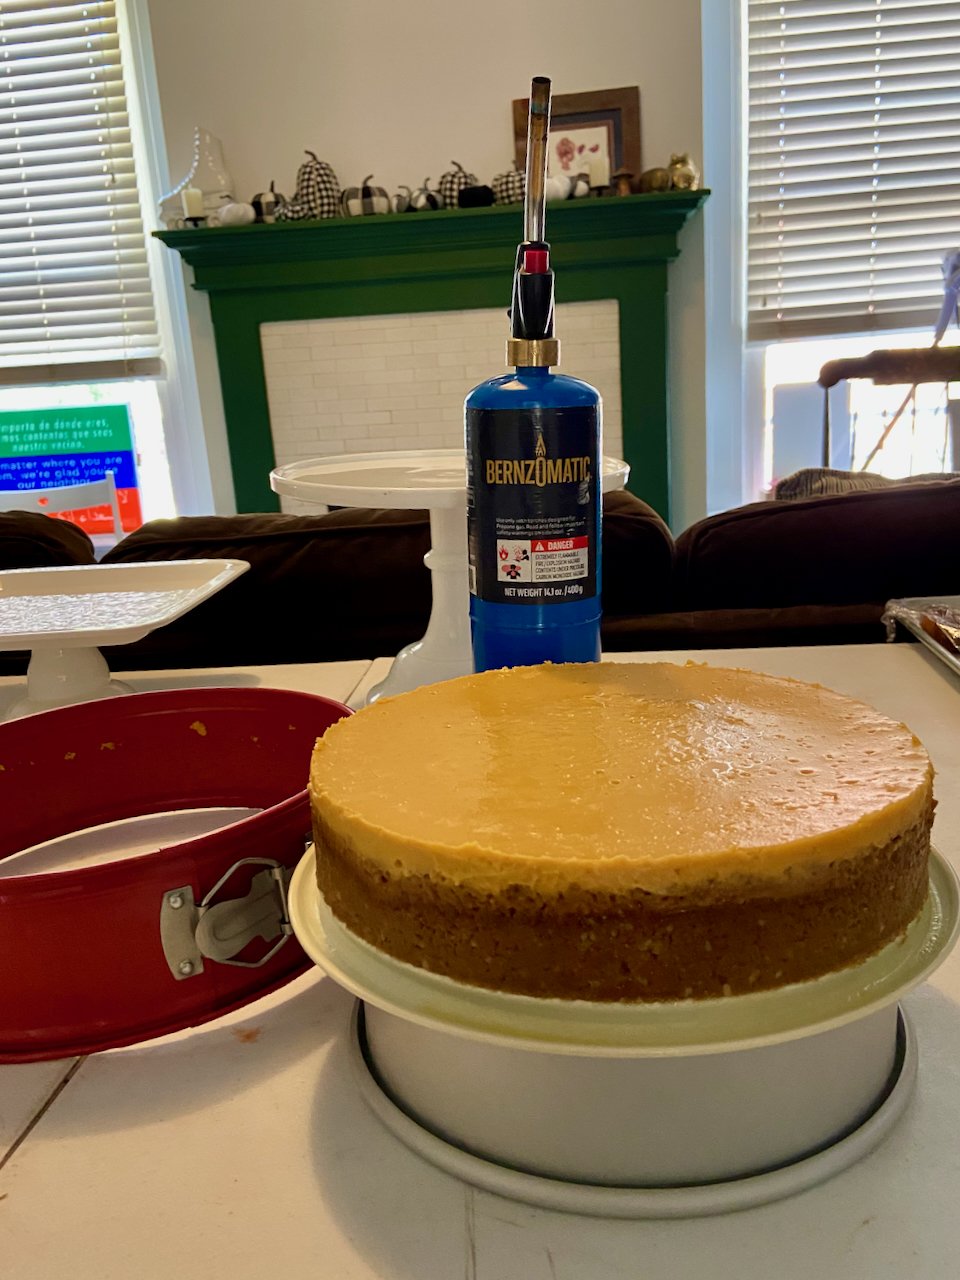
Cool and Unmold the Cake Set the pan on a wire rack and cool for 5 minutes. Run a small metal spatula between the sides of the cake and the pan, pressing firmly against the pan. Release the sides of the pan. Cool completely to room temperature.
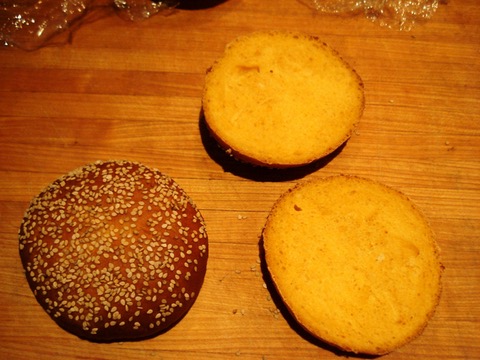
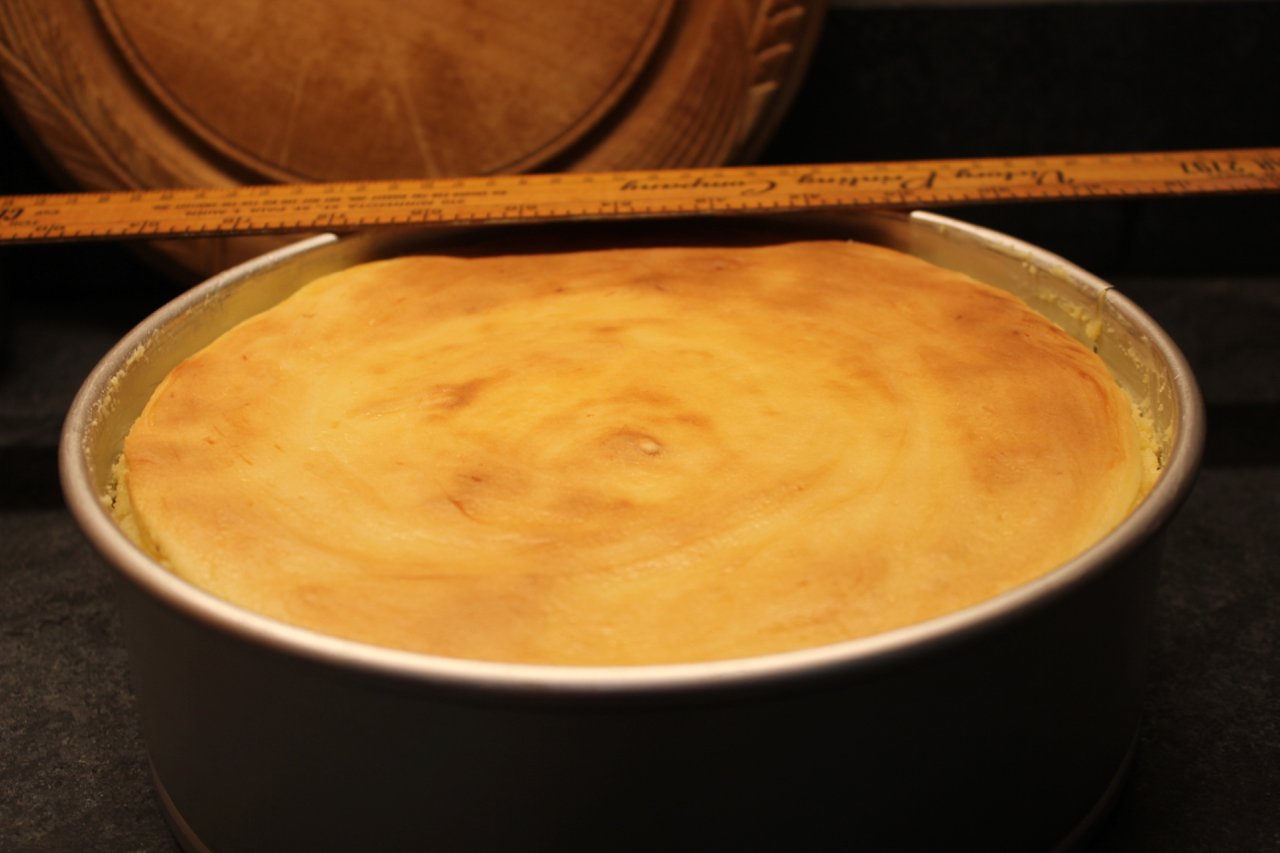
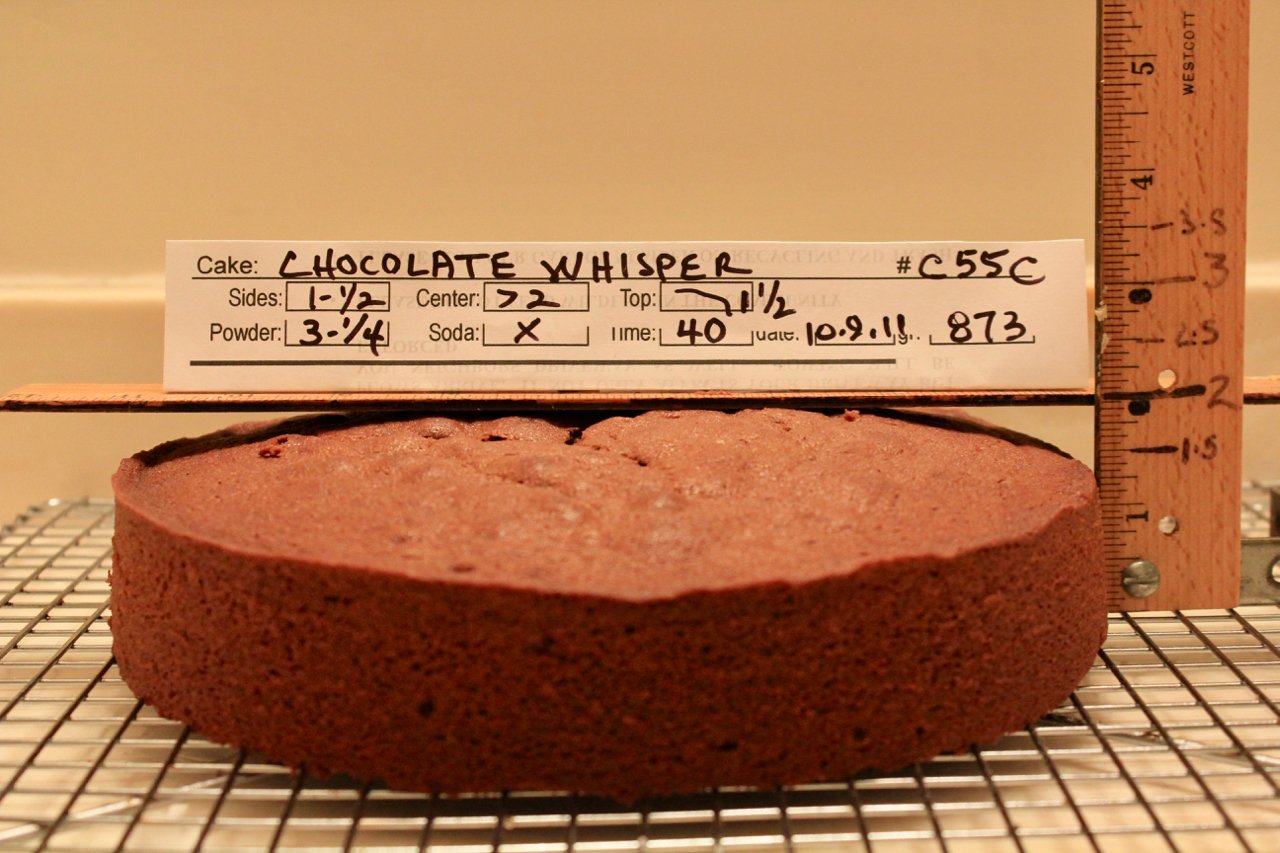
Finished Height: 1-1/2 inches
Store: room temperature, 3 days, springform pan sides reattached, with the toffee topping left uncovered.
Pointers for Success
* A flat wire whisk or slotted skimmer is ideal for folding with the least amount of air loss.